
 |
Fig. 11 |
 |
Fig. 12 |
 |
Fig. 13 |
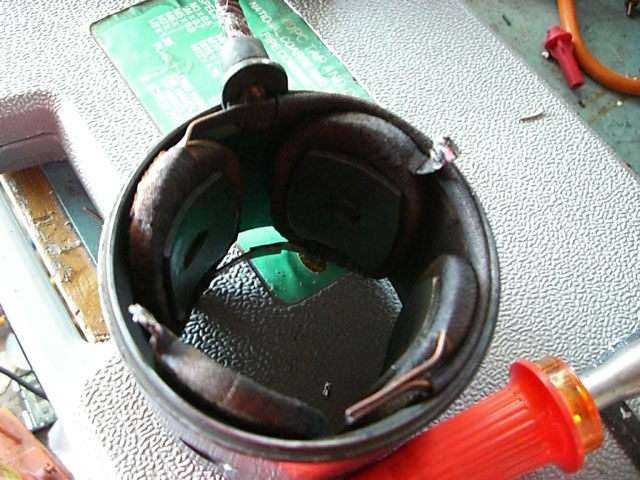 |
Fig. 14 |
 |
Fig. 15 |
 |
Fig. 16 |
 |
Fig. 17 |
Convert Car Starter Motor for Go Kart Use
How to Make a DIY Electric Motor for Your Kart
This is part two of the plans. Click for Part 1.
Your starter motor should now look something like Fig. 11.
Fig 12 The brush circled in yellow in this next picture is the ground. Most motors you will find will have two
brushes, both opposite each other, which are attached to the metal plate holding all of the brushes. I
don't know why but this starter only had three brushes when most have four.
Fig 13 Most starters that have not had anything done to them will have two of the brushes contacts tacked
together to the field magnet coils instead of being soldered together, as is the case with this particular
starter.
Figs. 14 & 15: Once you break those two contacts, you will be able to separate the field coils from the brushes. and
you will have this:
Figs 16 & 17: In the next two pictures, I circled where the three brushes are in one and where there is a brush missing
in the other. Most of the time you will have four brushes total. The little red X is where that brush
would have attached to.