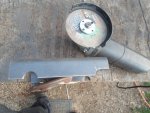
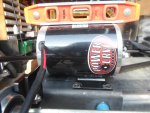
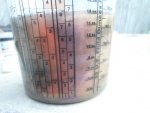
Nice going. I like the meter idea. You now know exactly when to recharge as well 
Nice going. I like the meter idea. You now know exactly when to recharge as well


 (mostly in the back)


Happy wife happy life right!?
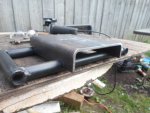
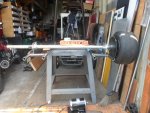
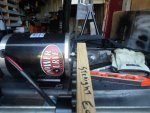
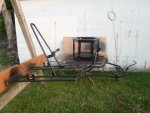
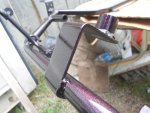
Lookit how sleek and sexy she looks in all that black... *drools*


Just don't go gettin' "Lazy". See what I did there!?
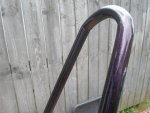
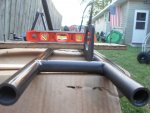
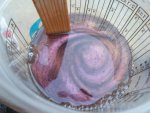
I think you missed it... "Lazy" is a Deep Purple song. That looks pretty nice even in the pictures!


 (technical term)