Excellent work!! You are SO close 


looks pretty Skippy. do you know if it is track legal?
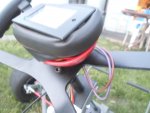
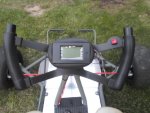
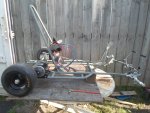
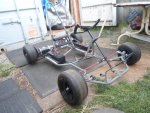
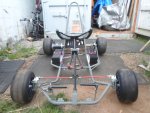
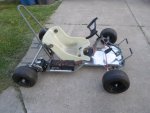
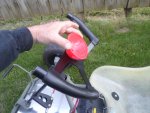
I took 'er out for a Maiden Voyage (first test ride)
...but, Ima not gonna say no more
Um, yup
...we have a video
https://www.youtube.com/watch?v=yUIPAdOexXo
Let me know what you'all think
looks pretty Skippy. do you know if it is track legal?
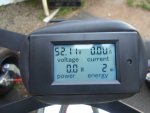
Right arm! Not only does it look good but it looks like it's working good too! How fast do you figure you got going?


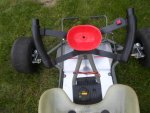

I meant the frame. I did not know if you were allowed to build a frame or if you have to buy it.landuse said:If there was a class for electric karts, I am sure it would probably be legal.
I meant the frame. I did not know if you were allowed to build a frame or if you have to buy it.