JTSpeedDemon
2019 Build Off Winner!
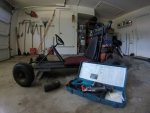
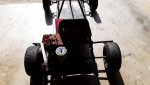
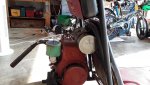
All right! Just took a preliminary measurement to see if the Clinton tank will bolt on to the custom bracket the PO welded to the seat back.
I know I said I wanted it really original, but I've gotta have a gas tank, and I think this bracket will be a straight bolt up.
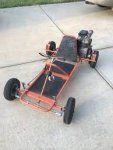
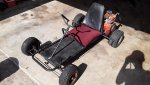
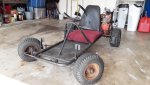
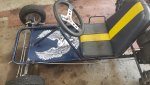
Today I'm planning to take the Sawzall to it and cut off a lot of custom stuff(stone guards, most of the roll hoop).
Hopefully by the end of the day this thing will be less in-yer-face and more kool vintage.
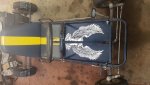
Can't wait to see that lawn mower gas tank go!
I know I said I wanted it really original, but I've gotta have a gas tank, and I think this bracket will be a straight bolt up.
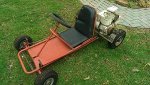
Today I'm planning to take the Sawzall to it and cut off a lot of custom stuff(stone guards, most of the roll hoop).
Hopefully by the end of the day this thing will be less in-yer-face and more kool vintage.
Can't wait to see that lawn mower gas tank go!