Functional Artist
Well-known member
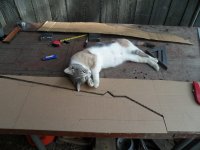
Foam Test
I've made many kart seats using Wal-Mart "seat foam"
...but, I've also, noticed that it doesn't seem to actually provide much support
...& most times (when sitting/riding) you can still feel the wooden platform, under the foam
Automotive seat foam seems denser or seems ta provide better "butt support"
So, I did a quick test using ~2" of each kind of foam
Left - Wall-mart foam
Right - Automotive seat foam

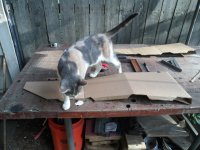
I added a 1" x 3" x 3" steel weight to each sample
...& both samples seemed to support the weight pretty well

Then, I added another steel weight, to each sample
The Wal-mart foam quickly "failed"
...but, the Automotive foam still supported the additional weight, pretty well")

* Not really scientific or nuthin'
...just a quick "backyard" test or demonstration of the (2) different kind of seat foams
I've made many kart seats using Wal-Mart "seat foam"
...but, I've also, noticed that it doesn't seem to actually provide much support
...& most times (when sitting/riding) you can still feel the wooden platform, under the foam
Automotive seat foam seems denser or seems ta provide better "butt support"
So, I did a quick test using ~2" of each kind of foam
Left - Wall-mart foam
Right - Automotive seat foam
I added a 1" x 3" x 3" steel weight to each sample
...& both samples seemed to support the weight pretty well
Then, I added another steel weight, to each sample
The Wal-mart foam quickly "failed"
...but, the Automotive foam still supported the additional weight, pretty well
* Not really scientific or nuthin'
...just a quick "backyard" test or demonstration of the (2) different kind of seat foams