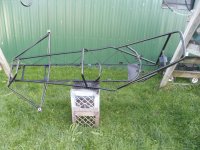
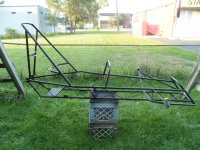
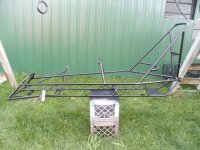
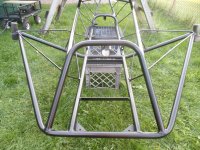
Polaris

Denny

Canned Monster
Messages
11,976
Reaction score
8,479
Location
Mayberry, Indiana

Functional Artist

Well-known member
Messages
5,654
Reaction score
3,293
Location
Toledo, Ohio
American ingenuity at its finest. The wheels, not the cat...
Thanks! :thumbsup:

I got a set of rotors, to use with the 48mm adapter hubs that I have
...but somehow, I ordered 160mm rotors (instead of 180mm rotors)
...& the spindle brackets are made to work with 180mm rotors :mad2:
& also,
I noticed that I bent the brackets backwards :huh:
...so, the left caliper went on the right side (but, upside down)
...& the right side went on the left (also, upside down) :furious2:

So, back to the drawin' board
SAM_0387.JPG
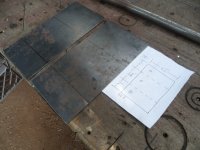
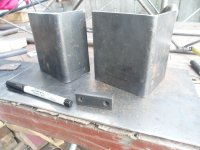
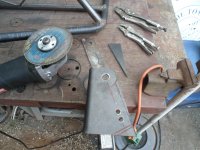
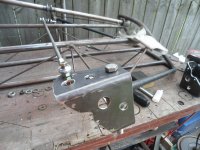
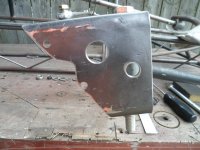
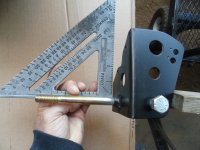
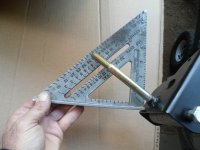
I bent up a couple more spindle brackets

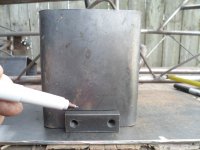
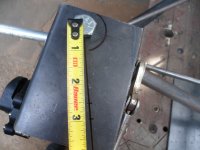
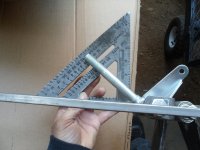
I needed (3) lines, on the same level, on both pieces
SAM_0393.JPG
So, I used a 3/4" wide piece of steel to mark 'em all evenly
SAM_0391.JPG

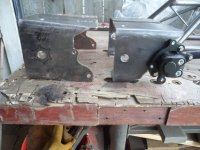
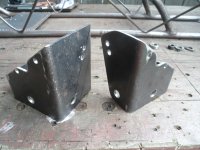
Left side V1 / right side is V2
* Notice the difference in the position of the caliper bolt holes?
SAM_0415.JPG
 

Functional Artist

Well-known member
Messages
5,654
Reaction score
3,293
Location
Toledo, Ohio
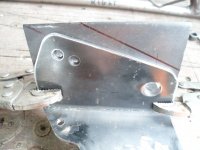
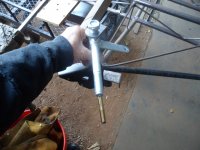
I re-established the Ackermann angle :thumbsup:
SAM_0417.JPG
Marked 'em at the 2 1/2" & 3"
SAM_0421.JPG
...& whittled down some of the excess material off of the spindle brackets
SAM_0427.JPG
Left side is before & right side is after some whittlin' & smoothin' :cheers2:
SAM_0430.JPG
Used the whittled down bracket, as a template, ta make the other side match
SAM_0432.JPG
Ta lighten 'em up a bit more, I added some holes, ta remove some material
...& them holes may even help provide some ventilation, to the brakes ;)
SAM_0441 (1).JPG
Next I gotta install the spindle/axle(s)
Anyone have an opinion on what grade of 1/2" bolt should be used? (Grade 3 or 5 or 8?) :unsure:
SAM_0440 (1).JPG
 

Functional Artist

Well-known member
Messages
5,654
Reaction score
3,293
Location
Toledo, Ohio
Hey Master Hack,

How much Loctite should be used or is recommended for bearing retention?
...just a drop & let it spread around?
...a light coating, on both surfaces?
...or slather it on & just wipe off any that squeezes out?

Also, I would assume that some should be applied to both sides, of the spacer material?

So, in between the bearing & spacer
...& also, in between the spacer & hub :thumbsup:
 

Functional Artist

Well-known member
Messages
5,654
Reaction score
3,293
Location
Toledo, Ohio
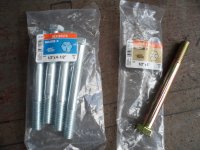
I got some of both (grade 5 & grade 8)
...but, stronger is better (right?)
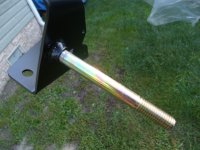
...so, I went with the grade 8 (1/2" x 5") bolts (& their golder) :p
SAM_0455.JPG
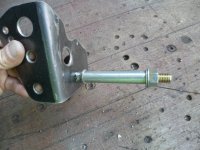
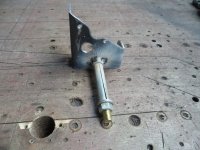
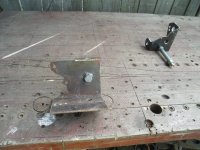
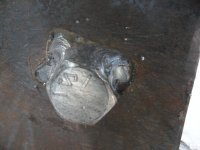
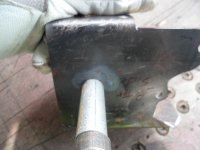
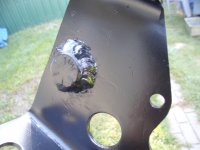
Before attacking one of my V2 spindle brackets with the welder, I stuck a 1/2" bolt into one of the V1 spindle brackets
...& did a couple of test welds 🤓
SAM_0464.JPG
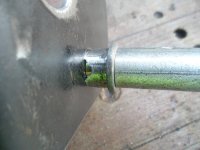
Not too bad I guess :unsure:
SAM_0465.JPG
According to the heat marks, on the other side, it seems like we got some decent penetration :cheers2:
SAM_0466.JPG
Also, had an idea o_O
SAM_0459.JPG
Yup, there's one for each side :thumbsup:
SAM_0460 (1).JPG
 

Functional Artist

Well-known member
Messages
5,654
Reaction score
3,293
Location
Toledo, Ohio
What the heck are those things?
...& what are they used for?

Well, Ima glad you asked :thumbsup:

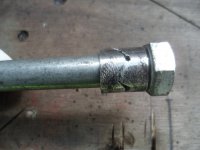
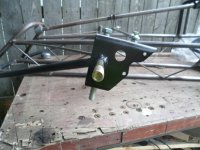
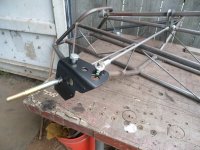
I wanted/needed to weld the spindle bolts, to the spindle brackets, on both sides ta make 'em stronger
...but, I also needed a nice flat surface for the bearing (or washer) to sit/ride against
...& I didn't want to have a clean up nightmare
...&/or mess up the spindle
...so, I made up them little guys

They go over the spindle, to give us a nice flat bearing/washer surface

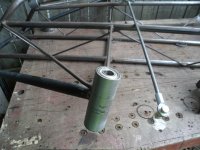
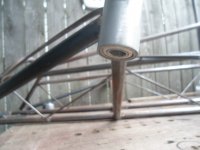
* I used a piece of conduit to use as a temporary spacer
...to bolt the spindle bolt down good-n-tight
...& protect the spindle/axle from "splatter" during welding :cheers2:
SAM_0475 (3).JPG
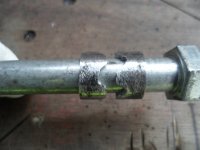
Up close view
* Them openings, will allow me access to the bolt
...so, I can weld the bolt to the bracket
...& also, to the little spacer (making them all "as one") ;)
SAM_0476 (3).JPG
Kinda like this
SAM_0478 (3).JPG
 

Master Hack

Well-known member
Messages
4,330
Reaction score
6,985
Location
Mountain top Labratory
Excellent! Grade 5 would have been plenty strong, but overkill is mo bedder! Who doesnt love a grade 8 bolt?
Even stronger is a socket head cap screw (SCHS). Just for future reference.
 

Functional Artist

Well-known member
Messages
5,654
Reaction score
3,293
Location
Toledo, Ohio
Excellent! Grade 5 would have been plenty strong, but overkill is mo bedder! Who doesnt love a grade 8 bolt?
Yup mo bedder
...& they are gold :thumbsup:

Dry fit 'em (again)
SAM_0480 (3).JPG
Another (closer) view
* Notice the nice-n-clean spindle/axle :sifone:
SAM_0479 (3).JPG
Looks pretty good ta me :2guns:
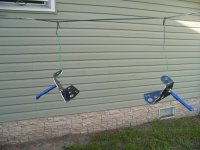
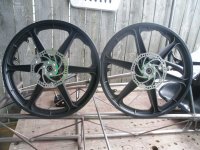
...so, after some clean up, I hung 'em up & wiped 'em down
SAM_0482 (3).JPG
Then, sealed 'em up with some Satin Black spray paint
SAM_0508 (3).JPG
Back side
SAM_0506 (3).JPG
 

Functional Artist

Well-known member
Messages
5,654
Reaction score
3,293
Location
Toledo, Ohio
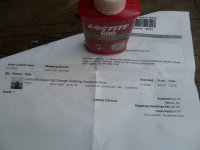
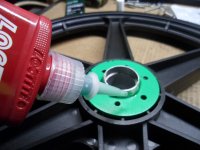
I finally received my order for a bottle of Loc-Tite 680 (green) High Strength Retaining Compound :cheers2:
SAM_0470.JPG
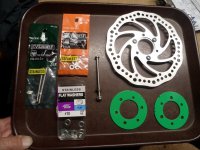
Assembled a tray of parts 🤓
SAM_0487 (3).JPG
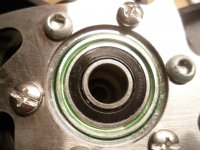
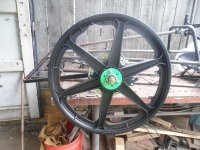
First, I cleaned up the hub (inside & out)
...& inside of the adapter hub too
SAM_0488 (3).JPG
Applied a small bead around the perimeter of the hub (& spread it around)
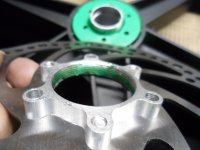
SAM_0489 (3).JPG
...& a light coating inside (on the threads) of the brake rotor adapter too
SAM_0491 (3).JPG
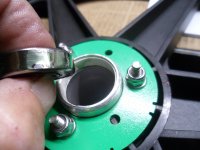
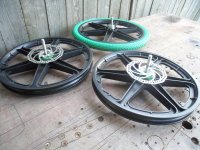
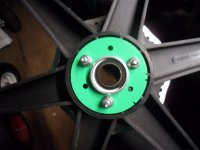
Then, put 'em together with the green hub rings
...& some Stainless Steel hardware (bolts, washers & Loc-Nuts)
SAM_0492 (3).JPG
The brake rotor (adapter) is now firmly attached (mechanically & adhesively) ;)
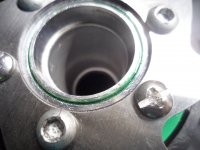
SAM_0493 (3).JPG
I also, put some of the retaining compound on the threads of the bolts (under the Loc-Nuts) for added durability :2guns:
SAM_0494 (3).JPG
 

Functional Artist

Well-known member
Messages
5,654
Reaction score
3,293
Location
Toledo, Ohio
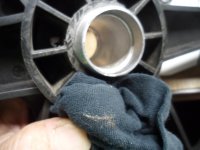
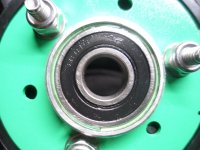
I did about the same procedure ta "glue" the bearings into the hubs :thumbsup:
SAM_0496 (3).JPG
Looks like this
SAM_0497 (3).JPG
...& this
SAM_0498 (3).JPG
Just to be sure the bearings were setting "true" I ran a 1/2" bolt thru each wheel & then, let 'em set for a day ;)
SAM_0510 (3).JPG
The next day
...& were ready ta roll :2guns:
SAM_0533 (3).JPG
 

Functional Artist

Well-known member
Messages
5,654
Reaction score
3,293
Location
Toledo, Ohio
Looks great! With the shim material in there, the bearings fit the hub nicely.
Thanks! :2guns:

Yup, it's almost like a machined fit, thanks to your expert advise :cheers2:

I also, used some of the Loc-Tite ta "glue" some Chineseum bearings, into the Boss Tubes, that I got off of some old scooter wheels
SAM_0515 (3).JPG
These should help 'er ta turn a bit smoother than just havin' a 1/2" bolt run thru a couple of 1/2" holes
SAM_0529 (3).JPG
Bottom side
SAM_0530 (3).JPG
Let them sit for a day
...& then, dry fit the spindles, again
SAM_0531 (3).JPG
Another view
SAM_0532 (3).JPG
...& then, the wheels, again
SAM_0534 (3).JPG
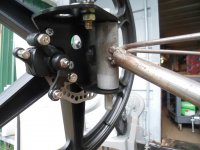
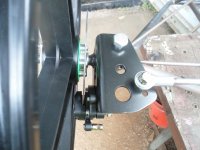
...& calipers, again
SAM_0537 (2).JPG
Top view
SAM_0535 (3).JPG
 

Functional Artist

Well-known member
Messages
5,654
Reaction score
3,293
Location
Toledo, Ohio
Steering Stops
I didn't incorporate any steering stops on to the spindles
...&/so, it seems like they turn too far :huh:

I used a stock go kart spindle for a turning range comparison 🤓

* The turning range seems ta be ~45* (each way)
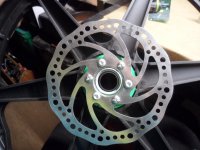
** Notice the arm of the stock spindle "bumps" against the mounting bracket, creating a "stop"

So, (1) side provides a "stop" when turning in (1) direction
...& the other side provides the "stop" when turning the other direction :cheers2:
SAM_0540 (2).JPG
So, here is starting off at pretty much going straight (90*)
SAM_0541 (2).JPG
...& we want them to go to about here (45*)
SAM_0542 (2).JPG
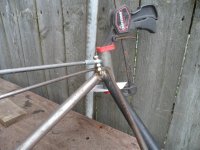
Clamped a piece of steel "stop" on the Boss Tube
...& compared it to the stock spindle again

Looks pretty close ta me ;)
...but, I'ma gonna just tac them in for now (just ta make sure) :thumbsup:
SAM_0548 (3).JPG
 

Functional Artist

Well-known member
Messages
5,654
Reaction score
3,293
Location
Toledo, Ohio
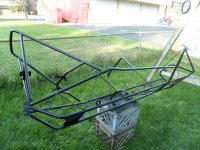
The morning dew has been initiating an unwanted patina on the chassis :ack2:
...so, after lots & lots & lots of clean up (basically "four hours later")
...& "boy 'O boy" do my hands & arms ache :huh::furious2::mad2:

Then, I sealed 'er up, ta stop all of that patina BS "in it's tracks" ;)
...& make 'er look purty too :bannana:

* Set 'er up on an angle, ta be able ta paint up under
...& in all of the nooks & crannies, first

SAM_0552 (3).JPG
Another view
SAM_0553 (3).JPG
Then, set 'er down nice-n-level
...& went at 'er again :thumbsup:
SAM_0554 (3).JPG
Another view
SAM_0555 (3).JPG
...& even another view :p
SAM_0556 (3).JPG
* Notice, I didn't seal up the Boss Tubes (&/or their attachment areas) :cheers2:

They are just tac'ed in place
...& I want to do some testing, ta make sure of steering functionality, before weldin' them on good-n-solid
...& then, sealin' them up :2guns:
 

Functional Artist

Well-known member
Messages
5,654
Reaction score
3,293
Location
Toledo, Ohio
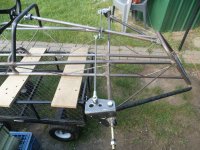
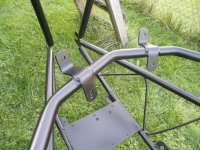
I'd like ta point out the 5-Point seat belt harness mounting brackets :thumbsup: (as required in the rule book) 🤓

This pic shows the (2) side seat belt mounting points (top & bottom)
...& the mount for the crotch belt too (over on the right side)
SAM_0561 (3).JPG
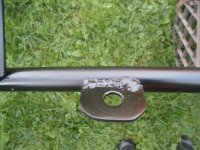
Close up view of (1) of the side mounts
...should be good-n-strong :2guns:
SAM_0563 (3).JPG
The upper holes, in these dual-purpose brackets, are where the shoulder straps will mount
...& the lower holes are for mounting the seat
SAM_0567 (3).JPG
 

Functional Artist

Well-known member
Messages
5,654
Reaction score
3,293
Location
Toledo, Ohio
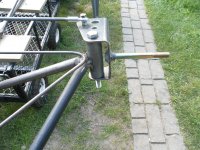
I'd also, like to point out the control cable mounts
SAM_0562 (3).JPG
In this pic (on the left side) is the dual brake cable mount.
(the rule book requires an independent brake cable, going to each front brake calipers)
...& on the right is the front cable mount, for the throttle :thumbsup:
SAM_0565 (3).JPG
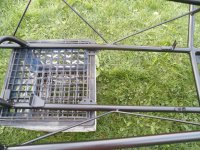
Here is the rear cable mount, for the throttle
...& the throttle itself, mounts on this little "pearch" ;)
SAM_0564 (3).JPG
 
Top