Polaris

Functional Artist

Well-known member
Messages
5,654
Reaction score
3,293
Location
Toledo, Ohio
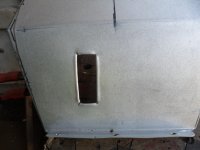
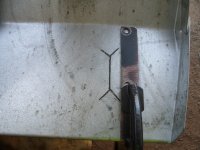
I did some eyecrometer measurements, for installing a chain passage, thru the fender
...did some markin'
...& then, kinda split 'er down the middle
SAM_0182.JPG
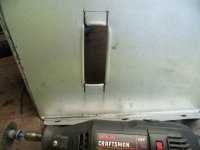
Used a straight edge, ta help bend 'er, where I wanted 'er bent
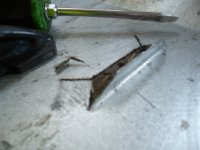
...& a flat head screwdriver to pry up the piece
SAM_0183.JPG
Folded 'em back
...& hammered 'em down nice-n-flat
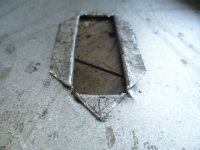
SAM_0186.JPG
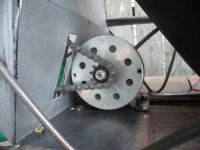
Looks like this on the outside
SAM_0188.JPG
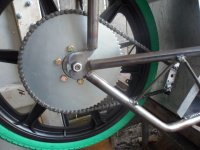
Next, I made up a chain
...& routed 'er thru the passageway
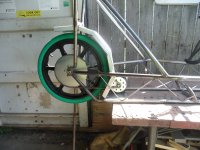
SAM_0189.JPG
Um...we got some clearance issues, there Clarance!
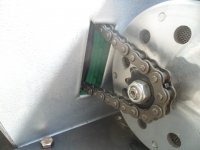
SAM_0191.JPG
A bit more cuttin'
SAM_0195.JPG
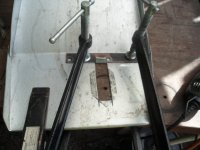
...& a clampin & bendin'
SAM_0196.JPG
Lets, try this again
SAM_0203.JPG
Yup, that looks better
SAM_0202.JPG
 

Functional Artist

Well-known member
Messages
5,654
Reaction score
3,293
Location
Toledo, Ohio
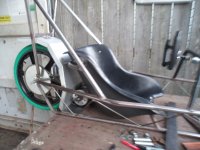
We gots us a black racing style seat (the red seat was temporarily borrowed from the Hell-raiser kart)

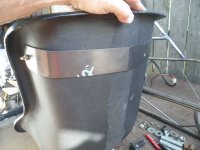
I added a 2" x 18g steel support, around the upper back portion of the seat
SAM_0212.JPG
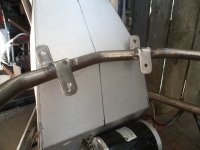
Made up & installed a couple of upper seat mounting brackets (also, where the shoulder straps will mount, for the seatbelt harness)
SAM_0210.JPG
Looks kinda like this
SAM_0213.JPGAnother pic
SAM_0214.JPG
 

Functional Artist

Well-known member
Messages
5,654
Reaction score
3,293
Location
Toledo, Ohio
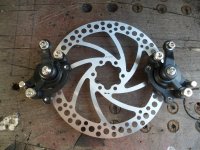
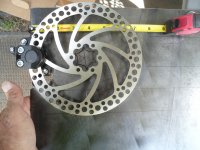
I got (2) mechanical brake calipers (probably not supposed ta be on the same rotor) :devil2::innocent:
...& (2) 180mm rotors
SAM_0206.JPG
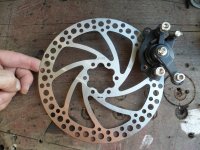
Should be set up more like this :thumbsup:
SAM_0208.JPG
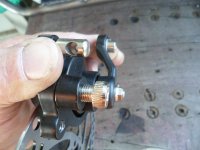
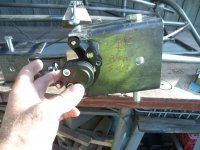
Run a brake cable thru the fixture (by my thumb)
...& then, connect the inner cable, to the end of the lever (by my finger)

So, when the brake lever/pedal is actuated
...it pulls the cable
...which then, pulls the lever on the caliper
...& the brake pads clamp down on the rotor ;)
SAM_0209.JPG
So, now we just gotta get the rotors, installed on the wheels
...& design
...& then, make some spindles, with caliper brackets :popcorn:
 

Functional Artist

Well-known member
Messages
5,654
Reaction score
3,293
Location
Toledo, Ohio
We have Boss Tubes on the chassis
...so, the spindle brackets are basically big C's
...with a long bolt stickin' out

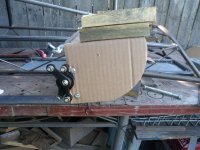
Started off with some CAD work
SAM_0218.JPG
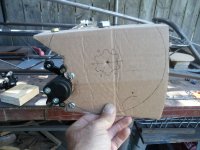
With the rotor
...& tryin' ta incorporate the steering arm
SAM_0222.JPG
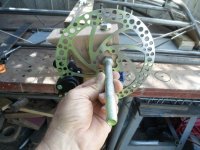
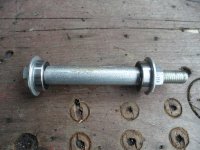
Spindle (1/2" x 6" bolt)
SAM_0229.JPG
 

Functional Artist

Well-known member
Messages
5,654
Reaction score
3,293
Location
Toledo, Ohio
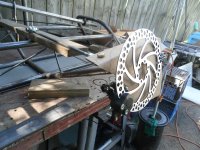
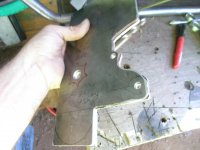
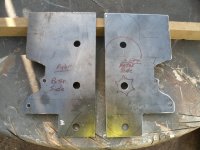
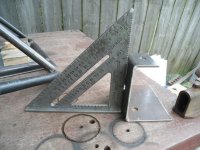
Transferred the CAD template to some 3/16" thick steel :thumbsup:

Trimmed out & mounted the caliper first
...then, worked on centering the rotor

SAM_0231.JPG
Then, used the first one, ta make another :2guns:
SAM_0234.JPG
Kinda like this :cheers2:
SAM_0235.JPG
* The extra space on the top(s) is for when the Acermann angle, is established ;)

** Now, just gotta figure out how ta add some nice bends, ta these thick azz things :popcorn:
 

Functional Artist

Well-known member
Messages
5,654
Reaction score
3,293
Location
Toledo, Ohio
Love the CAD design work!

Where did you score the brakes?
Thanks, :thumbsup:

CAD comes in real handy
...it's easy to work with
...& very cost effective ;)

The version that I ended up using was like the 3rd iteration :p

Here is an earlier version :cheers2:

* Notice the caliper is upside down?
...& so, the brake cable would come up, from the bottom (not a great plan)
SAM_0215.JPG

Rotors (~$9.00 ea.)
https://www.ebay.com/itm/175716099348?var=475102205451
Calipers (~$12.50 ea.)
https://www.ebay.com/itm/275959525534
Brake Rotor Flange adapters (~$2.50 ea.)
https://www.ebay.com/itm/194966693368

So, ~$50.00 in brake components :)
 

Functional Artist

Well-known member
Messages
5,654
Reaction score
3,293
Location
Toledo, Ohio
I can see several unintended uses for that brake stuff.

Yer a Purdy resourceful guy, maybe you can figure a way to put this to use??
Um...a bolt circle calculator :unsure:

Well, that's interesting, now that you mention it, I got the rotor adapter flanges :wai:
...but, they didn't have the same size bolt circle, as the rotors :ack2:
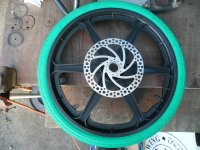
SAM_0236.JPG
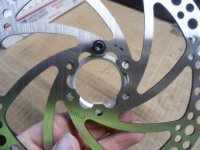
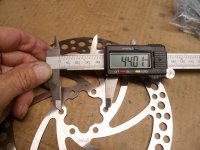
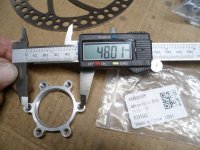
After more research, I found out that they make bicycle brake components with a 44mm bolt circle & also, 48mm

So, it looks like I bought rotors with the 44mm BC
SAM_0240 (2).JPG
...but, the adapters are for a 48mm BC (confirmed by the packaging label)
SAM_0239 (1).JPG
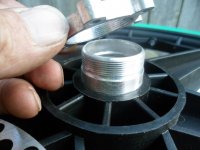
On a brighter side, now I know for sure that these adapters
...thread onto the same threaded hub, on the rear wheel, that the freewheel unit does. :thumbsup:
SAM_0273.JPG
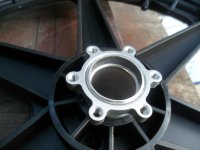
Like this
SAM_0272.JPG
Once I get the proper adapters, it'll look about like this :2guns:
SAM_0269.JPG
 

Functional Artist

Well-known member
Messages
5,654
Reaction score
3,293
Location
Toledo, Ohio
Looks like you are using the calibrated eye method of measuring hole to hole distance. l don’t want to sound too basic, but if you don’t know the compound method, read about it here. Scroll down a little.

Thanks, :cheers2:
I've never heard of or used the compound method
...but, I'm always interested in learning new stuff! :thumbsup:

I just manually set the caliper to 44mm & then, 48mm
...to roughly confirm (at that point I already knew)
...& for illustration purposes (pics) ;)
 

Functional Artist

Well-known member
Messages
5,654
Reaction score
3,293
Location
Toledo, Ohio
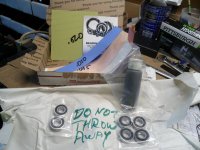
We gots our bearing order :thumbsup:

They look really nice & of high quality :)

Thanks (Terry) Master Hack :cheers2:
SAM_0242 (2).JPG
Info card
SAM_0243 (2).JPG
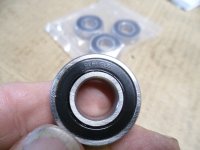
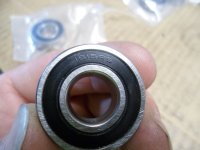
We got (4) R8RS bearings, for the front wheels (~5/16" thick)
SAM_0248.JPG
(2) 1616RS for the rear wheel (~3/8" thick)
SAM_0250.JPG
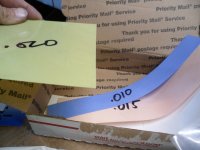
An assortment of shim materials (.010 thru .030) as the bicycle bearing holders are a bastard size
SAM_0244 (2).JPG
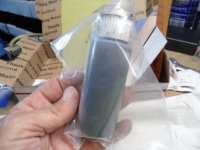
...& some secret sauce (bearing lube)
SAM_0245 (2).JPG
Hey Terry, can you tell us more about this lube?
&
I found a spot for this guy
...but, how long do I need actually ta keep it? :p
SAM_0247.JPG
 

Master Hack

Well-known member
Messages
4,330
Reaction score
6,985
Location
Mountain top Labratory
can you tell us more about this lube?
That oil contains tungsten disulfide (WS2) after it sets for a while you'll see it settle out. Shake well B4 using. Lift up one of the seals on the bearings and relube couple times a year. You would be surprised as to how little lube it takes to make a bearing happy. 98% of the bearings on this planet are over lubed. Boat trailers are the worst.

Here's the propaganda on WS2:

TUNGSTEN DISULFIDE (WS2) POWDER​


Tungsten Disulfide (WS2) is dry/solid lubricant powder and is one of the most lubricious substances in the world. WS2 offers excellent dry lubricity (COF: 0.03) unmatched to any other substance, including Graphite or Molybdenum Disulfide (MoS2).

Tungsten Disulfide (WS2) can also be used in high temperature and high pressure applications. It offers temperature resistance from -450 deg F (-270º C) to 1200 deg F (650º C) in normal atmosphere and from -305 deg F (-188º C) to 2400º F (1316º C) in vacuum. Load bearing ability of coated film is extremely high at 300,000 psi.

Tungsten Disulfide (WS2) can also be used instead of Molybdenum Disulfide (MoS2). See comparison of WS2 / MoS2

Since the powder offers one of the lowest Coefficient of Friction (Dynamic @ 0.03 & Static @ 0.07), the applications are unlimited and could be tried with every conceivable idea. .


You have to keep the paper for eternity. Small bearings have been thrown away still in the paper packing...

Find the shims that take up the extra space in the hub and then install with loctite red or the black bearing mounting stuff.

Another trick you can use is to remove the inboard seals. If the hub is solid and there is no way for contaminates to enter the bearing from the inboard side, the seal does not serve any purpose. Also DO NOT PRELOAD the bearings! The wheel should spin freely, for a substantial time, when spun by hand.
 

Functional Artist

Well-known member
Messages
5,654
Reaction score
3,293
Location
Toledo, Ohio
Got a hydraulic press?
I gots an OYO press (that's a whole 'nuther story) :sifone:

Ima thinkin' vise & a BFH :thumbsup:
...& beat 'er into submission :devil2::innocent:
SAM_0255.JPG
Tried a "test piece" first
...not too bad, I guess :wai:
SAM_0256.JPG
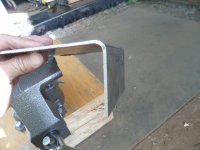
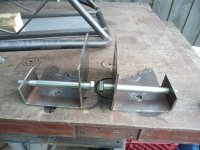
Then, bent up (1) of the spindle brackets
...& made sure it was pretty square ;)
SAM_0265.JPG
Then, bent up the other (1)
SAM_0266.JPG
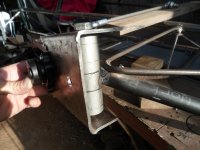
Mounted on the boss tube
SAM_0267.JPG
Another view
SAM_0268.JPG
 

Functional Artist

Well-known member
Messages
5,654
Reaction score
3,293
Location
Toledo, Ohio
Bottom line don't tighten the axle nut down on the inner race much more than finger tight, unless there is an accurate length spacer between the two bearings.
Also, don't "bridge" the inner & outer races with a washer or retaining nut

The inner race should be "locked" to/with the axle
...the outer race should be "locked" to/with the wheel

So, the (2) races need to stay independent from each other
...separated by & rolling on the ball bearings :thumbsup:

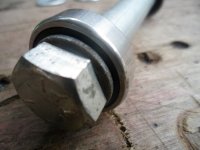
See how a big washer can "bridge" the races
...thus locking them together
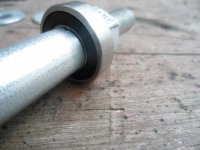
SAM_0277.JPGSee how a small washer will only engage with the inner race
SAM_0281.JPG
...& the inner spacer (if used) must only be in contact with the inner race too
SAM_0282.JPG
 

Functional Artist

Well-known member
Messages
5,654
Reaction score
3,293
Location
Toledo, Ohio
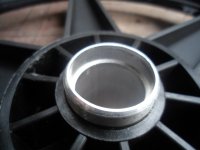
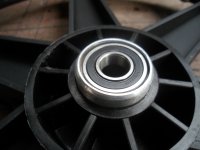
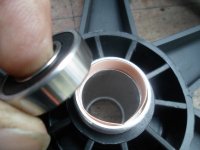
Here is (1) of the hubs/bearing holders
SAM_0285.JPG
With R8RS bearing inserted
*Notice the excess space around it?
That's not good
SAM_0286.JPG
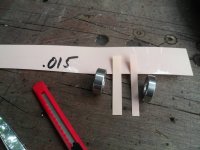
This is where the shim material comes in

I cut a piece, for each thickness of bearing
SAM_0295.JPG
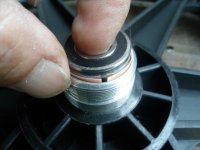
The shim material goes in between the bearing & hub
...but, (really) shouldn't have that little gap
SAM_0297.JPG
I tried the .015 thickness stuff, first
SAM_0298.JPG
It seemed to fill most of the space pretty good
...but, the bearing could still be lifted out pretty easily
SAM_0299.JPG
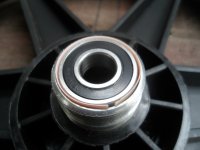
I tried the .020 next (still kinda loose)
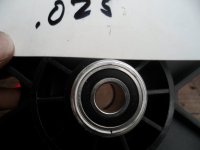
...& then, the .025 (nice-n-tight & felt more like a machine fit)
SAM_0310.JPG
Hey Hack, you mentioned Loc-tite as a bearing "locker" for loose fitting bearings
...but, after doin' some research, I've found that they have many, many different variations (besides just red permanent or blue semi-permanent)
...& then, others for "locking" threads
...& they even mention that it can be used for "locking" rotors to shafts (just like you mentioned) :thumbsup:

So, any advice on which one may best option, for this situation

Also, since it looks like I may have to bond the rotor/adapters to the hub threads
...do you think any of the Loc-tites be used in both situations, as a bearing to inner hub "locker" & also, a rotor to outer hub thread "locker"?
 
Top