Diamonite Electrathon America Racer

Functional Artist

Well-known member
Messages
5,605
Reaction score
3,216
Location
Toledo, Ohio
Up next was installing the front & rear wheel sub-assemblies
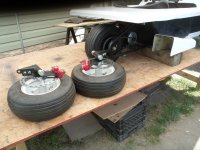
SAM_8878 (1).JPG
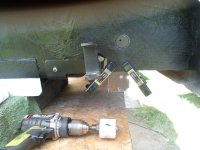
The Tie Rod "hole" lines up nicely, with the Pitman Arm :thumbsup:
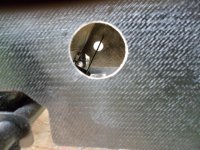
SAM_8856 (1).JPG
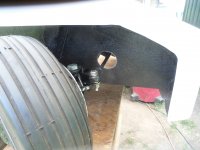
But, durin' steering "turning tests" I found that the Tie Rods "hit" the edge of the access holes :confused:
...&/so, had ta do some modifyin'
SAM_8879 (1).JPG
The hole needed ta be "moved" upwards & backwards...just a bit
...so, I used a "temporary pilot hole" ta "get 'er done ;)
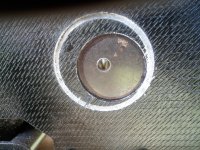
SAM_8881 (1).JPG
Only removed "this much"
...& a nice-n-clean cut :)
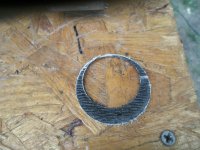
SAM_8883 (1).JPG
Yes! That's mucho bettero :wai:
SAM_8885 (1).JPG
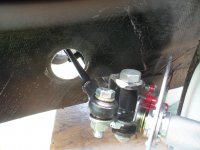
Yup, the other side "clears" nicely, in both directions, too :cheers2:
SAM_8887 (1).JPG
 

Functional Artist

Well-known member
Messages
5,605
Reaction score
3,216
Location
Toledo, Ohio
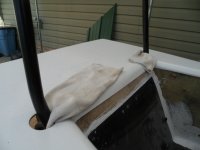
Up next was ta get the Roll Bars installed
SAM_8896 (1).JPG
I "lined" the holes on the monocoque ta "pad" 'em a bit, as the bars "slide in" ;)
SAM_8899 (1).JPG
Well...huh? I didn't take any pics of 'em installed :huh:
...I'll do better...next time :thumbsup:
 

Functional Artist

Well-known member
Messages
5,605
Reaction score
3,216
Location
Toledo, Ohio
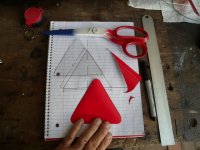
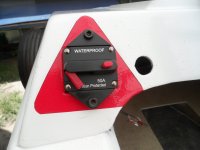
The EA rules require a 4" red triangle under/around the Main Power Cut-Off switch
...so, I got some Permanent Red Vinyl
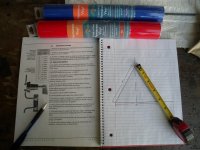
...& drew up a 4" x 4" x 4" triangle
SAM_8901 (1).JPG
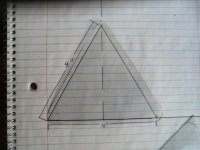
Then, made up a template (outta some packaging plastic)
SAM_8917 (1).JPG
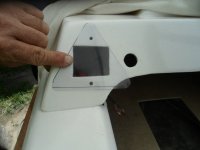
Checked (test fit) how it would look on the dashboard
SAM_8918 (1).JPG
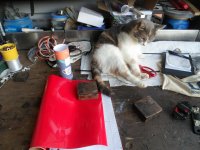
Then, me & Ducky went ta workin' with the Vinyl
SAM_8913 (1).JPG
We gots us a 4" x 4" x 4" red triangle
...with nice-n-curved corners :sifone:
SAM_8919 (1).JPG
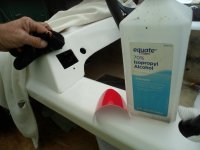
Even though it is brand new paint
...I still gave 'er a wipin' off (just some Alcohol)
...ta make sure the sticker "sticks" goodly
SAM_8920 (1).JPG
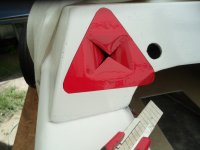
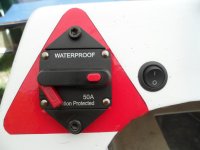
Installed & workin' on the "cut-out" for the Circuit Breaker
SAM_8924 (1).JPG
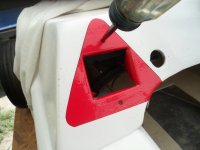
Punched a couple a holes
SAM_8925 (1).JPG
Ju-alla
SAM_8927 (1).JPG
 

Functional Artist

Well-known member
Messages
5,605
Reaction score
3,216
Location
Toledo, Ohio
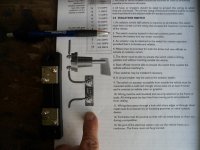
In this pic, they show what, at first, I thought was a Shunt
...but, it's "in" the Positive (+) side of the circuit? :huh:
&
That can't be right
...because a Shunt "goes in" the Negative (-) side of the circuit :unsure:
SAM_8903 (1).JPG
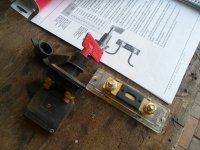
What they are showing is a Cut-Off switch (Isolation Switch) & a Fuse
Like these
SAM_8904 (1).JPG
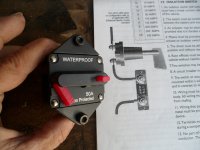
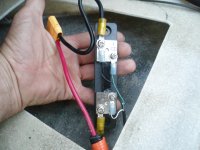
I'm using this Circuit Breaker, as both components (an Isolation Switch & a "re-settable" Fuse)
SAM_8906 (1).JPG
The rules even specifically approve of, using a CB for this purpose
SAM_8909 (1).JPG
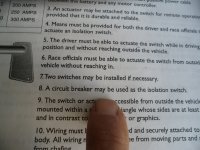
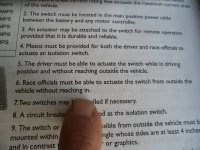
The rules also specify that this Isolation Switch must be easily accessible by the driver (without having to reach outside of the cockpit)
...& by race officials (without having to reach inside, of the cockpit)

* Yup, I think we have this "covered" :thumbsup:
SAM_8910 (1).JPG
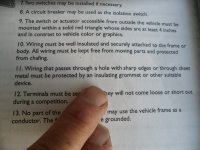
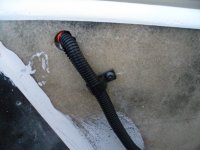
Yup, we are using "wire protection" ;)
SAM_8911 (1).JPG
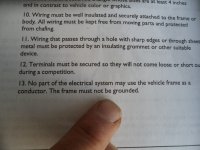
Nope, we are NOT using the vehicle frame, as a conductor
...as/for a Ground/Negative (-)
SAM_8912 (1).JPG
 

Functional Artist

Well-known member
Messages
5,605
Reaction score
3,216
Location
Toledo, Ohio
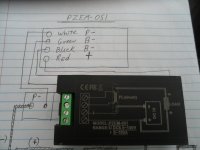
I got my notes out, ta wire-up the PZEM-051 (AKA Power Meter) correctly
SAM_8929 (1).JPG
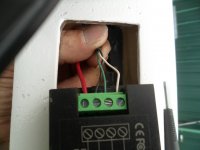
Yup, White, Green, Black & then Red
SAM_8932 (1).JPG
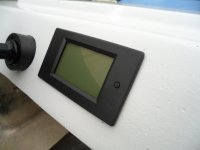
PZEM-051 installed
SAM_8934 (1).JPG
On/Off switch (AKA Power Lock) installed
SAM_8938 (1).JPG
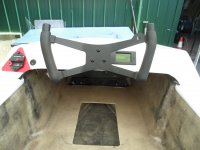
A view of the dashboard from the cockpit
SAM_8940 (1).JPG
 

Functional Artist

Well-known member
Messages
5,605
Reaction score
3,216
Location
Toledo, Ohio
Up next, Hand Controls

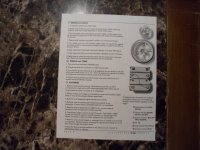
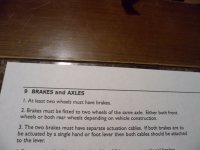
9 Brakes and Axles (page 8.)
SAM_8971 (1).JPG
The rules require brakes, on at least (2) wheels (yup/check)
SAM_8972 (1).JPG
We have a Brake handle/lever, on the steering wheel
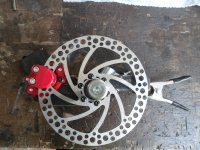
...& Rotors & Calipers, on the (2) front wheels (yup/check)

Now, we need brake cables, to connect 'em together
...& make 'em actua-table, by the driver

But/also, I "ran" into a couple of "issues" :ack2:
1.) How do we connect (2) separate Calipers to (1) Brake lever? :unsure:
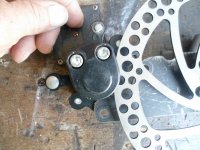
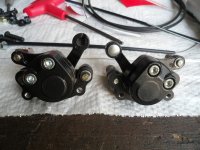
2.) I seem to have made the brackets so that the Calipers mount, upside down :furious2:
SAM_8941 (1).JPG
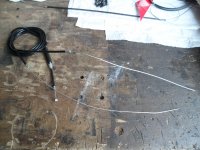
Well...for #1, I found a single pull, dual cable, brake cable (seem ta be for Adult Tricycles) (~$18.00) on Amazon
SAM_8944 (1).JPG
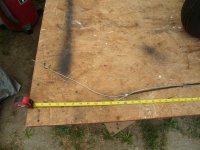
(1) "leg" of this cable looks ta be ~4' (48") with a ~5' (60") inner cable
...& the other "leg" looks ta be ~5' (60") with a ~6' (72") inner cable
SAM_8951 (1).JPG
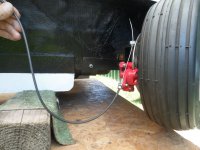
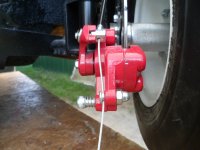
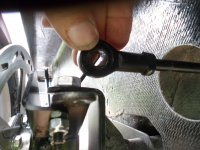
As for #2, I'ma thinkin' I can just connect the cable(s) to the Calipers "backwards" :geek:

By "switching" around the cable housing mounting "eye" (or bracket)
...&/with the inner cable "clamping" mechanism/bolt

I can then, "run" the cable(s) to the Caliper properly (from the top side)

Like this :thumbsup:
SAM_8961 (1).JPG
 

Whitetrashrocker

Inmate #952016
Messages
4,943
Reaction score
4,257
Location
Southern New Mexico
My .02.

Is the sheath gonna be strong enough to handle the work load of working the caliper?

Seems trivial, but your changing the workload distribution from pulling the steel cable to pushing the wrapped sheath.
 
Top