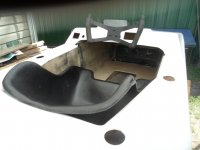
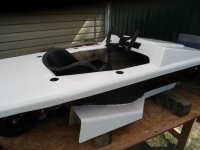
Diamonite Electrathon America Racer

Functional Artist

Well-known member
Messages
5,591
Reaction score
3,192
Location
Toledo, Ohio
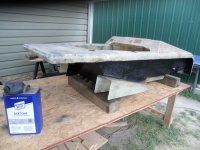
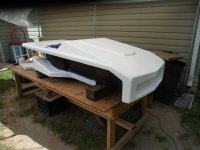
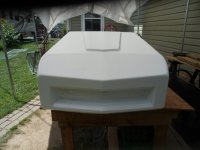
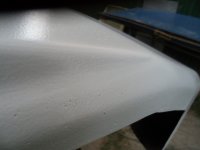
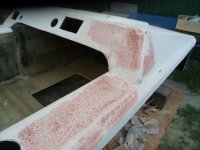
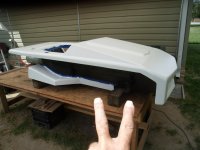
After blowin' lots more dust off (of the racer & the work bench too)
...& a couple of wiping's with Acetone (but, not the work bench)
SAM_8761 (1).JPG
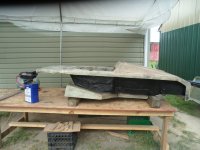
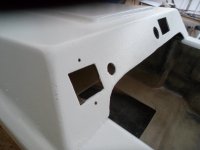
I think "we" B about ready for some paint :wai:(F'in finally) :cheers2:
SAM_8760 (1).JPG
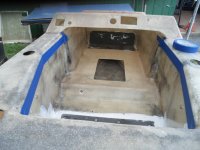
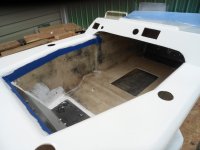
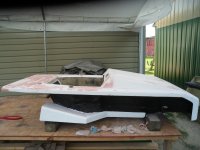
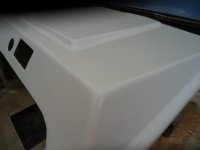
I taped off the interior (a whole 'nuther project) ;)
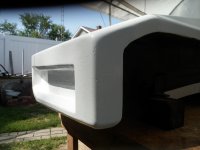
SAM_8765 (1).JPG
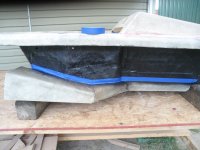
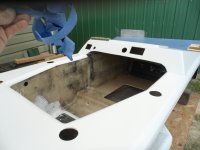
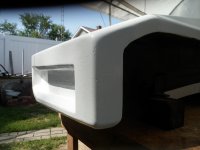
...& the "side pipes" too (ta "highlight" them) :2guns:
SAM_8764 (1).JPG
 

Denny

Canned Monster
Messages
11,868
Reaction score
8,337
Location
Mayberry, Indiana
Do you paint the mold with a thick layer of resin first before you put your soaked mat on it? Using a roller to spread resin will do that also along with aggressively mixing the resin as to introduce air bubbles.
 

Functional Artist

Well-known member
Messages
5,591
Reaction score
3,192
Location
Toledo, Ohio
Do you paint the mold with a thick layer of resin first before you put your soaked mat on it? Using a roller to spread resin will do that also along with aggressively mixing the resin as to introduce air bubbles.
Hey Denny,

Nope, I didn't
I'ma still learnin'
I'll do better next time

I wasa about ta say "F it" I'ma runnin' outta summer :cry:
...but, remember "if ya gonna do something, try-n-do it right" :thumbsup:
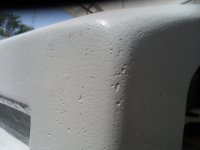
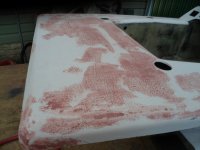
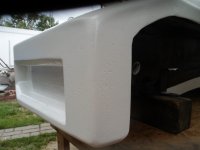
...& "this" is F'in' AWFUL o_O
SAM_8801 (1).JPG
So, I sanded the entire "F'in" thing down...again :huh:
...& then, started-a-fillin' holes
SAM_8803 (1).JPG
This rear deck area, was really bad...for some reason :unsure:
SAM_8804 (1).JPG
This is NOT the fun part :mad:
...but, had ta B done :cheers2:
SAM_8802 (1).JPG
Yea...well...explain that to "my arms" :confused:
 

Functional Artist

Well-known member
Messages
5,591
Reaction score
3,192
Location
Toledo, Ohio
In between sanding (reps)
...I cleaned up some small stuff & got 'em painted
SAM_8812 (1).JPG
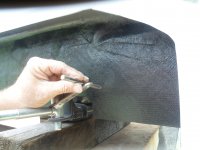
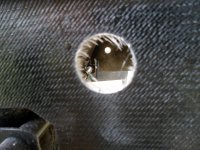
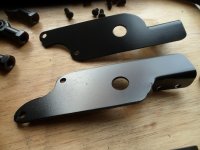
Also, marked a "spot", in line with the Spindle Arm, for a "pilot hole"
...for cuttin' the Tie Rod "ports"
...in the "nose" re-enforcement panels
SAM_8813 (1).JPG
Kinda like this :thumbsup:
SAM_8818 (1).JPG
After another "round" of sandin'
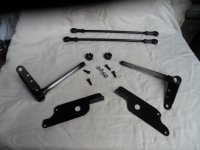
...I gathered the freshly painted parts
...ta start on assembly :2guns:
SAM_8823 (1).JPG
IMO this Satan Black paint really gives parts a "factory like" look :cool:
SAM_8824 (1).JPG
 

Functional Artist

Well-known member
Messages
5,591
Reaction score
3,192
Location
Toledo, Ohio
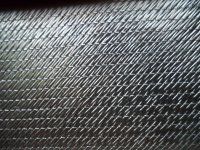
I really like the texture of this resined, cured & painted1708 Bi-Axial FG

Like the flat "panel" I made up
...that these "nose" re-enforcement panels are made outta

It looks really kool
...& isn't abrasive, to the touch :thumbsup:
SAM_8788 (1).JPG
Rounded up some kool "hardware" for the re-assembly :cool:
SAM_8825 (1).JPG
...& got (2) "fresh" coats of paint on 'er by darktime :banana:
SAM_8775 (1).JPG
Another view
SAM_8826 (1).JPG
Think it looks any better?? :unsure:

This pic is after the first time
SAM_8799 (1).JPG
This pic is after the second time
SAM_8828 (1).JPG
* There don't seem to be as many "spots"
...&/or they are not as deep, as they were

Ya know what? :idea2:
...I'ma gonna just call it...a work in progress :sifone:
 

Functional Artist

Well-known member
Messages
5,591
Reaction score
3,192
Location
Toledo, Ohio
Workin' on assemblin' sub-assemblies

* Notice the freshly painted parts are laying on a folded-up sheet
...ta help protect the finish durin' assembly

Spindle parts
SAM_8834 (1).JPG
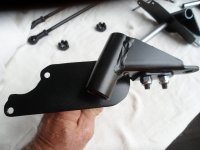
Caliper bracket mounted on the Spindle
SAM_8835 (1).JPG
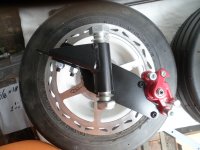
Spindle assembly mounted on the wheel
SAM_8840 (1).JPG
Then, there were (2)
SAM_8838 (1).JPG
 

Functional Artist

Well-known member
Messages
5,591
Reaction score
3,192
Location
Toledo, Ohio
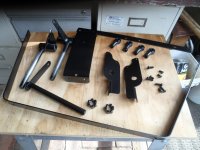
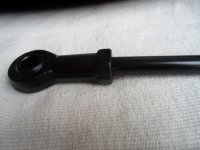
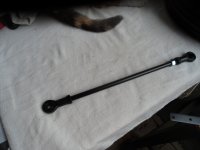
Tie Rod parts (& supervisor Ducky) :thumbsup:
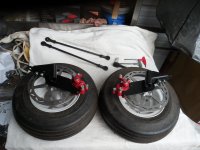
SAM_8842 (1).JPG
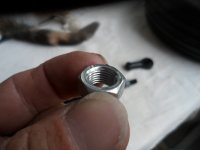
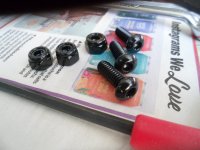
I got some fine threaded 3/8" nuts (ta use as "Lock" nuts or "Jam" nuts)
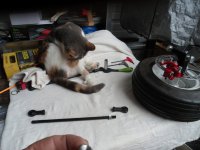
SAM_8843 (1).JPG
One Tie Rod End just gets threaded on, all of the way
SAM_8845 (1).JPG
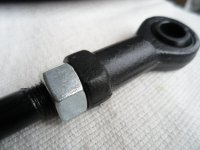
On the other end, of the Tie Rod
...the "Jam" nut threads on, right behind the Tie Rod End
&
Once the steering adjustment/settings are "made"
...just "synch" 'er up, to Tie Rod End
...ta "lock" 'er in place :cheers2:
SAM_8848 (1).JPG
Looks like this all assembled ;)
SAM_8844 (1).JPG
 

Functional Artist

Well-known member
Messages
5,591
Reaction score
3,192
Location
Toledo, Ohio
Workin' on mountin the front Axle
SAM_8850 (1).JPG
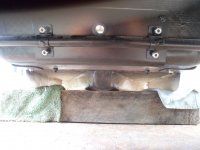
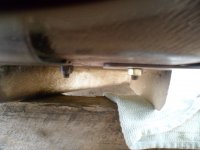
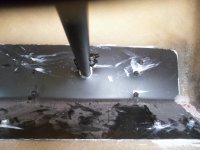
I wanted to keep the Button Head, bolt heads inside of the cockpit
...but, these nuts are/will be right in the Air Channel
...& may cause problems
SAM_8852 (1).JPG
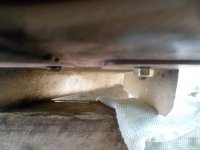
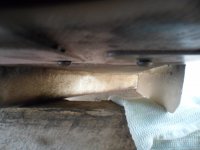
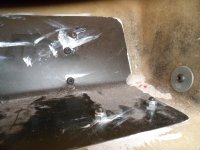
I tried flippin' one over
...& yup, that looks more aerodynamic
SAM_8854 (1).JPG
So, I flipped both of them (or actually all (4) of them)
SAM_8855 (1).JPG
 
Top