Functional Artist
Well-known member
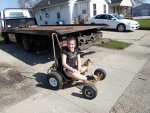
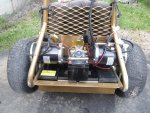
Had a small warm spell (like 52*)
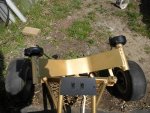
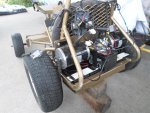
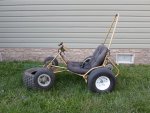
Got Arriba out for a quick spin around the neighborhood
Brought the GPS along to gather some speed data
to document how fast she is - currently
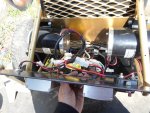
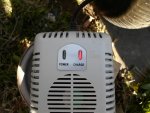
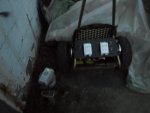
(with just the one 1,000W motor)
https://www.youtube.com/watch?v=jSJWEJJmJ9U
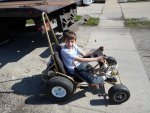
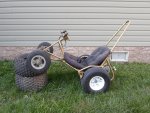
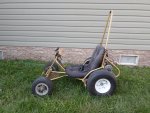
Got Arriba out for a quick spin around the neighborhood
Brought the GPS along to gather some speed data
to document how fast she is - currently
(with just the one 1,000W motor)
https://www.youtube.com/watch?v=jSJWEJJmJ9U