Functional Artist
Well-known member
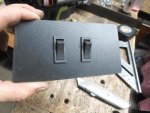
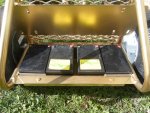
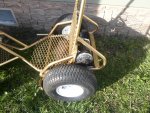
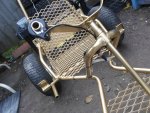
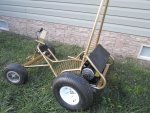
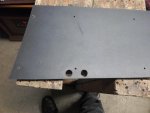
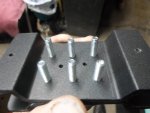
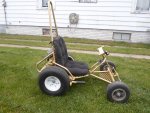
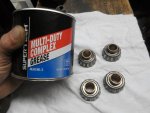
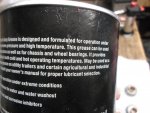
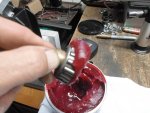
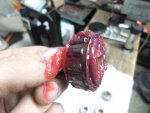
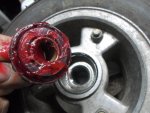
Lets grease 'em up & get 'em mounted 
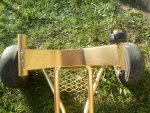
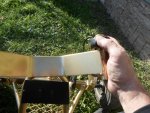
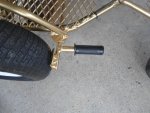
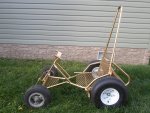
Used a board to aid in alignment
(don't want the fronts stickin' out further than the rears)
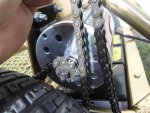
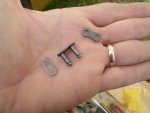
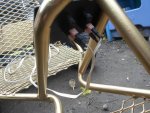
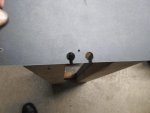
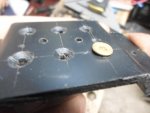
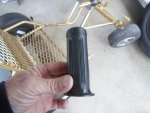
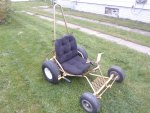
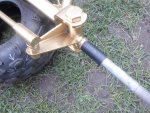
Well,
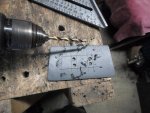
...were gonna need some spacers
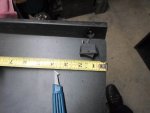
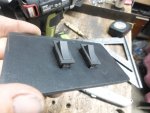
Hmmm
...looks to be ~1 3/4"
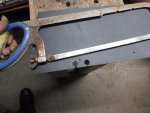
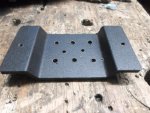
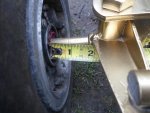
...round up some scrap pipe
...wack 'em off
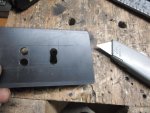
...clean 'em up
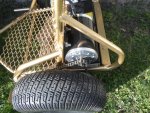
Yup, that'll work
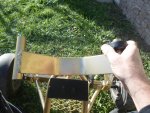
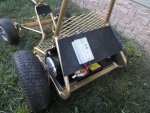
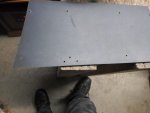
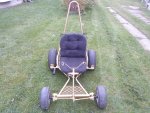
Used a board to aid in alignment
(don't want the fronts stickin' out further than the rears)
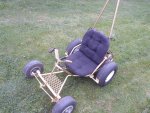
Well,
...were gonna need some spacers
Hmmm
...looks to be ~1 3/4"
...round up some scrap pipe
...wack 'em off
...clean 'em up
Yup, that'll work
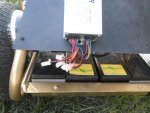
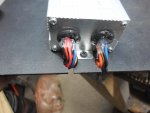
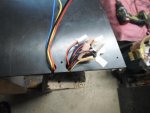
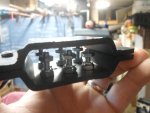
Attachments
-
 SAM_6564.jpg243.1 KB · Views: 2
 -
 SAM_6565.jpg291.9 KB · Views: 2
 -
 SAM_6566.jpg260.2 KB · Views: 2
 -
 SAM_6568.jpg206.2 KB · Views: 2
 -
 SAM_6570.jpg244.9 KB · Views: 2
 -
 SAM_6591.jpg464.6 KB · Views: 6
 -
 SAM_6589.jpg416.6 KB · Views: 4
 -
 SAM_6584.jpg430 KB · Views: 2
 -
 SAM_6581.jpg243.4 KB · Views: 2
 -
 SAM_6577.jpg425.3 KB · Views: 2