Kartorbust
Inmate #627
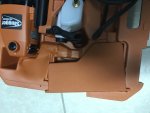
Here's a decent guide to compare the spark plug. Appears to be a bit rich.


Here's a decent guide to compare the spark plug. Appears to be a bit rich.

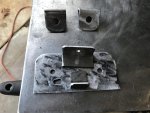
This condition was omitted.


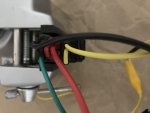


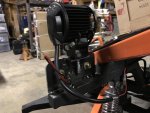
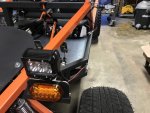


I'm interested in a more in-depth how to on how you are doing the signals. Are you also going to do brake lights too?
Yeah I've been pretty cold here in Lincoln, NE. I'd recommend getting a couple 20lb or larger LP gas (propane) bottle and get a Mr. Heater sun flower type like this https://www.fleetfarm.com/detail/mr...iYsQj-v5lu_OqGiVn-q1e_g9YKcmaJkIaAiRyEALw_wcB
Used one at my dad's in Minnesota in his 2 car garage. Wasn't terrible, still was cold because the garage wasn't fully insulated.
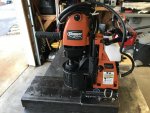

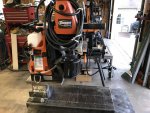
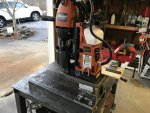

How about grabbing a cheaper drill press then get an x/y vise for the table?