chancer
ɔ ɥ ɐ u ɔ ǝ ɹ
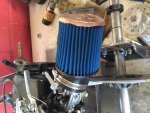
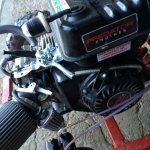
I did, Also the Exhaust and Carb are open. So it is not a compression issue.

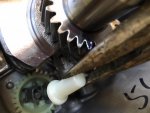


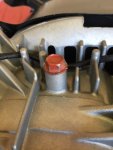

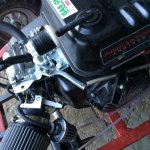


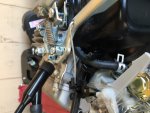
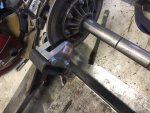
So I hooked up the throttle. but the "throw" is very short. By pulling the cable just like 1/2" I can go from closed to WFO.
Do you guy think this will be an issue.
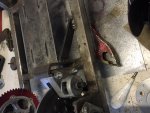
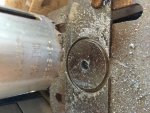
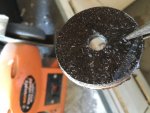
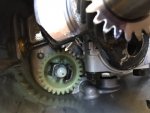
Also check out how I did the return spring. I think its kinda cool, that was just a spring I had and it fit there real nice.
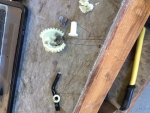
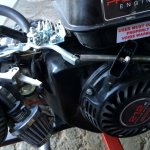
Other things " I just had" Someone dumped most of a Roto tiller -engine next to my work a few months back. I "acquired" the throttle cable off of it, and it is gonna be perfect for this build!