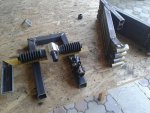
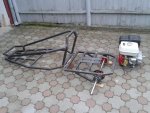
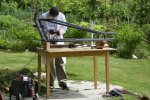
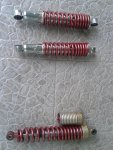
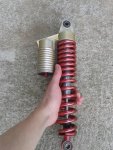
Almost all the parts are here. I would like to thank my friend Mihai, who delivered the brand new 8.5 inch steering rack from the US
")
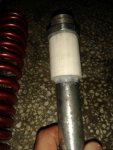
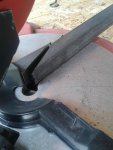
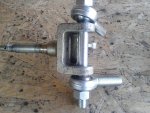
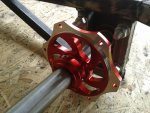
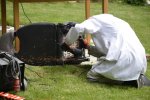
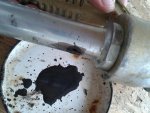
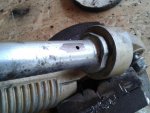
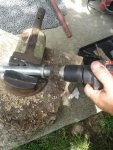
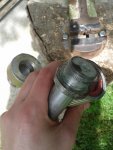
Other parts include a second hand hydraulic brake system (pump, caliper, disc, hydraulic line), steering rods, U-joint, heim joints. Of course, almost none of them are a good fit: imperial vs metric units, motorcycle disc with kart hub, so on
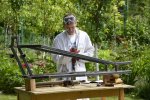
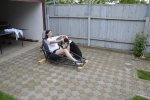
My impression is the progress kind of slows down when you near the finish.
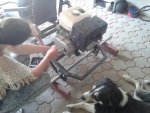
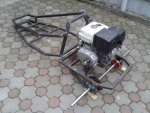
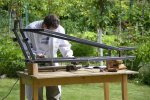
Next is the front end, so hopefully I can see this thing rolling within a month (if I can get a couple of rear hubs)
Cheers!

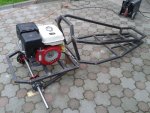
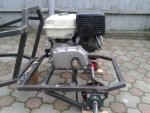
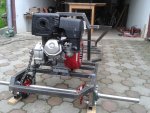


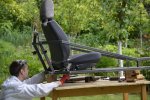
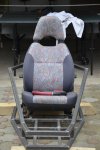

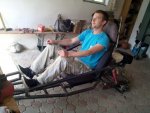
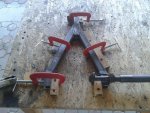
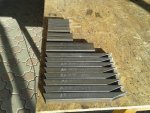
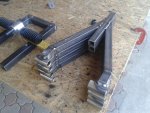
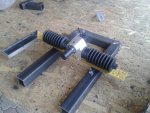
 I'm very pleased with it so far. At this stage, there are little things which take alot of time. For example: making brackets out of angle iron, and many others.
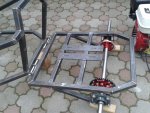