Polaris

Functional Artist

Well-known member
Messages
5,654
Reaction score
3,293
Location
Toledo, Ohio
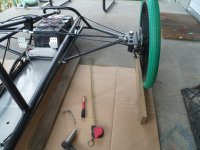
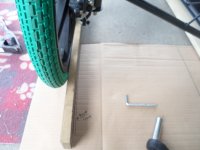
After lowering the rear wheel ~2"
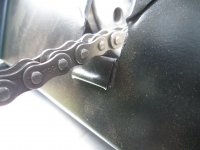
...now we have some chain clearance issues :huh:
SAM_0859.JPG
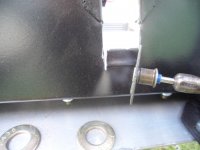
So, I did a little surgery with the Dremel
SAM_0860.JPG
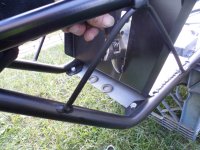
Then, used my "Fender Bender" ta bend(er) the fender ;)
SAM_0861.JPG
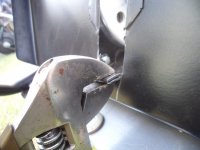
Had ta use the Metric side (as the fender is Metric) :p
SAM_0862.JPG
Yup, that looks better :thumbsup:
SAM_0866.JPG
 

Denny

Canned Monster
Messages
11,972
Reaction score
8,479
Location
Mayberry, Indiana
Hey Denny,
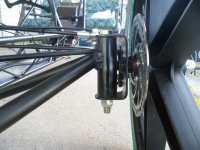
Are you referring to the rear wheel adapters?

Their purpose is to raise the rear of chassis ~2"

Before the GC was only ~1 1/2" :huh:
...& now we have ~3 1/2" :wai:
But you’re still avoiding the question. Sit in the kart and have someone shake it from side to side and see how much it flexes. It may even screw with chain alignment?
 

Functional Artist

Well-known member
Messages
5,654
Reaction score
3,293
Location
Toledo, Ohio
Ta even the chassis out, after raising the rear, I set 'er up nice-n-level :thumbsup:
SAM_0870.JPG
Gotta drop them front wheels quite a bit
SAM_0871.JPG
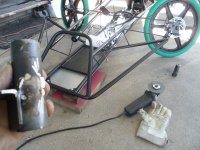
Did some dis-assembly
SAM_0874.JPG
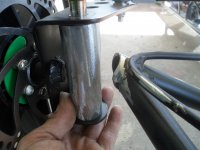
Then, worked on chopping the "Boss Tubes" off
SAM_0875.JPG
Cleaned 'em up "like it never even happened" :sifone:
SAM_0877 (1).JPG
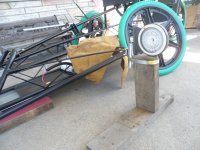
Then, I had ta find a "Spindle Tube Setter" (I've heard of 'em but, never seen one) :devil2::innocent:
SAM_0881 (1).JPG
 

Functional Artist

Well-known member
Messages
5,654
Reaction score
3,293
Location
Toledo, Ohio
But you’re still avoiding the question. Sit in the kart and have someone shake it from side to side and see how much it flexes. It may even screw with chain alignment?
Hey Denny,
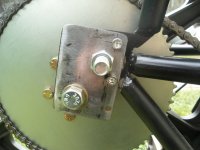
When designing & contemplating how to raise the chassis I also wondered/thought about potentially increased flexing, back there
...& so, I made the adapters outta 3/16" steel instead of 1/8"
...& will also use a couple of probably ~5/16" nuts & bolts (above & below the 1/2" attachment bolt) to help secure & stiffen the junction

* This will also help alleviate another concern that I have about the rear wheel potentially coming loose (&/or possibly off) :thumbsup:

The chain should stop the rear wheel from actually coming off of the vehicle
...but, "if" the wheel became loose, the chain could "pop off" & "bind up" the rear wheel, causing a loss of control
...or the chain could actually break & the wheel could actually come off

BUT, NOT NO MORE :banana:

Yup, I tried the "shake" test, in the rear (& in the front too) :cheers2:
...& the plastic wheels & tires seem to be doin' all of the flexin' ;)
 

Functional Artist

Well-known member
Messages
5,654
Reaction score
3,293
Location
Toledo, Ohio
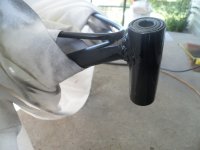
I used the Spindle Setter to re-installed the Boss Tubes
...so, the chassis would sit (hopefully) ~1 1/2" higher, in the front

While I was at it, I re-set the Castor to ~10*
...but, reduced the Camber to ~5* (because, the wheels seemed ta "lean" too much & I didn't like it) :huh:

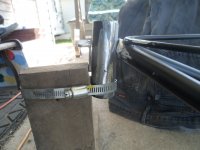
The Worm drive clamp is used to "hold" the Castor, after it's manually set :thumbsup:
...& the patented "L" bracket, is used for precisely setting the Camber ;)
SAM_0885.JPG
I think "we got this" :2guns:
...so, I went ahead & welded the Boss Tubes on good-n-solid
...& even sealed 'em up too
SAM_0888.JPG
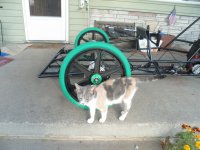
Surprise inspection :eek:
SAM_0889.JPG
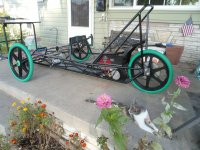
Re-assembled
SAM_0894 (1).JPG
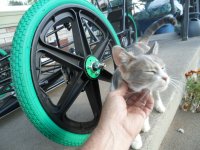
Schmoosin' the inspector :sifone:
SAM_0890.JPG
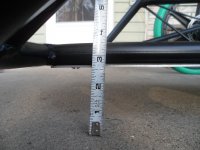
The front now sits at ~2 1/2"
SAM_0892.JPG
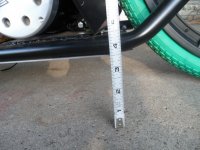
...& the rear is up to ~3 1/2" :wai:
SAM_0896.JPG
 

Functional Artist

Well-known member
Messages
5,654
Reaction score
3,293
Location
Toledo, Ohio
Cool! I just didn’t want to hear you watched from the sidelines because the back of the frame broke or twisted. By the way weld is lighter than bolts. Just sayin. :smartass:
Hey Denny,
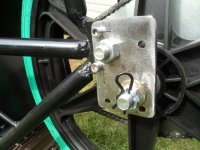
I made up another set of adapters (V2) that don't use a slot for mounting the wheel
...so, we can't weld the adapter brackets on, as they are still used for chain adjustment
...it now works by "cam" action, instead of a slide mechanism :thumbsup:

Somehow, I didn't take any pics of V2 :huh:
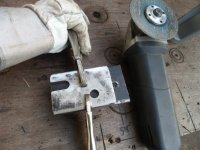
...but, here is a pic, of using V1 as a template, ta make V2
SAM_0867.JPG
This helped tremendously with alignment :wai:

Because having (2) adjustment slots horizontally
...& also, (2) adjustment slots vertically, was a total nightmare :furious2::mad2:
 

Functional Artist

Well-known member
Messages
5,654
Reaction score
3,293
Location
Toledo, Ohio
Surprised you didn’t take it for a spin?
Hey Denny,
So, far I've only had a chance to do a rough alignment in the front (front wheel to front wheel)

I need to align the (3) wheels, all together, with each other
...then, try-n-fine tune the front wheel alignment, a bit :thumbsup:

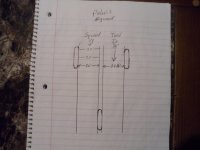
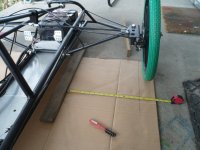
To get 'er aligned, I'm wasa thinkin' maybe something about like this ;)
SAM_0945.JPG
So, I established a couple of straight lines (down each side of the rear wheel) first
SAM_0924.JPG
Then, squared the front wheels, with those lines (established by the rear wheels)
...& then, "Toed" the wheel inwards ~1/8" 🤓
SAM_0927.JPG
I did the other side too :p
SAM_0929.JPG
Yup, made another video (update) too :sifone:

* I did a "wiggle test" for ya
...& then, ran across a self-inflicted throttle issue :eek:
 

Functional Artist

Well-known member
Messages
5,654
Reaction score
3,293
Location
Toledo, Ohio
Outstanding! No smoke, no fire, no self detaching parts!
looks great! Everything working within design parameters?
Hey T,
Thank you, sir! :cheers2:

Yup, it seemed to perform pretty much as anticipated
...we came back with all of the parts that we left with :cornut:
...& everything seemed to operate within their specified parameters :thumbsup:

Yay! It moves! Sounds a little bangy and the suspension seems stiff but ok!
One question. If you do a burnout with the green tires does it leave a green mark? Make green smoke?
Hey Denny,
Thank you, sir!

I think them bangy sounds, were coming from that 50 lb. chunk of lead "battery pack"
...that was only "strapped in" with a ratchet strap

Um...there isn't any suspension
...so, yup the ride is kinda ridged :ack2:

It's not geared ta do "burn outs"
...so, no green marks :ROFLMAO:
...or smoke :eek:
Maybe l missed it, when is the big event?

or maybe l forgot, naw probably just missed it….
Well, the Electrathon America program is geared toward student teams (High School &/or Colledge)
...& they usually design, build & work on a car, throughout the school year
...& then, test & race them at the end of the school year (usually sometime around April, May or June)

From what I've learned, they have been doing this for years (like over 20 years)
...but, I only just found out about it around (2) months ago

* I love designing & building things
...& this program seems so kool
...& "right up my alley"
...so, I "jumped in" took a self-inflicted "crash course" in the Electrathon America Rule Book
...& started building a racer :auto:

There's a lot more testing of this kart
...& analyzing of data, to do
...& we haven't even got to the Lithium battery pack yet ;)
 
Top