Doc Sprocket
*********
Very nice! I'm sure you will enjoy the heck out of it. Mine oughta be in my grubby little hands in 1-2 weeks. I'm STOKED!

Very nice! I'm sure you will enjoy the heck out of it. Mine oughta be in my grubby little hands in 1-2 weeks. I'm STOKED!
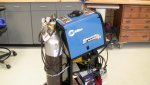
I'm curious if you got your welder yet, and how it's working out for ya?
Absolutely freaking dynamite! I am in love! Problem is, I've been working a lot of overtime lately, and haven't put much time on it at all. So far, I've done a couple of test zaps, and built a header for my clone- simply welding a pipe to a flange. I really want to play!
Regarding your ATV/Bike engine question-
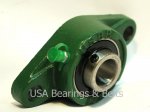
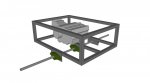
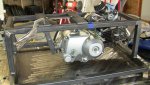
You can simply make up a spring loaded (or manual if you like) chain tensioner, and not have to worry about adjustable engine mounts.
Is it just a single speed engine? Does it have a TC?
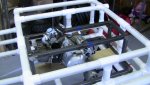
looks good
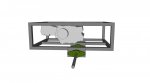
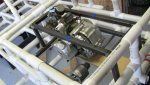
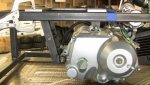
Well, sort of. The motor is an automatic. Forward, Neutral, Reverse.
I will use it now because I really don't want to spend too much more money on the project.
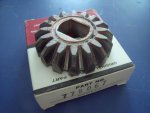
I see. Well, HERE is a DIY 2 speed gearbox that might work out for you if you decide to.
I would like to build one one of these days.