Whiskey Tango Chopper

Hellion

Moderator
Messages
8,851
Reaction score
3,859
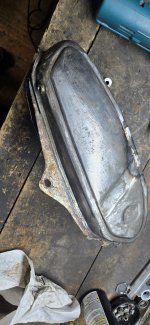
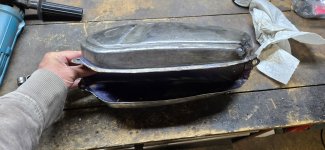
Kudos to your Dad for welding up the tank. I feared it was heading to the rubbish bin. This whole project highlights what you can do to resurrect "garbage" that frankly way too many people wouldn't even bother with. The photos are top notch as well and shows, just as well as words, what can be done with a little effort. It takes away the mystery. 💚

....Just don’t forgit to get the correct brand belt for the 30.
COMET COMET COMET COMET COMET COMET COMET!!!!!!!!!!!!!!!!!!!!!!!!!!!!

You know, if you just put that infernal, eternal message into your signature, it would save you a lot of typing. 😏
 

Denny

Canned Monster
Messages
11,828
Reaction score
8,287
Location
Mayberry, Indiana
Kudos to your Dad for welding up the tank. I feared it was heading to the rubbish bin. This whole project highlights what you can do to resurrect "garbage" that frankly way too many people wouldn't even bother with. The photos are top notch as well and shows, just as well as words, what can be done with a little effort. It takes away the mystery. 💚


You know, if you just put that infernal, eternal message into your signature, it would save you a lot of typing. 😏
Nobody pays attention to me anyways.
 

Whitetrashrocker

Inmate #952016
Messages
4,873
Reaction score
4,127
Location
Southern New Mexico
Lets dump some more photos.

Since I got this 212 its been start over.
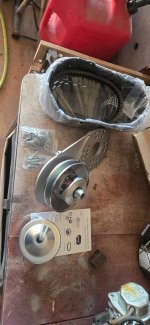
Got a new CVT.

20251215_162539.jpg

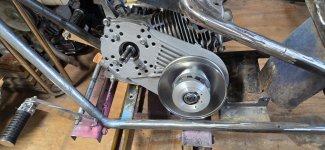
Bolted to the engine, and let's see if it fits now.

Nope.

20251215_180239.jpg

20251215_180252.jpg

20251215_180301.jpg

Notice the hovering engine?
Well...
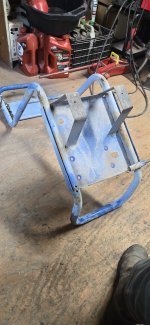
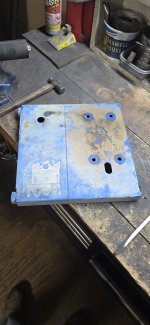
Guess I need a mounting plate.
Hey look theres one right there, on the pressure washer frame.

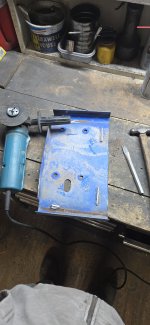
Lets make some little pieces out of big ones.

20251215_174248.jpg

Im just as surprised as you are buddy!

20251215_181507.jpg

20251215_182332.jpg

I might be able to work with this now.

20251215_183922.jpg
 

Whitetrashrocker

Inmate #952016
Messages
4,873
Reaction score
4,127
Location
Southern New Mexico
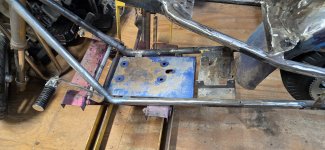
After a few hours of this monkey fiddling around with this football....

I decided the plate wasn't gonna work at all. So it all went back to the scrap pile.

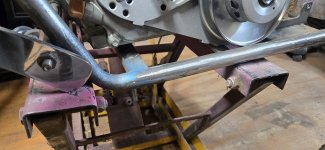
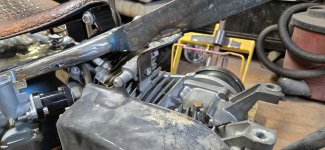
Raising the engine any significant amount just ran into the upper frame. Tilt was the best option so far. I marked what I thought would be enough clearance and cut the frame a tad.

20251216_180831.jpg

Then the rear mount was too low so it got cut out.

20251216_172425.jpg

And welded on top.

20251218_183016.jpg

That got the tilt just right.

I had a bright idea to use the rubber mounts as risers. Ya know, for that extra smooth ride.

20251218_183034.jpg

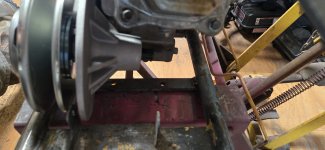
Just enough room for the belt.

20251216_183047.jpg

Well almost enough room.
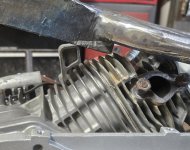
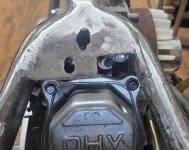
The plug was now inaccessible under the seat mount gusset.

I hacked a piece out quickly and will pretty it all up later.

20251218_192245.jpg

Making progress here.
 

Whitetrashrocker

Inmate #952016
Messages
4,873
Reaction score
4,127
Location
Southern New Mexico
Now I think things through.

I soon found that this tight clearance, and those rubber mounts don't mix. Since they are double ended studs, I didn't have enough room to lift the block and clear the mounts. I basically painted my self in the corner. A permanent located engine.

Back to the drawing board.

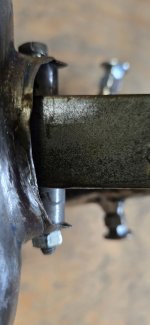
Hey look. I found a piece of square tube that just happenes to be close to the rubber mounts.
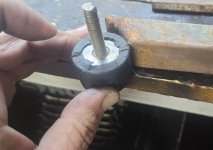
20251218_183057.jpg

With my calibrated eyecrometer, and a few other power tools, I had some risers.
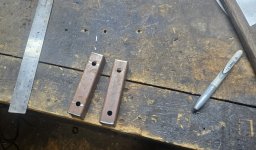
20251218_185045.jpg

Risers installed.

20251218_192226.jpg

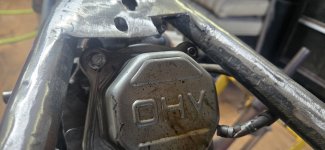
Lets run some clearance checks again.

The valve cover will squeek out of there if needed.
20251218_192241.jpg

The back plate clears.

20251218_192249.jpg

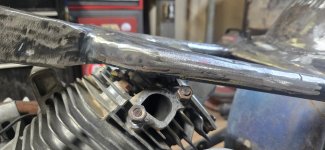
The exhaust will make it.
You can see the frame notched there.
20251218_192259.jpg

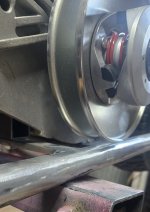
The pullys clear and I can remove them with out hitting.
20251218_192406.jpg
 

Whitetrashrocker

Inmate #952016
Messages
4,873
Reaction score
4,127
Location
Southern New Mexico
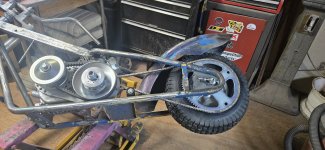
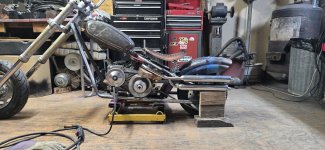
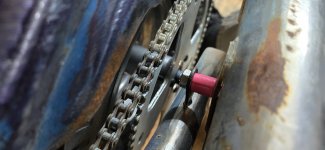
Put the chain on and get it aligned.
Assembled the CVT.

Feeling accomplished.

20251220_203407.jpg

Then Murphy has to come kick me in the nuts.

20251220_203451.jpg

Here we go again.
Side project number 20?

Make some reference marks.

20251220_203705.jpg

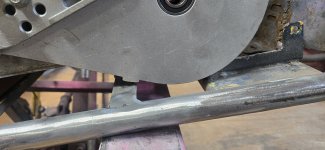
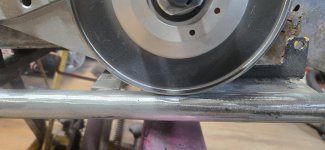
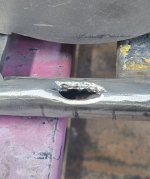
I started with the grinder and soon ran out of material. This tube is thin!

I used my little pecker and rolled the tube inwards.

20251220_205856.jpg

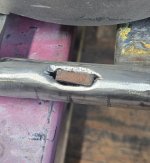
Picked up a cut from the floor to fill the hole and act as a heat sink.

20251220_210222.jpg

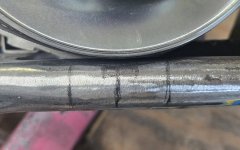
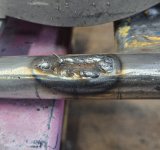
Tried hard not to blow out the tube while filling the gaps.

20251220_210622.jpg

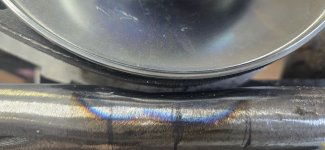
Ground it smooth.
We have clearance Clarence.

20251220_211528.jpg
 
Last edited:

Whitetrashrocker

Inmate #952016
Messages
4,873
Reaction score
4,127
Location
Southern New Mexico
While one of my brain cells was working on the Go part, the other one was thinking about Stopping.
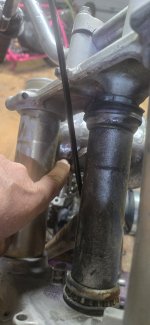
The sproter idea was nice but I have to be able to tension the chain.
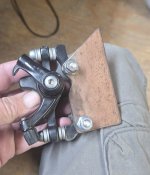
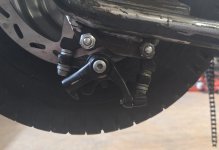
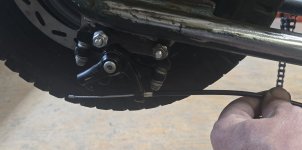
The location between the frame was slick and tucked in but I couldn't easily make the caliper slide with the wheel.

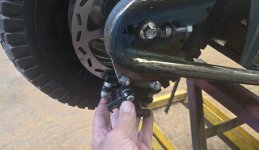
Once my 2 brain cells met back up and had a beer, we decide that the best place will be on the bottom. This way the disc can slide in the caliper and the caliper can get hard mounted.

Making little pieces out of big ones again.

20251220_181429.jpg

Then deciding where the best location is.
Here looks about right.

20251220_181504.jpg

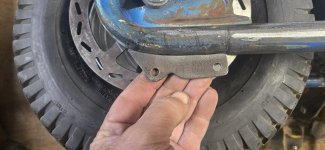
Some trimming.
20251220_184852.jpg

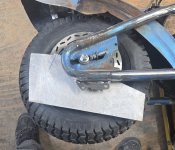
Some welding.
i remembered the splatter shield this time.
20251220_192603.jpg

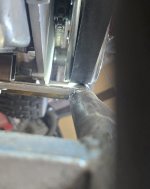
This is the wheel all the way back.
The contact area gets better as the wheel moves foward in the adjustment slot.

20251220_193642.jpg

The cable pulls from the right direction too.

20251220_194110.jpg
 

Whitetrashrocker

Inmate #952016
Messages
4,873
Reaction score
4,127
Location
Southern New Mexico
Moving onwards.
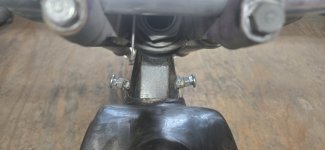
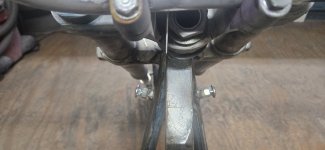
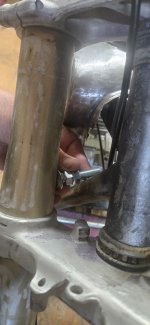
I noticed that these forks hit the tank at full tilt.
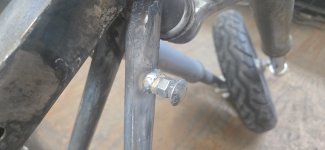
Gotta make some bump stops.

20251224_191127.jpg

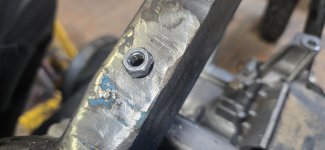
Looked around the shop and found some tube. Cut a piece and held it up. Didn't like it.
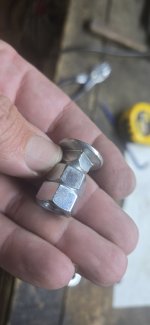
Dug around some more and found some lag bolts. That looks better.
A few nuts might make this adjustable.

20251224_191156.jpg

Trimmed the bolt down.
And bobs your auntie.

20251224_191906.jpg

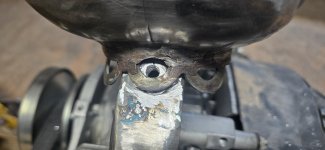
Some metal glueing and it looks like this.

20251224_194207.jpg

I really should consult both brain cells and uncross my eyes before I make rash decisions like burning them in fully.

20251224_194809.jpg

Cut and paste part 2.

20251224_200217.jpg

Stay tuned the 3 of us need a break.
 

Whitetrashrocker

Inmate #952016
Messages
4,873
Reaction score
4,127
Location
Southern New Mexico
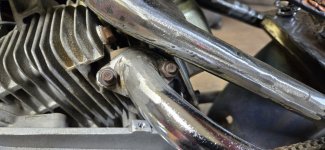
On to the next step. Lets get this exhaust back on.

After a few position changes I think this will be the best.

20251222_193824.jpg

Chopped off the flange and changed the angle of the dangle.

20251227_194313.jpg

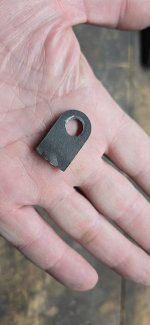
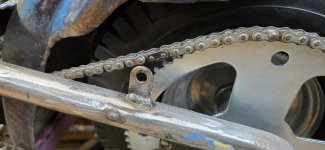
Now to hold the other side.
I save any tab i cut off just for this reason.

20251227_194727.jpg

Some more metal glue.

20251227_201204.jpg

And a spacer donation left over from piglet.

20251227_195326.jpg
 

Whitetrashrocker

Inmate #952016
Messages
4,873
Reaction score
4,127
Location
Southern New Mexico
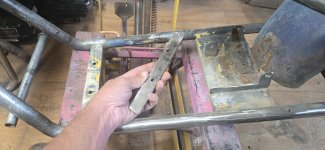
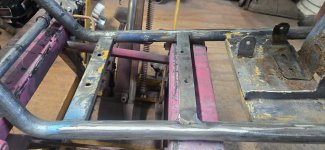
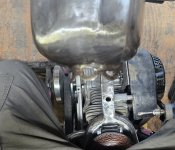
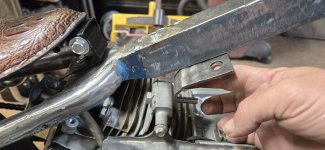
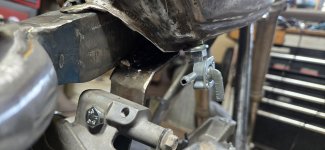
There is no seat post or any bracing in the middle of this frame. Just one giant diamond shape.
So i go digging in the scrap pile i find a nice chunk of angle iron.

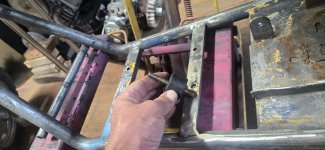
There's also a mount on the engine block that used to hold the fuel tank.

20251227_205653.jpg

20251227_211749.jpg

Its a tad off set, but it hides under the tank well.

20251227_212145.jpg

Now the engine is a stress member of the frame. Hope that tab isn't in the way when I remove the engine again.
 

Grizzlymi

Wolverine
Messages
1,282
Reaction score
1,039
Location
Michigan
I always look forward to your detailed updates and photos to boot!! Awesome work man! Pulling something from a scrap heap, and making it great again with mostly scrap around shop is amazing. Great work brotha!
 
Top