Kentucky Boy
Member
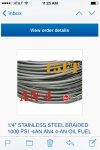
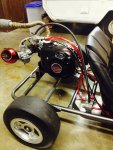
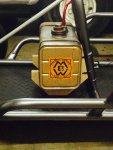
Nice plumbing work...the oil drain is orange the fuel is red ... Are you a plumber ?


PS.... Photo shop in the 2017 cookies sign ... And enter the build off..As of now you have my vote...
---------- Post added at 08:57 PM ---------- Previous post was at 08:55 PM ----------
We love our 4" 10,000 rpm erasers...

Yeh when I ordered the oil drain tube the pic of it was black and they sent an orange one

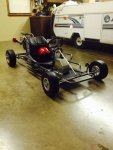
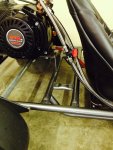
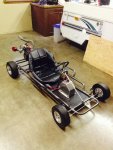
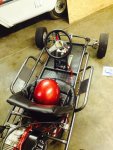
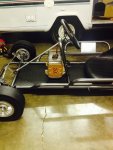
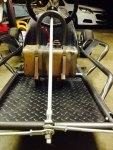
Here is a pic of the final seat position. It lowers me by 3 inches. I'll put the old seat on my lawnmower. Just need to weld the braces onto the bottom rail of the frame then sand and touch up the paint.
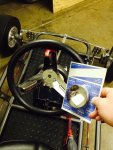
The disassembly underway to weld the new seat brackets on.
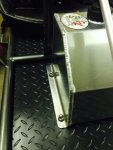
Wasn't to bad of a job. Here are the new seat brackets welded on with a 90a welder.
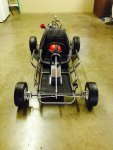
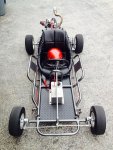
And here is the back bracket with the seat mounted.
My rear end is only a couple inches above the pavement now.
The new seat looks awesome! My next project will be to make a steel splatter shield to mount in between my seat and the motor just for some piece of mind to protect me in case of a motor failure and debris should it ever blow up.
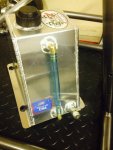
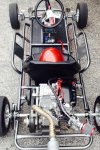
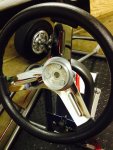
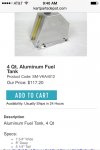
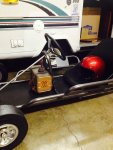
I've been trying to design a new way to mount my tank to the steering support. This is rough cut. Gonna do some cool stuff to it.
Here it is with the tank in it.
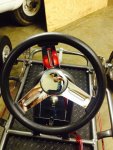
Another view. Still have some more work to do to it. Gonna involve some more cuts, stain, seal and some leather belts to hold the tank on. Should look awesome.
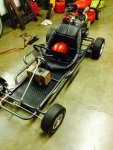
One more because everybody likes pics.
Attachments
-
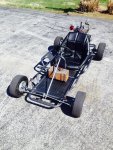 image.jpg688.7 KB · Views: 27
 -
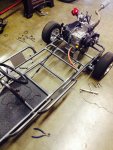 image.jpg412.9 KB · Views: 15
 -
 image.jpg382.3 KB · Views: 24
 -
 image.jpg541.2 KB · Views: 14
 -
 image.jpg593.7 KB · Views: 15
 -
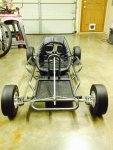 image.jpg337.7 KB · Views: 15
 -
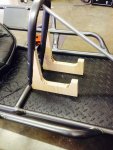 image.jpg363.8 KB · Views: 9
 -
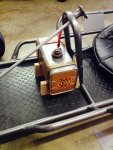 image.jpg387.6 KB · Views: 18
 -
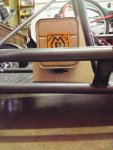 image.jpg363.5 KB · Views: 10
 -
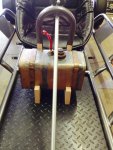 image.jpg363.1 KB · Views: 16
Last edited by a moderator:


 Great work by the way.