machinist@large
Active member
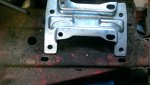
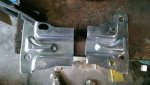
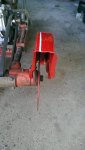
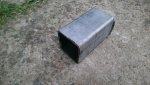
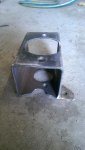
About 2 weeks ago, I noticed all the "nylon" bushes holding the engine plate to the frame of the mower were all but gone, only one survived almost intact...
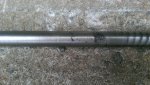
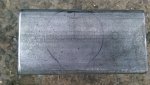
I started investigating & found that the cheapest I could replace them was over $40 (cheapest in AU was $4.85 each plus postage & I need 7 of them); I found a place that sells polyurethane rods for around $30 so, I ordered one then set to work on the lathe to carve out the desired size & shape; one tool (parting blade) did the lot in a lottle over an hour...
Polyurethane comes in different densities, which can seriously affect the lifespan of the part in a given application. And without a durometer, comparing type's can be a
 .
.Since you said it takes 7 of them, I'm guessing that the load is pretty well distributed. The only concern I have is from the appearance of the shavings you wound up with. That suggests that they sold you a pretty soft grade. If it compresses the same as the original using a pair of plier's you'll most likely be good to go. Just keep an eye on them.
If you need to machine polyurethane (or any grade of soft plastic), the colder you can chill it, the better. The freezer is a good start, a cooler full of dry ice is better. My personal favorite is liquid nitrogen; now you have something that machines like aluminum until it starts to thaw out.
The downside is you have to have the protective gear and the experience working with the stuff. Liquid nitrogen is not something to play with.....

Hmmmmm.....does that mean it took somewhere between a little and a lot?
Your ADHD is showing again Doug.......

")
![IMAG0692[1].jpg](/community/data/attachments/57/57008-b408909262a3a9efbc5d3d1c99700da6.jpg)
![IMAG0693[1].jpg](/community/data/attachments/57/57009-78554b54e04fd636f7aef4a3d2053e9a.jpg)
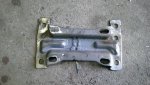
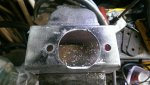
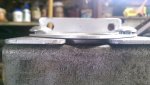
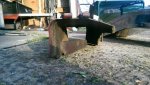
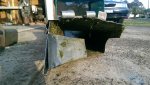
 the grass is still collecting in the red area in pic 3...
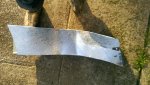


![IMAG0719[1].jpg](/community/data/attachments/57/57253-4f04af18734884d28ee26ee27cc3a786.jpg)