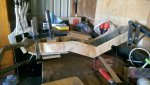
Painting this thing has become a nightmare!
Although it’s made of wood, I didn’t want any grain marks showing through the paint so, after sanding everything as smooth as possible, I laid two coats of primer/filler, wet sanded, then repeated the process before laying three coats of black, then two coats of clear. There were one or two areas where the grain was showing but, otherwise, it was perfect… then the new LEDs arrived…
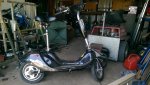
See, this scooter is road legal as it has a working brake light, head light, indicators & even a horn…
I didn’t want to simply screw the lights to the body, that would be too easy so, after taking precautions against causing damage, I set to work frenching the three lights… which, by now you’ve guessed, didn’t end well; I left chips in the paint & even took a chunk out of one spot…
STRIKE ONE…
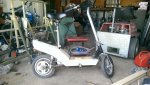
After making the necessary repairs to the damaged areas, I masked off the majority of the body so as not to end up with primer overspray covering the entire piece, then laid two coats of primer/filler, removed the masking & wet sanded the whole thing before laying two fresh coats of colour to the repaired areas, a full colour coat to the whole piece & finished with a further two coats of clear before leaving it to dry overnight…
Just a quick count:
2 coats of primer/filler
another 2 coats of primer/filler
3 coats of colour
2 coats of clear
wet rub
another coat of colour &, finally,
2 more clear coats…
So, on the majority of the piece, there were a
dozen layers of paint…
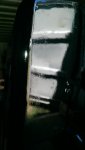
The next morning, I went to inspect my work & the first thing I noticed was tape marks down each side of the top surface…
under the fresh clear

 STRIKE TWO!
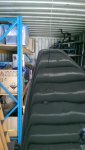
Now it’s
literally back to the drawing board for a third attempt…


")
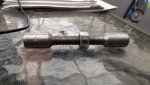
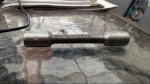
 I put it in my xray machine and can verify its one piece.