Diamonite Electrathon America Racer

Functional Artist

Well-known member
Messages
5,345
Reaction score
2,830
Location
Toledo, Ohio
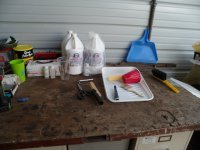
It was a beautiful holiday morning
...so, work should be slow
...& I'ma ready ta do some fiberglassin'
SAM_7151 (1).JPG
Then, my brother showed up
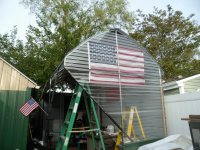
...& said, "I'm here to help you "put the roof on" your shelter area :thumbsup:

Um...so...well...we went ahead & "put the roof on" :p

Thanks bro:cheers2:

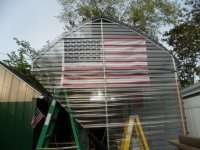
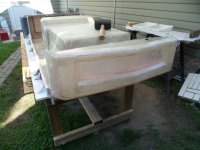
* Installed some translucent front panels too
...ta keep rain & snow out
...but, ta still let some light in ;)
SAM_7149 (1).JPG
Inside view

Installed some translucent
...& on the roof too (for same reason) (y)
SAM_7150 (1).JPG
** Also, got my new ('ol glory) flag up too :wai:
SAM_7160 (1).JPG
*** Now my flag will be better protected from the "elements" (wind & rain)
...& still showin' my pride in & representin' for our great country/nation :bannana::sifone:

Another view
SAM_7161 (1).JPG
 

Functional Artist

Well-known member
Messages
5,345
Reaction score
2,830
Location
Toledo, Ohio
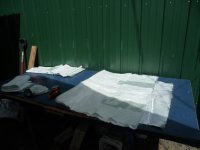
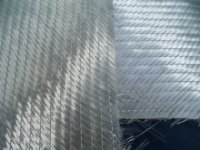
Did have a bit of time, in the evening, ta cut the FG (1708) for the 3rd layer ;)
SAM_7153 (2).JPG
Cuttin' this layer in an opposing orientation/direction 🤓
SAM_7155 (2).JPG
Clos(er) up view
SAM_7154 (2).JPG
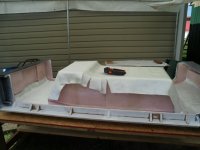
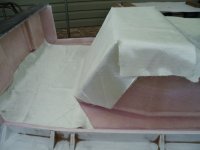
Then, layed 'er on the mold, ta do some notchin-n-fittin'
SAM_7156 (2).JPG
Should be able ta get 'er ta "wrap-n-lay" pretty goodly, in the back
SAM_7157 (1).JPG
...& up in the front too :thumbsup:
SAM_7158 (1).JPG
 

Functional Artist

Well-known member
Messages
5,345
Reaction score
2,830
Location
Toledo, Ohio
Upon re-contemplation, I went back & pre-fitted-n-notched the FG I cut, for the 2nd layer of FG
...just like I did for the FG I cut for the 3rd layer ;)
SAM_7163 (1).JPG
Re-cap this layer #1
SAM_7162 (1).JPG
Layer #2
* Took ~1 1/2 hours ta do
...& I used (4) 16 oz cups (or ~64 oz. of resin) :thumbsup:
SAM_7165 (1).JPG
 

Functional Artist

Well-known member
Messages
5,345
Reaction score
2,830
Location
Toledo, Ohio
Layer #3 "ready for duty" :thumbsup:
SAM_7170 (1).JPG
* Notice I added a custom/unique "watermark" :sifone:
SAM_7171 (1).JPG
This is a really big piece
...so, I pre-fit & aligned it ;)
SAM_7172 (1).JPG
Made sure it was pretty well aligned, from side-ta-side too
SAM_7174 (1).JPG
Ta help keep 'er aligned
...I flipped (1) end up
...& then, started "laminatin' 'er down :)
SAM_7175 (2).JPG
BAM!
3rd layer...done :2guns:
SAM_7176 (2).JPG
 

Functional Artist

Well-known member
Messages
5,345
Reaction score
2,830
Location
Toledo, Ohio
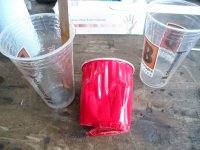
Those plastic cups will get soft too I’ll bet?
Hey Denny,

Whilst I wasa doin' these last (2) layers
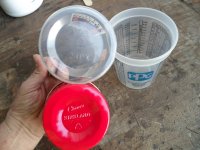
...I did a scentifical test, betwixt the red plastic cup & the clear kind, for ya :thumbsup:
SAM_7180 (1).JPG
I used the clear cup (on the left) to mix up all (4) batches, for layer #2 (held up fine)
...& the clear cup on the right for (3) of the batches that I mixed up for layer #3 (also, held up fine)
...& only used the red cup for (1) batch (FAILED) :ack2:

Fun fact:
I kinda cheated :innocent::devil2:
...& checked the "specs" (recycle number) on the bottom of the cups 🤓
SAM_7224 (2).JPG
The red cup has a #4
...& the clear cups have a #5 on them
...indicating that they are made outta different materials

I still wasn't sure if the clear cups would "hold up" any better
...I just knew the number(s) were different :cheers2:
 

Functional Artist

Well-known member
Messages
5,345
Reaction score
2,830
Location
Toledo, Ohio
Well...let's see...:p

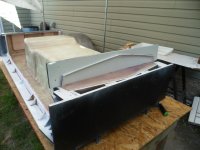
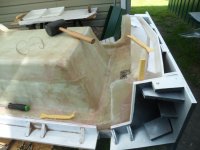
First, we "pop" this thing off
SAM_7182 (1).JPG
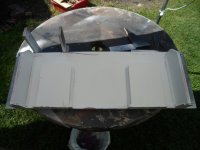
Yes, it's the "nose" lid :thumbsup:
SAM_7183 (1).JPG
Seemed ta come off pretty clean
SAM_7184 (1).JPG
Then, went ta pickin'-proddin' & a pryin' around the edges
SAM_7185 (1).JPG
Some snapin'-n-cracklein'-n-popin
SAM_7186 (1).JPG
...& we got 'er off :2guns:
SAM_7187 (1).JPG
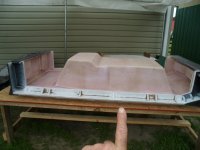
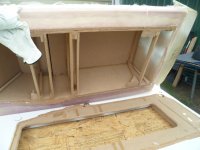
Wow! that turned out, pretty kool! :sifone:
SAM_7189 (2).JPG
 

Functional Artist

Well-known member
Messages
5,345
Reaction score
2,830
Location
Toledo, Ohio
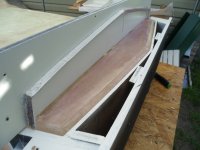
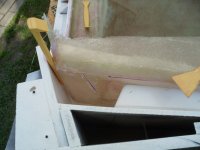
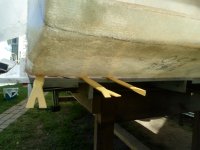
Then started pickin'-n-pryin' around the perimeter
SAM_7199 (1).JPG
Once everything seemed kinda loose around the edges
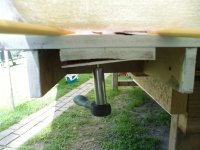
...so, I started applying some "lifting action/pressure from underneath, usin' the Screwjacks
SAM_7203 (1).JPG
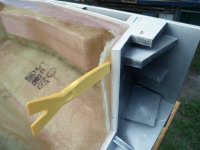
I could see some lifting along the sides
...but, that "hump" wasn't "givin' up the ship" :ack2:
SAM_7200 (1).JPG
...& then, a couple started failing :mad2:
SAM_7205 (1).JPG
After ~1/2 hour of tryin'...everything
SAM_7204 (1).JPG
I had ta de-couple the "hump" from the "base"
SAM_7206 (3).JPG
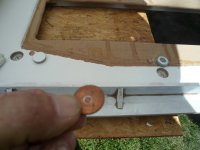
Um, that wasa a lot of pressure, on them "slugs"
SAM_7207 (2).JPG
Looks like they all "took a hit" :cornut:
SAM_7232 (1).JPG
 

Functional Artist

Well-known member
Messages
5,345
Reaction score
2,830
Location
Toledo, Ohio
I threw together an unmoldin' video for the YouTubers (it's kinda staged...but, ya know) ;)

* I think the sound "died" on my 'ol camera
...& maybe time for an upgrade :thumbsup:
 
Top