Celerity Quicksilver Sport Coupe (EA racer)

Functional Artist

Well-known member
Messages
5,680
Reaction score
3,329
Location
Toledo, Ohio
But if you use wood cleats say 1”X1” at the joints there’s plenty of area to screw to. Back off on your sanding pressure if the board is flexing. Let the sandpaper do the work.
Hey Denny,

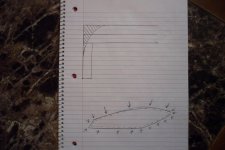
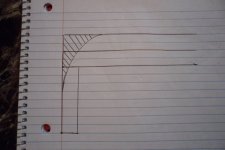
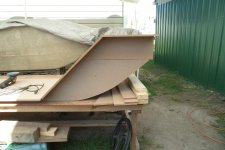
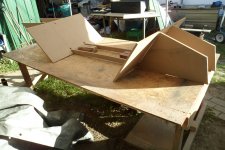
I drew a pic, for you ;)
SAM_9354 (1).JPG
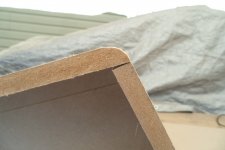
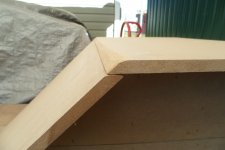
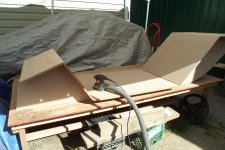
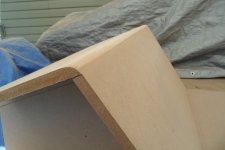
See how I was able to use the (2) "stacked" pieces of 1/2" MDF to form a nice round-over-curve
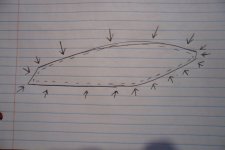
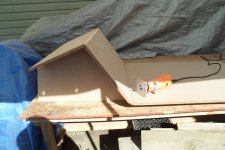
SAM_9355 (1).JPG
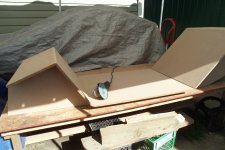
I'm using this compounded-curved, round-over concept, all along the perimeter of the sides :thumbsup:
SAM_9356 (1).JPG
 

Functional Artist

Well-known member
Messages
5,680
Reaction score
3,329
Location
Toledo, Ohio
What? Wait! I'm gone for a coupla days and yer on to another project?
Has the paint dried on the last one?
Hey T,
Um...yup...I'm am :sifone:

No Rest for the Wicked :2guns:

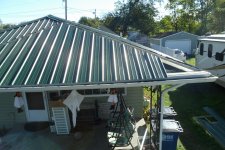
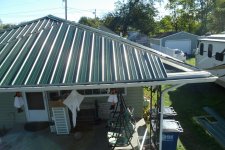
I've been alternating between towing, putting a roof on our home & "my art"

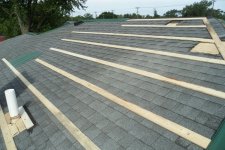
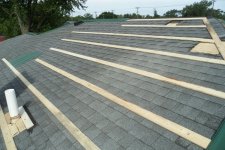
Installing the wooden strips
SAM_9245 (1).JPG
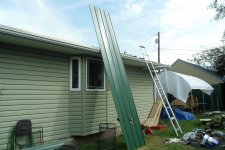
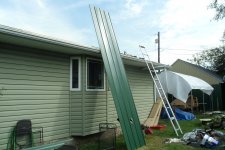
Lugging 16' panels

* Notice the hole for the vent pipe?
SAM_9244 (1).JPG
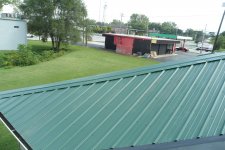
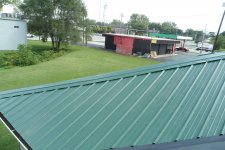
Last panel

** Working on installing the "caps"...now
SAM_9293 (1).JPG
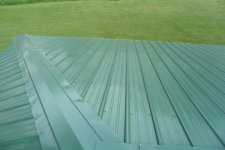
Now, it looks like this :bannana:
SAM_9248 (1).JPG
 

Attachments

  • SAM_9245 (1).JPG
    SAM_9245 (1).JPG
    1.9 MB · Views: 0
  • SAM_9248 (1).JPG
    SAM_9248 (1).JPG
    1.9 MB · Views: 0
  • SAM_9293 (1).JPG
    SAM_9293 (1).JPG
    1.9 MB · Views: 0
  • SAM_9244 (1).JPG
    SAM_9244 (1).JPG
    1.9 MB · Views: 0

Functional Artist

Well-known member
Messages
5,680
Reaction score
3,329
Location
Toledo, Ohio
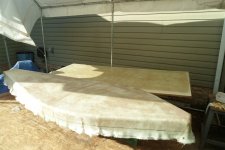
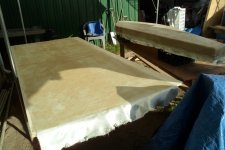
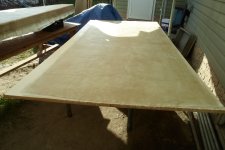
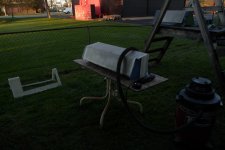
Right body side mold & flat panel covered in (2) layers of 1708, the next morning

* The body side panel is marked for trimming
...which helps with de-molding ;)
SAM_9327 (1).JPG
Here's the flat panel
SAM_9326 (1).JPG
Another view
SAM_9328 (1).JPG
 

Functional Artist

Well-known member
Messages
5,680
Reaction score
3,329
Location
Toledo, Ohio
So, A metal roof goes on OVER the existing composite shingle roof by mounting it on wood spars? Didn't know that.

Nice fiber work. Anxious to see this finished!
Hey WD,

Yup, "if" the existing roof is only (1) layer
...Ohio law only allows (2) layers of roofing...at a time

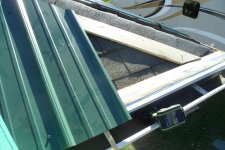
The wood strips have several purposes

1.) the strips "space" the steel panels above the roofing shingles
...so, the shingles can't abrade the finish off of the backside (like during thermal expansion & contractions)
SAM_9297 (1).JPG
2.) the strips get screwed down, with 2 1/2" screws, right into the rafters
...& then, provide a nice-n-wide "nailer" for screwing into, when installing the panels (ta make nice-n-purty lines)
SAM_9249 (1).JPG
Thanks :cheers2:

I'ma getin' done...what I can get done ;)
...'cause Winter is a comin' fast :confused:
SAM_9339 (1).JPG
 

Functional Artist

Well-known member
Messages
5,680
Reaction score
3,329
Location
Toledo, Ohio
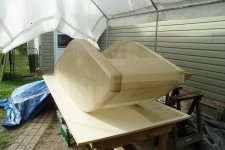
After doin' some twilight trimmin' on the "nose" & "tail"
SAM_9329 (1).JPG
I roughly assembled the left side & right sides
...& the "nose" & Tail" pieces
...using the "overlap method" & a few wood screws
SAM_9340 (1).JPG
The "nose"
* The floorboard (from the flat panel) is just layed in place, for illustrative purposes
SAM_9342 (1).JPG
The "tail"
SAM_9341 (1).JPG
 

Functional Artist

Well-known member
Messages
5,680
Reaction score
3,329
Location
Toledo, Ohio
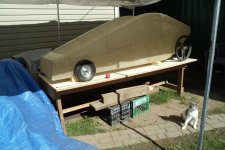
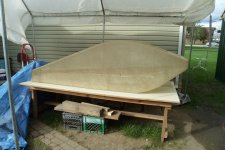
Body mock-up with "some" wheels "spaced" ~2 1/2" above the workbench

* Hi Ducky 😊
SAM_9351 (1).JPG
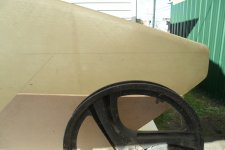
Um...looks like the rear wheel won't clear the "deck" that will be above it
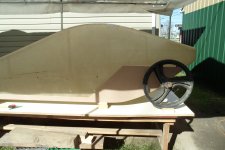
SAM_9352 (1).JPG
So, I drew in an extension
SAM_9353 (1).JPG
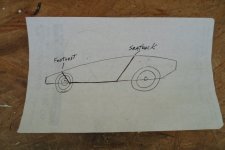
Drawing of the original plan
SAM_9278 (1).JPG
The plan was to make & use a couple of "spines" (made outta (2) FG panels bonded to the sides of, a 1/2" foam core)
...with interlocking footboard & seatback/deck panels (also, made outta (2) FG panels bonded to the sides of, a 1/2" foam core)
...all bonded together & then, installed inside the FG body
SAM_9280 (1).JPG
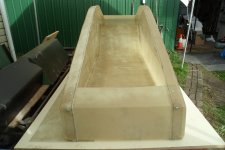
Now I'ma workin' with a "new" idea
...ta make a (1) piece floorboard
...that has the footboard & seatback/deck "built in"
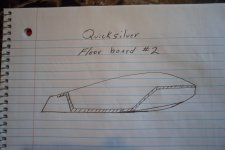
SAM_9357 (1).JPG
I'ma callin' it the "flyin' carpet" floorboard

* This concept should
...be a bit easier to make
...create a stiffer "inner "core"
...& provide more bonding surfaces

** It will bond all along the floorboard
...& to the upper body, in the front & rear too
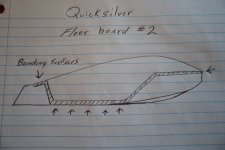
SAM_9358 (1).JPG
 

Functional Artist

Well-known member
Messages
5,680
Reaction score
3,329
Location
Toledo, Ohio
Hey Denny,

While working on assembling & shaping the mold for the "flying carpet" floorboard, I did a step-by-step description/illustration of my MDF shaping/forming method...for ya ;)

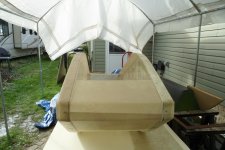
Footboard to upper body junction (in the rough)
SAM_9365 (1).JPG
The tail (with extension)
SAM_9367 (1).JPG
Used the router to evenly remove ~1/4" of material
SAM_9371 (1).JPG
Like this
SAM_9373 (1).JPG
Then, used the disc sander (w/80 grit) to evenly round it off
SAM_9374 (1).JPG
Like this
SAM_9375 (1).JPG
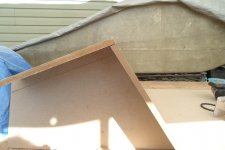
Also, used the disc sander (w/80 grit) to rounded off the rear seatback to deck junction too
SAM_9378 (1).JPG
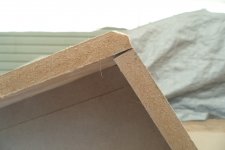
Then, used the palm sander (w/120 grit) to smooth everything...nicely
SAM_9379 (1).JPG
Like this
SAM_9380 (1).JPG
Now, it's ready for some paint :sifone:
 
Top