American Ethos (2025) Electrathon America Racer

Functional Artist

Well-known member
Messages
5,345
Reaction score
2,834
Location
Toledo, Ohio
Pit falls of workin' outside

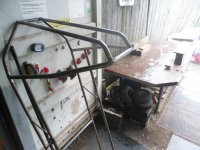
Like a sudden rain shower :huh:

* Had to "scramble" to dis-assemble everything, real quick like
...& get 'er (& everything) outta of the rain
SAM_4867 (1).JPG
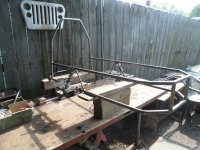
1/2 hour later
...it went back ta being clear, bright & sunny :wai:
...&/so, I started re-assembling everything...again
SAM_4868 (1).JPG
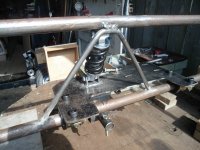
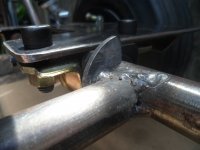
Inside look at "upper" weld, connecting the "pyramid" brace to the chassis rail
SAM_4869 (2).JPG
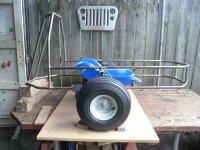
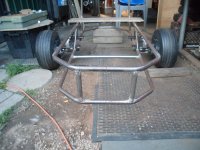
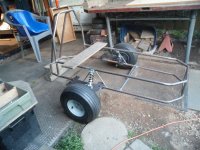
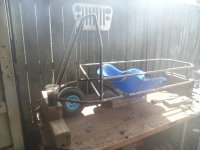
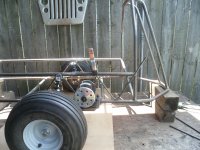
Side view (profile) of the chassis with suspension, wheels & seat :2guns:

* Notice, the workbench is too narrow (~36")
...for the chassis (wheel track ~46") to be turned sideways
...&/so, I had to add a "widener" (~48") to the workbench
SAM_4870 (2).JPG
 

Functional Artist

Well-known member
Messages
5,345
Reaction score
2,834
Location
Toledo, Ohio
Got 'er off the workbench
...put 'er on the ground
...& sat on it ;)
SAM_4872 (2).JPG
Happy to report
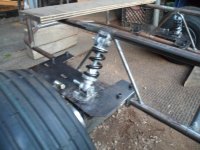
...these coil-over shocks (& triangle braces) hold 'er up nice-n-firm
SAM_4874 (2).JPG
When I kinda "bounced" a bit, while sitting on it
...I could "feel" the suspension, slightly flexing
...so, they "seem" ta be good (in/for this application) so far :thumbsup:
SAM_4873 (2).JPG
 

Functional Artist

Well-known member
Messages
5,345
Reaction score
2,834
Location
Toledo, Ohio
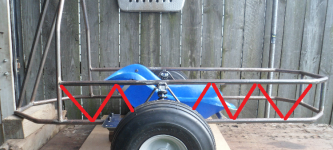
Next, I added a "crisscross" brace
...in the lower area of the roll bar
...behind the seat ;)

* I've seen this type of bracing in many race cars & off-roading vehicles
...& can "see" how it would make the structure stiffer & stronger :2guns:

It probably has an actual name
...so, if ya know...please share :thumbsup:
...& any info on its necessity &/or purpose too :cheers2:
SAM_4875 (1).JPG

* Also, workin' on rear "castor" mounting & placement
 

Functional Artist

Well-known member
Messages
5,345
Reaction score
2,834
Location
Toledo, Ohio
Next, we need some Nacelle "stop blocks"
...so, the Nacelles can't/don't move (or slide) on the chassis rails ;)

Probably need (1) in front of the (front) rubber mount
...to "stop" the chassis from sliding forwards, when/while braking
&
Gonna need (1) behind the rear rubber mount
...to "stop" the chassis from sliding backwards, when/while accelerating
SAM_4876 (1).JPG
Also, need a cross-bar, behind the seat
...so, I'ma thinkin' ta use the cross-bar to "back-up the "stop blocks"
...& the "stop blocks" ta back-up the cross-bar :cheers2:
SAM_4877 (1).JPG
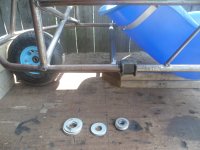
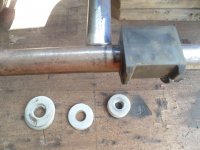
* Notice, I'ma thinkin' ta maybe use big 'ol washer(s) for the "stop block(s)"
SAM_4881 (2).JPG
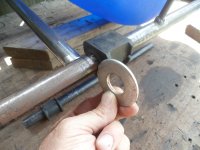
* A washer for a 3/4" bolt has an ID. ~7/8"
...which just happens ta be the OD. of the frame rails :thumbsup:
&
These washers look like they would make superb "stop blocks" :2guns:
SAM_4879.JPG
So, I marked the frame rail(s)
...where the cross-bar need ta be
...&/also, where the "stop block(s)" needs ta be
SAM_4878 (1).JPG
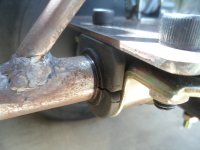
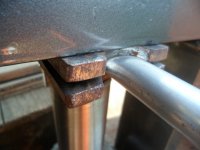
I chopped (2) of the washers in 1/2
...to give us (4) "half moon" "stop blocks" :sifone:
SAM_4885 (2).JPG
 

Functional Artist

Well-known member
Messages
5,345
Reaction score
2,834
Location
Toledo, Ohio
Went ta weld 'em on
...& it went "zing...zing...zing"
...but, I got no "crackle...crackle...crackle :huh:

Hmmmm...:unsure:
...opened the "lid"
... & yup, we B outta wire :mad2:

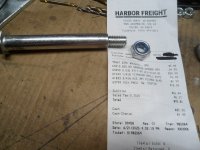
So, I took a ride to my local Harbor Freight
...ta get some more weldin' wire :bannana:
SAM_4886 (2).JPG
...& lookie what I found :wai:
SAM_4887 (2).JPG
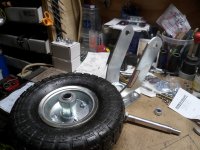
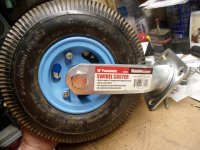
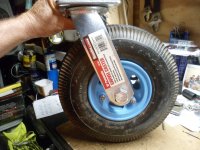
A factory-made swivel Castor w/10" wheel (less than $20.00)
SAM_4892 (1).JPG
The "structure" itself seems ta be pretty well-built
...& pretty strong
...but, that "crappy" HF wheel...has...gotta...go

* I can use the wheel on my hand truck
...they are pretty good for that :sneaky:

Upon dis-assembly
...I found that it doesn't use a 1/2" bolt & bearings, as an axle
...it has a nice lookin 5/8" shoulder bolt for an axle..."free bonus" :sifone:
SAM_4891 (1).JPG
Modified swivel Castor
SAM_4896 (2).JPG
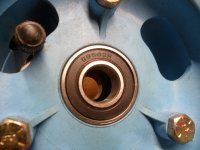
Yup, this is a real go kart wheel (got it from BMI karts) :thumbsup:
SAM_4893 (1).JPG
...with real live go kart (99502H) bearings
SAM_4895 (2).JPG
Should go/look about like this ;)
SAM_4897 (1).JPG
 

Functional Artist

Well-known member
Messages
5,345
Reaction score
2,834
Location
Toledo, Ohio
After weldin' the rear "stop blocks" on
SAM_4901 (1).JPG
I re-assembled 'er...again
SAM_4903 (2).JPG
So, I could mark "exactly" where the front "stop blocks" needed ta go :cheers2:
SAM_4904 (2).JPG
Also, made up
...well...actually
...used a couple of the pieces of bent 3/8" rod ;)

Left over from when I was workin' on, makin' A-frames for the Diamonite racer
...& "messed up" :mad2:

Re-cycle, re-purpose &/or re-use...BABY :sifone:
SAM_4906 (2).JPG
* Notice I re-installed the motor
...to be sure them rear "rib" braces, didn't "get in the way" of anything...important :thumbsup:
 

Functional Artist

Well-known member
Messages
5,345
Reaction score
2,834
Location
Toledo, Ohio
Seat back braces

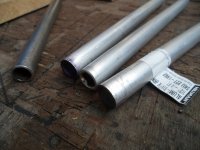
I have a piece of 1/2" steel tube (~7") long
...but, I'ma needin' (2) of them

So, I went ta get another piece
...& found out that they were out of 1/2" steel tube (~3/8" ID.)
...but, they had some 1/2" Aluminum tube

* Hmmm...Aluminum tube should work in this situation
...& would be lighter too ;)
SAM_4908 (1).JPG
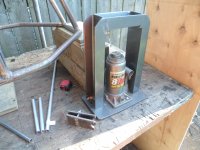
Got out my mini-press
...& tube end, flattener "jig" :thumbsup:
SAM_4910 (1).JPG
Cut a couple of pieces (~7")
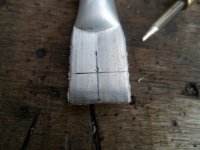
...& marked the ends at (~1")
SAM_4911 (2).JPG
Inserted the end of a tube
...centered in the flattener "jig"
SAM_4912 (2).JPG
Lined up with the 1" line
SAM_4913 (2).JPG
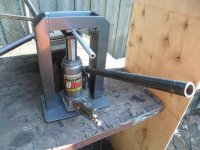
This little 8-ton bottle jack flattens these tube ends pretty easily
SAM_4916 (1).JPG
Comes out, of the press, lookin' like this :2guns:
SAM_4917 (1).JPG
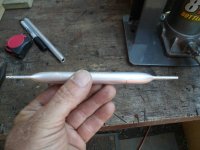
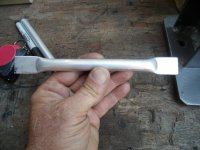
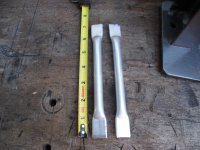
Looks like this after flattening both ends
SAM_4922 (2).JPG
Another view
SAM_4923 (2).JPG
 

Functional Artist

Well-known member
Messages
5,345
Reaction score
2,834
Location
Toledo, Ohio
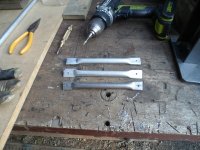
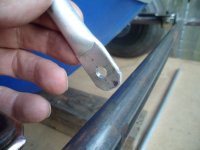
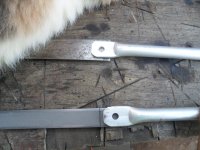
I flattened the ends of both Aluminum tubes
...& the steel (1) too

Double checked for "fitness"
...& for bolt placement ;)

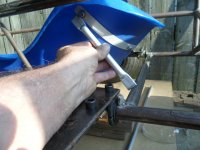
These brackets need ta go, from the bolt, on the side of the seat back
...down to the cross-bar
SAM_4925 (1).JPG
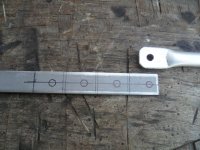
Measured
SAM_4924 (1).JPG
Marked (inked & then, center-punched)

* At the last minute, I noticed & felt that the bolt hole would be a little bit too close to the end :unsure:
...& there wasa plenty of "room" to move 'er up a bit :)

So, I made an executive decision
...& "center-punched" 'em
...just a bit above the line ;)
SAM_4926 (2).JPG
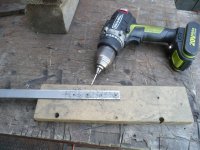
Using the center-punched "mark"
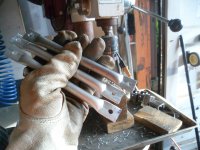
...I drilled a 1/8" "pilot hole" in all of 'em (by hand)
SAM_4928 (2).JPG
Then, drilled 'em out to 1/4" (using a drill press)
SAM_4933 (2).JPG
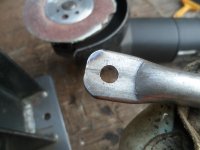
Rounded the "corners"
...& smoothed the edges, a bit (using a med grit sanding disc, on a grinder)
SAM_4935 (2).JPG
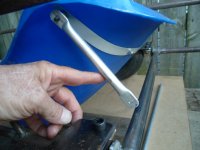
They should go about like this (on the seat) :cheers2:
SAM_4938 (2).JPG
Bolting "tabs" should go...about...here :thumbsup:
SAM_4939 (2).JPG
 

Functional Artist

Well-known member
Messages
5,345
Reaction score
2,834
Location
Toledo, Ohio
Show more of your flattening jig. I need to make some flats on end of tube like that.
Hey WTR,

Been out workin'/"soakin' up the sun" ALL day
...& WHOLY CRAP!!! :eek:

Long hair & "feels like" ~100* = :huh::furious2::mad2:
SAM_4927 (2).JPG
So, after koolin' off for a while
...I got some details & pics for ya :thumbsup:

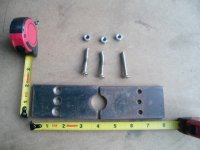
The "jig" is simply a piece of (2" x 8" x 1/4") steel
SAM_5002 (2).JPG
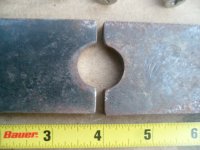
I used a (1") hole saw
...to drill a nice (~1") hole, in the middle
...then, cut 'er in 1/2
SAM_5003.JPG
Added (3) 1/4" holes (& nuts & bolts)
...for holding 'em (top & bottom) together
SAM_5009 (1).JPG
Also, for alignment purposes (ta help keep the "half-moons" aligned) :cheers2:
SAM_5010 (1).JPG
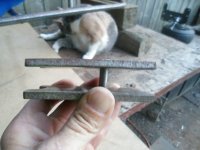
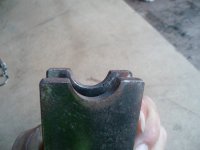
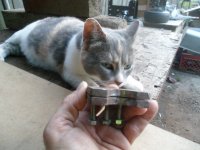
Ducky says "Smashed together, they look like this" :p
SAM_5014.JPG
I made up & tried a "jig" made outta 1/8" thick steel "plates"
...but, they started bowing, after repeated uses :ack2:
 

Functional Artist

Well-known member
Messages
5,345
Reaction score
2,834
Location
Toledo, Ohio
Ducky says "what ya workin' on today?"
SAM_4946.JPG
I'ma said..."seat back bracket tabs"
SAM_4948 (1).JPG
She says, "tabs for these, seat back brackets?"
..."Hmmm...let me see"
SAM_4949 (1).JPG
Then, she says "OK...do your thing" :thumbsup:
SAM_4951 (1).JPG
 

Functional Artist

Well-known member
Messages
5,345
Reaction score
2,834
Location
Toledo, Ohio
Seat back bracket tabs

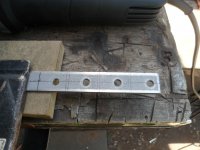
I evaluated both 1" wide steel & 3/4" wide steel, for making the tabs
...but, the (1") seemed ta be a bit too wide or "beefy"
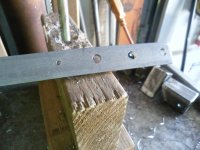
...so, I "settled on" a piece of 1/8" x 3/4" steel
SAM_4954 (1).JPG
I only need (2) bolting tabs
...but, I'ma gonna go ahead
...& make (4) of 'em
...while I'ma at it :thumbsup:
SAM_4955 (1).JPG
I measured & marked
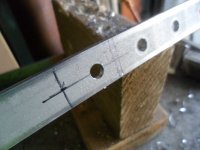
...(4) 1" tabs (including the "kerf" (thickness) of the "cutting" blade)
...& marked the locations for 1/4" bolt holes too
...then, "center punched" the center of the bolt holes for drillin'
SAM_4957 (2).JPG
Tip:
Drilling holes, in a (little) 1" x 3/4" pieces of steel, can be challenging
...so, before cutting the 1" tabs off
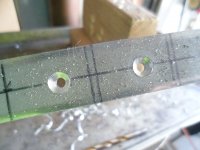
...I drilled all (4) of the 1/4" holes

First, I drilled out 1/8" pilot holes (by hand)
SAM_4959 (2).JPG
Then, took 'er to the drill press
...& drilled 'em out to 1/4"

Another tip:
To help make nice-n-clean holes
...only drill ~1/2 way thru, on the "top side"
SAM_4962 (1).JPG
Then, flip the piece over
...& finish drilling out, the other side
SAM_4963 (1).JPG
Top side
SAM_4964.JPG
Other (bottom) side ;)
SAM_4965 (1).JPG
 

Functional Artist

Well-known member
Messages
5,345
Reaction score
2,834
Location
Toledo, Ohio
Now, we can go ahead
...& cut them tabs off...right? :popcorn:
SAM_4968 (2).JPG
Well...we can
...but, "see" how small the "tabs" are?
SAM_4971 (1).JPG
Yes, we can just clamp 'em in a pair of vise grips
...but, "see" how much easier it is to "leave 'em connected...together"
...& use them ALL still connected in/as a "strip"...as a handle :thumbsup:
SAM_4969 (2).JPG
Yup, I almost "messed up"
...& started cuttin' 'em off
SAM_4970 (2).JPG
Then, my "left brain" said
..."what about roundin' them edges?" :unsure:

Um...??? :huh:
SAM_4973 (2).JPG
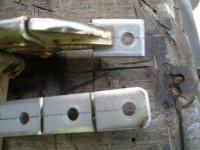
So, I rounded the edges of the (1) clamped in the vise grips
...& then, rounded the edges of each tab
...before cutting it loose, from the "strip" ;)
SAM_4974 (2).JPG
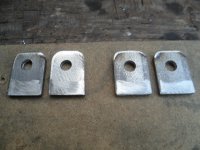
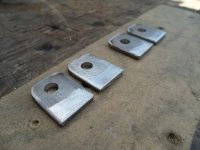
* I measured, marked, center punched, drilled, rounded & cut ALL (4) of these tabs pretty much...the exact same
...but, notice how (2) of the tabs seem to "match up" pretty well
...&/then, the other (2) tabs seem pretty close...as well :)
SAM_4977 (2).JPG
This is why I made up "extras"
...just in case the first & second tabs, didn't match up too well :sifone:
SAM_4978 (2).JPG
 
Last edited:

Functional Artist

Well-known member
Messages
5,345
Reaction score
2,834
Location
Toledo, Ohio
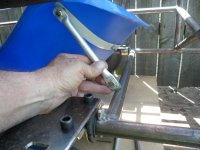
After makin' sure the seat was centered, I aligned the seat back bracket mounting
...to establish "exactly" where the tab needed to be mounted ;)
SAM_4979 (2).JPG
Looks like the tab should "go" about here
...so, I marked the "spot"

I also, marked the center of the tab
...& a "cross line" on the bar
SAM_4983 (2).JPG
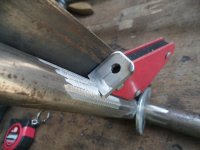
Aligned & "held in place" with a weldin' magnet
SAM_4987 (2).JPG
After tackin' the first one "in place"
...I used a piece of steel strip, to help align the other tab
SAM_4984 (2).JPG
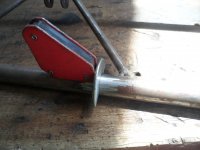
While I wasa at it, I went ahead & welded the front "stops", for the Nacelles, on too :thumbsup:
SAM_4985 (2).JPG
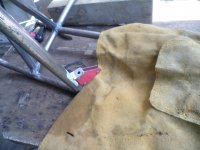
Used a weldin' apron, to protect the "stuff"
...down below the area, to be welded :cheers2:
SAM_4988 (2).JPG
 
Top