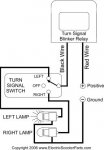
Hydraulic brake light switch wiring diagram
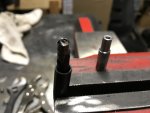
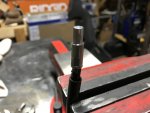
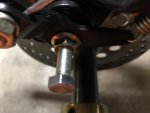
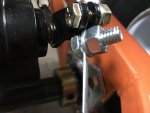
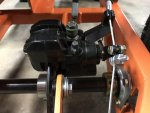
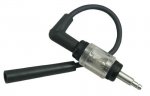
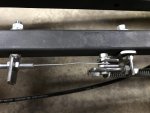
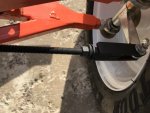
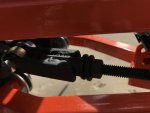
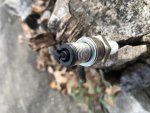
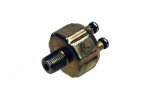
I have this part on my master cylinder. It is a hydraulic brake light switch. Any gentleman or ladies know a simple wiring diagram on how to wire this switch.
From battery, to switch to lights...
My minds is going numb from so much info. It is the same function as the motorcycle hydraulic brake light switch. I need the complete diagram.
Thanks
Found this at this url: https://support.electricscooterparts.com/support/discussions/topics/1000039945
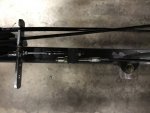
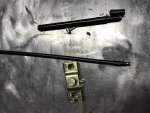
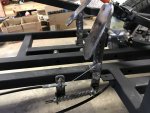
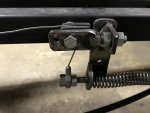
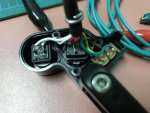
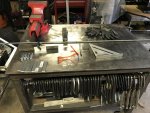
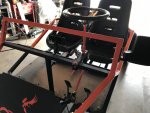
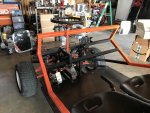
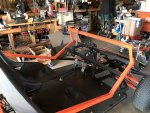
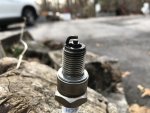
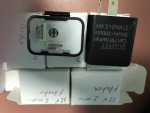
New part arrived. I am still waiting for other parts to come. Hopefully, I can make some sense out of these
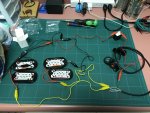
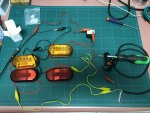
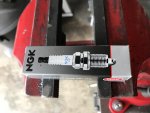
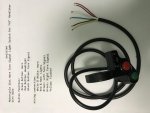
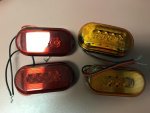
Another part comes today. Flasher relay, 4"x2" LED signal lights from Amazon
https://www.amazon.com/gp/product/B00YEH9K60/ref=ox_sc_saved_title_2?smid=A1B2SF9J2WBIQS&psc=1
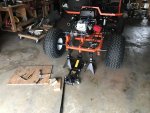
I am still missing brake light
I have this part on my master cylinder. It is a hydraulic brake light switch. Any gentleman or ladies know a simple wiring diagram on how to wire this switch.
From battery, to switch to lights...
My minds is going numb from so much info. It is the same function as the motorcycle hydraulic brake light switch. I need the complete diagram.
Thanks
Found this at this url: https://support.electricscooterparts.com/support/discussions/topics/1000039945
New part arrived. I am still waiting for other parts to come. Hopefully, I can make some sense out of these
Another part comes today. Flasher relay, 4"x2" LED signal lights from Amazon
https://www.amazon.com/gp/product/B00YEH9K60/ref=ox_sc_saved_title_2?smid=A1B2SF9J2WBIQS&psc=1
I am still missing brake light
Attachments
-
 Brake pressure switch.jpg42.2 KB · Views: 6
 -
 brake-lever-wiring-electric-scooter-or-bike.png39 KB · Views: 6
 -
 RLY-542wiring23.jpg31.9 KB · Views: 6
 -
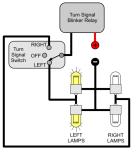 turn-signal_relay.png23.1 KB · Views: 6
 -
 IMG_0865.jpg170.9 KB · Views: 6
 -
 IMG_0874.jpg170.7 KB · Views: 6
 -
 IMG_0887.jpg260.9 KB · Views: 6