Functional Artist
Well-known member
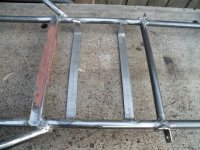
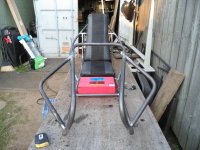
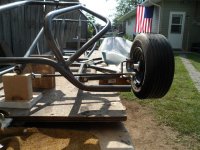
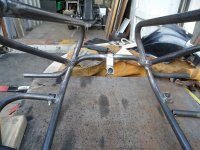
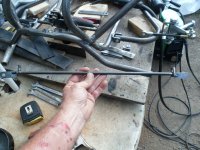
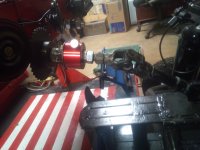
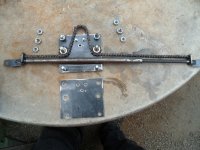
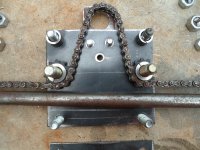
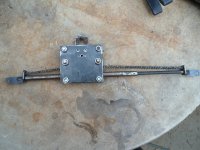
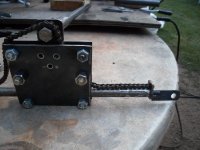
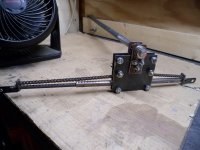
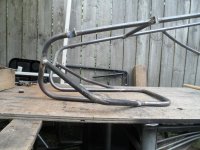
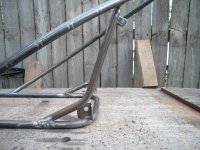
I bent a couple of pieces of pipe
...& welded 'em on
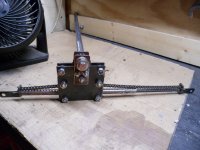
They are to represent the front fenders")
...& will help strengthen/brace the upper front, of the frame or "hood"
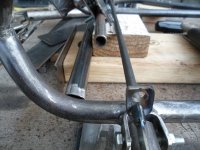
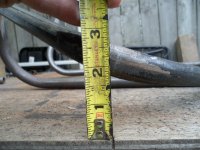
It took some effort to get 'em even
...but, I think, I got 'em pretty close
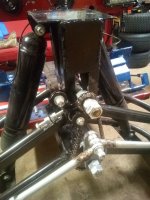
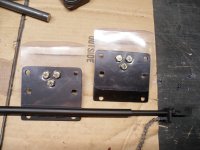
Next, I gotta clean up, all of these welds

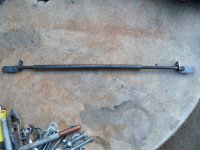
...& welded 'em on
They are to represent the front fenders
...& will help strengthen/brace the upper front, of the frame or "hood"
It took some effort to get 'em even
...but, I think, I got 'em pretty close
Next, I gotta clean up, all of these welds
Attachments
-
 SAM_2306.JPG3 MB · Views: 2
 -
 SAM_2307.JPG3 MB · Views: 2
 -
 SAM_2312.JPG3.1 MB · Views: 3
 -
 SAM_2310.JPG3.1 MB · Views: 3
 -
 SAM_2313.JPG3 MB · Views: 3