'wittle 'wesistor (Mini Jeep)

Functional Artist

Well-known member
Messages
4,410
Reaction score
1,692
Location
Toledo, Ohio

BaconBitRacing

Well-known member
Messages
2,181
Reaction score
1,296
Location
N.C.

Functional Artist

Well-known member
Messages
4,410
Reaction score
1,692
Location
Toledo, Ohio
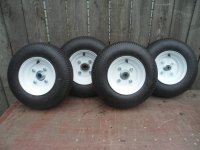
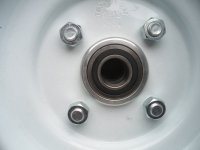
Did anyone notice that (3) of the hubs (for this low speed "parade vehicle") have bearings in them? :unsure:
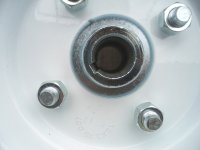
...& only the furthest one, to the left, has a keyway? :huh:

Front Hub w/Bearing
SAM_7648.JPG
Rear Hub w/Bearing
SAM_7647.JPG
Rear Hub w/keyway
SAM_7646.JPG
 

BaconBitRacing

Well-known member
Messages
2,181
Reaction score
1,296
Location
N.C.
You don't have keyways all the way around? I haven't followed this all the way but I thought 4WD.
 

Functional Artist

Well-known member
Messages
4,410
Reaction score
1,692
Location
Toledo, Ohio
You don't have keyways all the way around? I haven't followed this all the way but I thought 4WD.
No, 4 x 4
...it gets complicated & expensive real quick like ;)

I did a 4 x 4 kart a couple of years ago :cheers2:
Lunar Rover

For this vehicle, I just wanted it to look like a real Jeep (just mini) for parades & such :thumbsup:
...& for driving in parades, maneuverability at low speeds, is very important

So, I used a "live" axle for mounting the sprocket(s), brake drum & rear wheels
...but, "if" both rear wheels were "keyed" it would dramatically reduce the steering "action" at low speeds
...so, only (1) of them is "keyed" to help alleviate this issue :cornut:

So, basically it's set up as a "1 wheel peel" kart :eek:
...but, it's a secret :innocent:
...so, don't tell anyone :devil2:
 

Functional Artist

Well-known member
Messages
4,410
Reaction score
1,692
Location
Toledo, Ohio
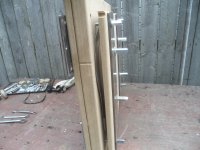
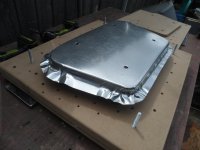
I wasn't totally happy with the stamped grille(s) that I made
...so, I re-worked the jig a bit (doubled the depth)
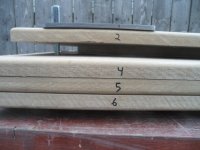
SAM_7605.JPG
...& re-enforced the "clamping action" (with 1/4" steel plates on both sides & 1/2 bolts with 1/2" "Hella'Nuts") :smartass:
SAM_7607.JPG
...& inserted another steel "blank" (actually, I think they are Galvanized & not Stainless) w/1 Die on top
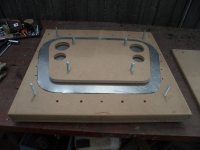
SAM_7601.JPG
Stood 'er up, to actuate the "clamping bolts
...& used a torque gun to press the Die into the Mold (with the steel "blank" in between) ;)
SAM_7611.JPG
It came out like this
SAM_7614.JPG
I then, added another 3/4" "layer" to the Die
SAM_7620.JPG
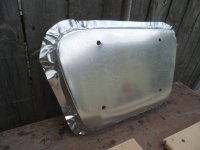
This how it came out
SAM_7624.JPG
Another view
SAM_7625.JPG
...& another
SAM_7627.JPG
Yup, Ima likin' that a bit better :thumbsup: now that it has more structure &/or depth
...& I'm thinkin' that I can use some of the "extra material to establish some mounting "tabs" :sifone:
 

Functional Artist

Well-known member
Messages
4,410
Reaction score
1,692
Location
Toledo, Ohio
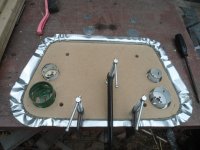
Next, I drilled out the holes for the light sockets :thumbsup:

The (2) hole saws on the left are for cutting out the sockets in the Dies
...& the (2) on the right are for cutting out the holes in the steel blank
SAM_7628.JPG
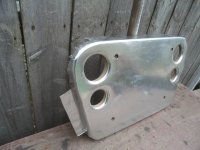
Like this
SAM_7632.JPG
Then, pressed 'em out with this
...& a 1/2" nut & bolt
SAM_7635.JPG
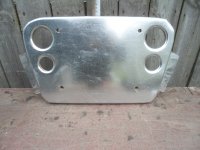
...& then, they looked like this ;)
SAM_7637.JPG
Notice the mounting flanges
SAM_7638.JPG
...& we also have a nice wide top surface to kinda "cradle" the front of the hood :2guns:
SAM_7639.JPG
 

Functional Artist

Well-known member
Messages
4,410
Reaction score
1,692
Location
Toledo, Ohio
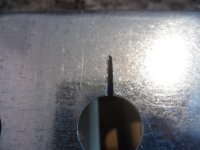
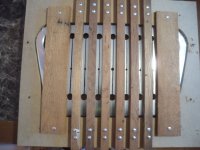
Ta makes the Slots, I placed the "piece" on the lower "fixture"
...& put the upper Grill Slot "fixture" over top of it

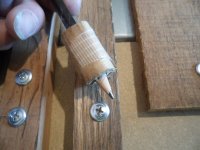
Wrapped some cardboard around a pencil
SAM_7653.JPG
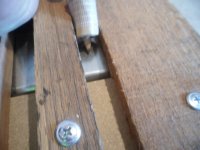
...& used it to mark the cut lines, in the center if the slots
SAM_7654.JPG
...then, cut the lines, with a cut-off wheel
SAM_7655.JPG
Like this :thumbsup:
SAM_7656.JPG
Minor mess up :huh:
SAM_7659.JPG
Major mess up :ack2:
SAM_7660.JPG
Shiz :mad2: Shiz :mad2: Shiz :mad2:
SAM_7661.JPG
 

Functional Artist

Well-known member
Messages
4,410
Reaction score
1,692
Location
Toledo, Ohio
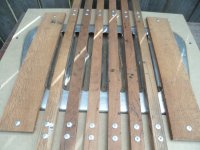
I re-installed the upper Grille Slot fixture
SAM_7662.JPG
Covered the "slot puncher" with some scrap steel (the edge of the slots kept getting caught on the wood "puncher")
SAM_7671.JPG
I went ahead & "punched" the slots out anyways
SAM_7672.JPG
Yup, I had ta make another one ;)
SAM_7668.JPG
OK :surrender:hopefully I finally have that out of my system now :cheers2:
...& now we can move on :thumbsup:
SAM_7675.JPG
 

Functional Artist

Well-known member
Messages
4,410
Reaction score
1,692
Location
Toledo, Ohio
Head Lights & Marker Lights

Back to the CAD
SAM_7698.JPG
Cur 'er down to size
SAM_7699.JPG
Profile
SAM_7702.JPG
CAD template dry fit in the Grille
SAM_7703.JPG
Other side
SAM_7706.JPG
CAD template transferred to steel
SAM_7720.JPG
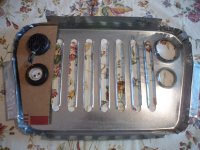
Steel inserts dry-fit in the Grille
SAM_7722.JPG
Head Light & Marker Lights installed in the steel inserts (front & rear view)
SAM_7725.JPG
 
Top