gjpgonzo
New member
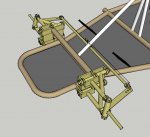
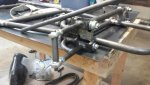
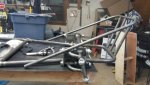
In a word- yes. That was what Tony was referring to. It will have less twist than the earlier design.
Much better.
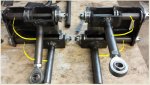
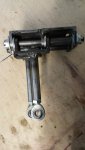
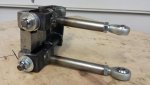
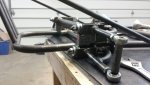
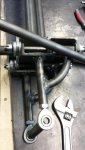
TY all for your help. Now another question "Does it matter where I weld the pivot arm" (up high or low) I understand the angle but not the where on the spindle.