Bansil
Painter of gnomes....
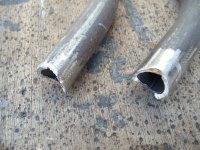
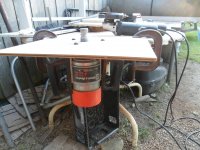
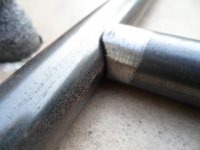
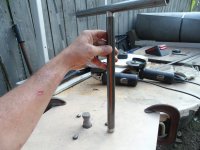
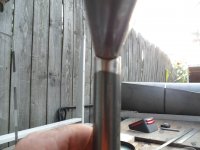
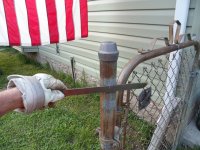
That would not work for coping it will break 1st use. I have been using one of these type for 20 years, and it moves, shakes and is flimsy but it works
Definitely hit youtube for notching with chopsaw or angle grinder...amazing how good it works.
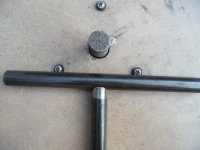
20 years ago it was $$$$ notcher, the notcher I have or grind til it fits
Youtube has made everything easier until it gets taken away
Definitely hit youtube for notching with chopsaw or angle grinder...amazing how good it works.
20 years ago it was $$$$ notcher, the notcher I have or grind til it fits
Youtube has made everything easier until it gets taken away
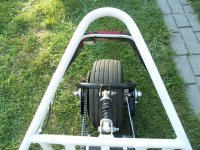
Attachments
-
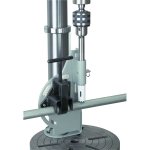 image_17029.jpg139.4 KB · Views: 2

")


 ) has some advanced knowledge, on the subject
.JPG")


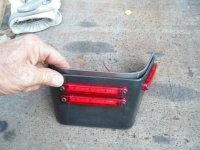
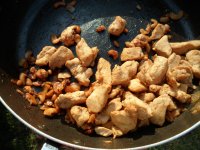
 (made me wanna puke)


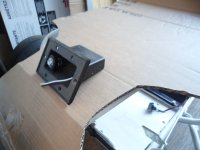

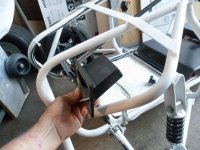

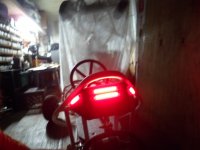
 "head light thing", ain't gonna work