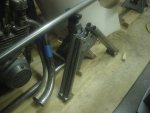
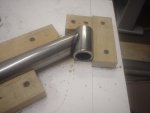
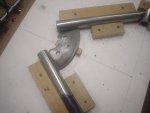
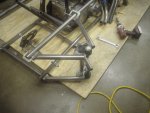
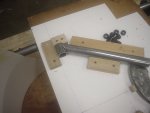
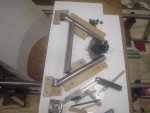
Notched & fitted together & ready for some tacks.
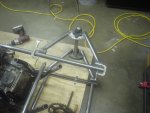
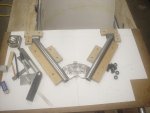
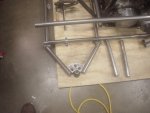
There will be an additional cross tie tube later.
It will also be the mount for springs & shocks so not sure on final position on it yet.
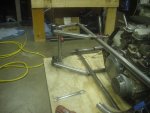
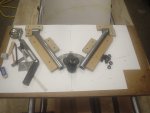
There will be an additional cross tie tube later.
It will also be the mount for springs & shocks so not sure on final position on it yet.
Attachments
-
 chassis47.JPG681.8 KB · Views: 13
 -
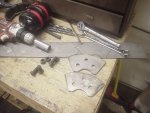
 chassis48.JPG722.6 KB · Views: 14
 -
 chassis49.JPG704.3 KB · Views: 14
 -
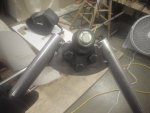
 chassis50.JPG723.3 KB · Views: 16


 Always appreciate & enjoy any input on the project.