Sequoia Electrathon Racer

Functional Artist

Well-known member
Messages
4,428
Reaction score
1,719
Location
Toledo, Ohio
Caliper bracket CAD to steel (~10g)
...which is kinda in between 1/8" & 3/16" :thumbsup:
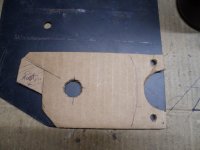
SAM_1375 (1).JPG
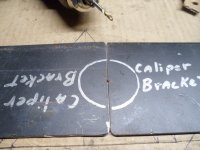
Making (2) at once (1 for each side) so they match
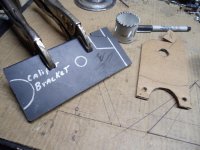
SAM_1381 (1).JPG
Need to cut a 1/2 circle, out of the end, of each piece
...so, I clamped 'em together
...& installed a "notch" right in the middle :cheers2:
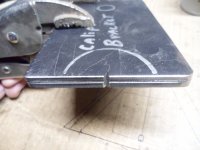
SAM_1382 (1).JPG
Then, layed them end to end
SAM_1385 (1).JPG
...& clamped 'em down to a 1/4" steel, backer plate
...& then, used the (2) "notches" to drill a 1/8" pilot hole (in between the (2) caliper brackets & thru the backer plate too)
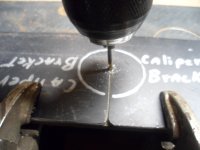
SAM_1387 (1).JPG
Next, I drilled the 1/8" pilot hole out to 1/4" (when ya hit wood, ya know your done/thru) 🤓
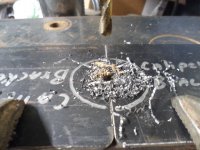
SAM_1391 (1).JPG
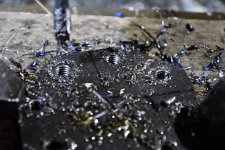
...& then, used a 1 3/4" hole saw to, cut the hole
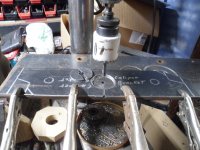
SAM_1394 (1).JPG
...& a 5/8" drill bit to install the spindle hole
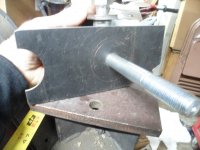
SAM_1397 (1).JPG
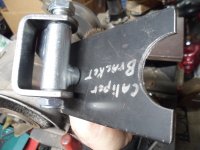
Here is the back side ;)
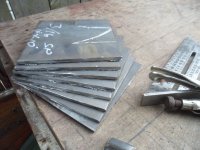
SAM_1398 (1).JPG
 

Functional Artist

Well-known member
Messages
4,428
Reaction score
1,719
Location
Toledo, Ohio
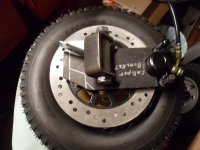
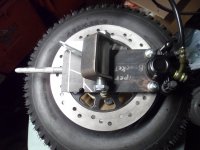
Put the Caliper Mounting Bracket & spindle, on a wheel
...& did a "rough" dry fit of the Caliper, to double check fitness :thumbsup:
SAM_1399 (1).JPG
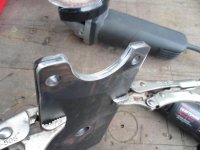
Then, added the Caliper mounting bolt holes
...& did a bit of rounding & smoothing
SAM_1406 (1).JPG
A more refined dry fit (lookin' pretty good)
SAM_1407 (1).JPG
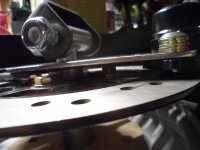
Checking Caliper Bracket to Rotor clearance (looks good too) :cheers2:
SAM_1408 (1).JPG
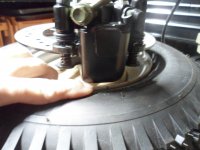
Checking Caliper to Tire clearance (~1/2")
SAM_1410 (1).JPG
Now, I can work on "fine tuning" the dimensions, for the custom Dual Flange Hubs ;)
 

Master Hack

Well-known member
Messages
2,038
Reaction score
3,266
Location
Mountain top Labratory
Your CAD design/prototyping sytem works really well. I should start using it, but l prefer to make parts like that several times, using the actual material. That way l can fine tune the parts with each revision. An added bonus is, l waste a lot of valuable time and material!

Looks nice! Up to the high standards we expect from you.
 

Functional Artist

Well-known member
Messages
4,428
Reaction score
1,719
Location
Toledo, Ohio
make parts like that several times, using the actual material.
Hey T,

I used to do it like that too :thumbsup:
...but, found that it takes a lot more initial work (cutting steel vs, cutting cardboard)
...uses up my materials a lot quicker
...& then, I end up with a lot of "bad parts" just laying around everywhere, in my way :ack2:

Looks nice! Up to the high standards we expect from you.
Thanks! :cheers2:

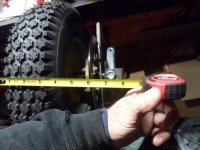
Now, Ima workin' on measurements ;)

Spindle mount to outer edge of the tire seem to be ~8"
SAM_1411 (1).JPG
 

Functional Artist

Well-known member
Messages
4,428
Reaction score
1,719
Location
Toledo, Ohio
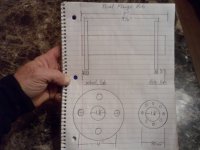
After gathering all of the measurements, for the custom dual flange hub, I went ahead & drew up a Mechanical drawing
...to (well...) document where them measurements went ;)
SAM_1426 (1).JPG
The upper section of the drawing illustrates the ~4" overall length, of the hub
...& ~3 1/4" from outer flange "face" to outer flange "face"

Also note, the outer "face" of the rotors bolting flange, needs to be ~1/2" from the edge (of the hub)
...to position the rotor, in the proper place
...so, it will align with the caliper

The lower section shows the measurements, for the bolting flange(s) :thumbsup:
 

Functional Artist

Well-known member
Messages
4,428
Reaction score
1,719
Location
Toledo, Ohio
Yer not slackn are ya?
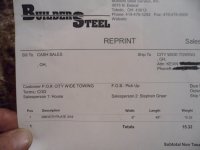
Nope, Just took me a couple of days to get to the steel place
...& pick up my order
...but, I finally got there ;)
SAM_1481.JPG
* News Flash
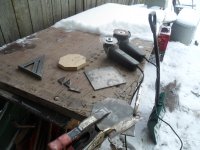
Weather guy says winter is a commin' :mad2:
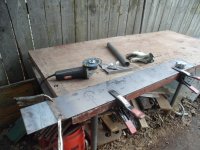
...so, I got to measurin' & markin
SAM_1453 (1).JPG
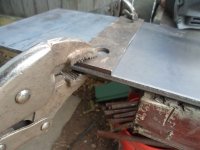
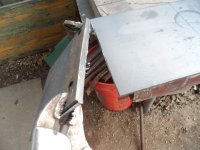
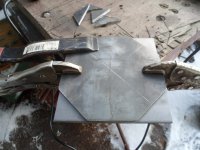
I used a straight edge as a cutting guide
...& used a couple pairs of Vise Grips to clamp it in place
SAM_1454 (1).JPG
Used a standard Cut-off wheel
...& they seemed to come out pretty straight & clean cut :thumbsup:
SAM_1455 (1).JPG
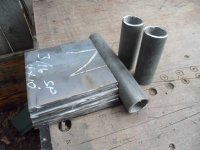
All cut up :sifone:
SAM_1456 (1).JPG
Cut a couple of hub pieces, while I was at it
SAM_1457 (1).JPG
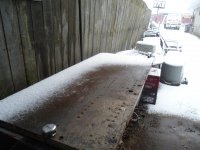
Then, ~1 hour later
...winter arrived :ack2:
SAM_1460 (1).JPG
 

Functional Artist

Well-known member
Messages
4,428
Reaction score
1,719
Location
Toledo, Ohio
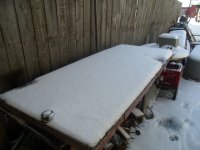
Winter is still here
...but, it's warmed up a bit (~30*) :ROFLMAO:
SAM_1487 (1).JPG
So, I had to "clear" some space
...before I could get back to doin' some more trimmin'

After doin' some measurin' & markin'
...I used a straight edge to aid in trimmin'
SAM_1488 (1).JPG
Then, used the "piece" as a template for trimmin' a couple more
SAM_1490 (1).JPG
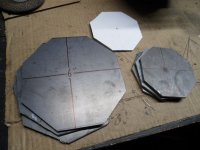
I used a paper template to help with markin'/trimmin' the 4" (rotor flanges) ;)
&
Jualla, we have (3) 6" wheel flanges
...& (3) 4" rotor flanges :thumbsup:
SAM_1504 (2).JPG
 
Top