You are using an out of date browser. It may not display this or other websites correctly.
You should upgrade or use an alternative browser.
You should upgrade or use an alternative browser.
Sequoia Electrathon Racer
- Thread starter Functional Artist
- Start date
Denny
Canned Monster
Getting kinda sloppy with those tolerances there big guy. We’ll let it pass this time, but from here on out let’s keep it tight.
ezcome-ezgo
G'me sumthin to write on
Master Hack
Well-known member
Yeah, I just don't give a s**t anymore...Getting kinda sloppy with those tolerances
It's all in the sig!
Last edited:
Master Hack
Well-known member
Master Hack
Well-known member
Master Hack
Well-known member
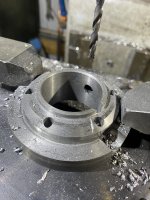
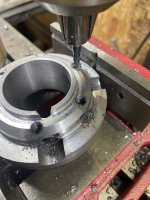
An advanced feature of the rear hub is the patented "key keeper". The design was invented cuz many of our customers have demanded it. It makes the hub idiot proof. And believe me the idiots here at the mountain top need all the help they can get. However nothing is fool proof to a sufficiently talented fool. The skunk works engineering department incorperated this design in your drawings for no extra charge! (not to say you need it, but an opportunity to share this advanced design)
As you see in the pic below the "round key" slot is open on both ends. In the event of a dumba$$ mistake ERRR AHHH, I mean a pit crew member oversight, the key could "potentially" come out and be lost. It would require the perfect storm of dumba$$ery to make that happen, but the potential does exist.
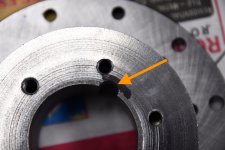
The new "key Keeper" design Locks the key in place. Even in the event the dumba$$ does not tighten the set screw properly the key cannot escape!
This design has been a standard here at Scrap Yard Engineers for years. Cuz we be the ones making the dumba$$ mistakes!
As you see in the pic below the "round key" slot is open on both ends. In the event of a dumba$$ mistake ERRR AHHH, I mean a pit crew member oversight, the key could "potentially" come out and be lost. It would require the perfect storm of dumba$$ery to make that happen, but the potential does exist.

The new "key Keeper" design Locks the key in place. Even in the event the dumba$$ does not tighten the set screw properly the key cannot escape!
This design has been a standard here at Scrap Yard Engineers for years. Cuz we be the ones making the dumba$$ mistakes!
Attachments
Last edited:
Functional Artist
Well-known member
Hey T,Get some nice bolts for that finishing touch....
No, get yer own dam bolts!
View attachment 146717View attachment 146718 View attachment 146719
Lookin' Good!

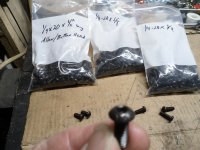
I got some 1/4" Button Head bolts
...would you recommend 1/2" or 5/8" or 3/4"?
Functional Artist
Well-known member
Functional Artist
Well-known member
Master Hack
Well-known member
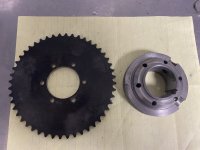
5/8 should do it. The doughnut is 1" + .160(Approx) each for the rotor and sprocket = 1.320/2= .660...would you recommend 1/2" or 5/8" or 3/4"?
You have enough bolts for the next 10 projects!
Master Hack
Well-known member
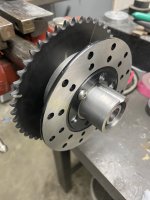
Well, I think I'm done with this little project.
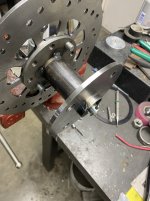
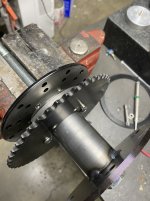
Here's is an interesting tidbit for your memory banks.
We all know about welding can cause things to warp, pull and move in ways not wanted.
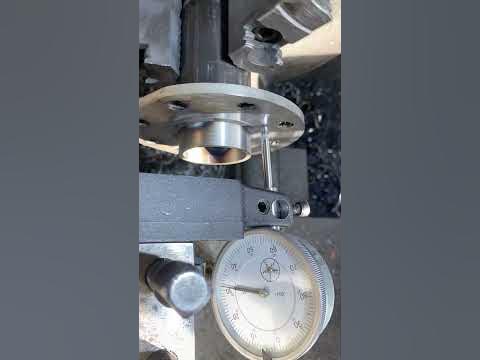
In this case I tried an experiment ( I like experimenting with other people's stuff.) The wheel flange was heated and pressed on the hub. At that point I checked runout and saw .018 "wobble" with some strategic welding and cooling I was able to reduce that to .005. Much easier way of trueing things up.
I think I'm 'bout ready to send this stuff back.
Functional Artist
Well-known member
Hey T,We all know about welding can cause things to warp, pull and move in ways not wanted.
In this case I tried an experiment ( I like experimenting with other people's stuff.) The wheel flange was heated and pressed on the hub. At that point I checked runout and saw .018 "wobble" with some strategic welding and cooling I was able to reduce that to .005. Much easier way of trueing things up.
I think I'm 'bout ready to send this stuff back.
Short, sweet & right to the point, purty clever!

...& I can't wait ta get 'em
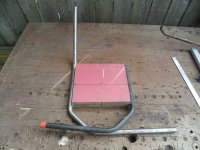
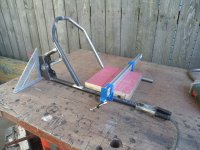
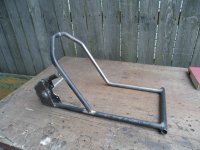
I got the swing arm "tac" welded together
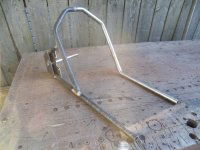
Double checked that the upper "part" was "true"
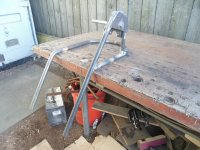
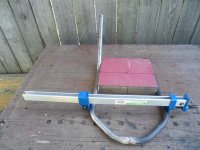
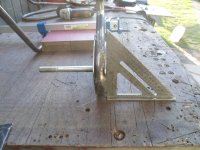
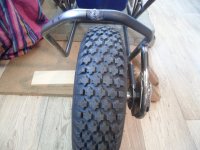
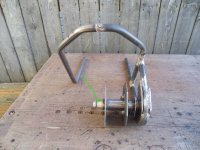
Checked "fitment" with "mock" rear hub
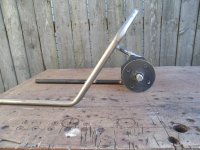
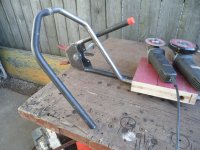
Another view
* the spacer on the end of the spindle was so I didn't have to "run" the retaining nut all of the way down the threads just for a "fitment" test
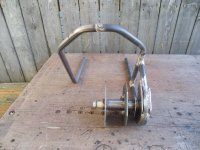
Functional Artist
Well-known member
Functional Artist
Well-known member
Well...Ima gonna have ta do some thinkin;
...so, we'll get back ta that
Remember way back when I removed the top (post #150)
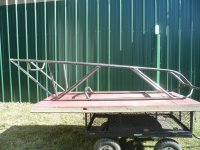
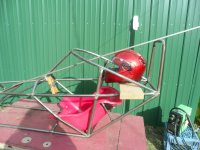
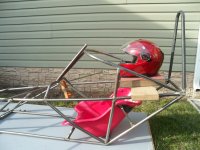
Next, I tried a couple of roll hoops
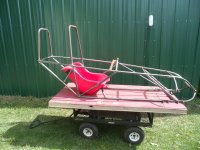
But, wasn't impressed/didn't like 'em
...so, lets try somethin' different
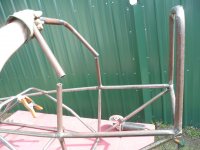
I gots an idea from watchin' some of them Aerodynamic videos
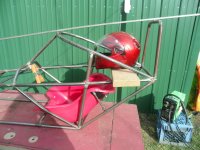
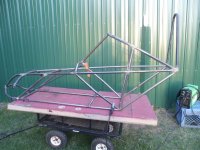
Maybe somethin' like this (styled after an F-1 Halo)

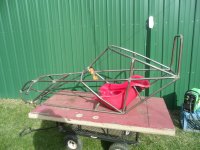
...so, we'll get back ta that

Remember way back when I removed the top (post #150)

Next, I tried a couple of roll hoops

But, wasn't impressed/didn't like 'em
...so, lets try somethin' different

I gots an idea from watchin' some of them Aerodynamic videos
Maybe somethin' like this
 (styled after an F-1 Halo)


Master Hack
Well-known member
I like that way mo bedder!
Master Hack
Well-known member
Functional Artist
Well-known member
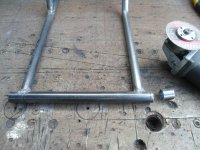
Hey T,is that a bushing? looks like an easy fix....View attachment 146783
Nope, that is just a "spacer" that I used, to not have ta "run" the nut all of the way down, just for a quick test fitting
We can't just adjust the hub over a whole 1"
...'cause where the caliper will be mounted, dictates where the rotor need ta be

My right brain tried to say "It'll be fine"
...but, my left brain was like O-He** NO
...& "get your azz back out there & fix it"
So, I had ta "bite the bullet" & attempt a modification

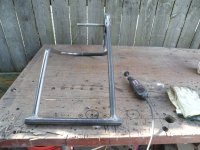
OMG this SUCKS!

...such a purty weld

...& I have ta ruin it

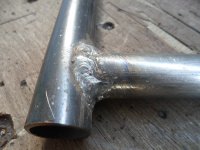
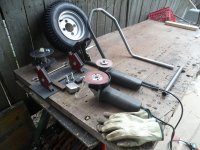
So, I used a cut off wheel, in the Dremel to try some micro-surgery
...as to try-n-not remove much material from the ends of the tube
...& also, ta try-n-not gouge &/or scare up the bushing holder too much
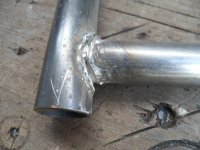
Also, removed the offending 1"
...from the center of the upright section

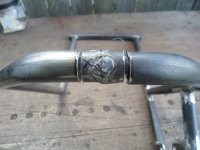
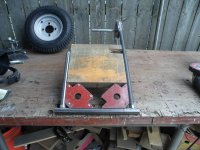
Clamped 'er together
...& re-squared 'er
...& then, re welder 'er up (again)
* Notice we have ta use a 9" "spacer" now
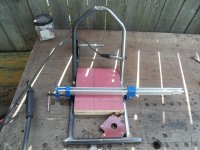
Also, double checked the spindle squareness, again
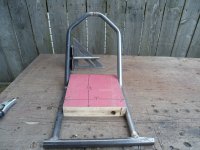
...& then, trimmed the bushing holder down (~5/8" extending out each end)
Master Hack
Well-known member
Don't forget the the doughnut is "adjustable"!

