exenos
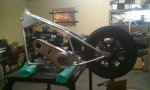
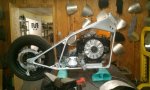
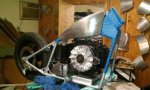
Project Nut
I agree, definitely something to drool over


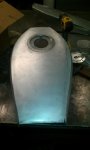


Dang... Nice!
Very...

Hey, Sorry I totally forgot you guys changed from embedding the links to hosting them!


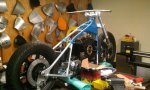
Looking at all the parts I want makes me sick
I need to be rich.