KartFab
Active member
...that... is what the reincarnated go kart shall be named,
I'm just rebuilding a kart, not so much for the fame.
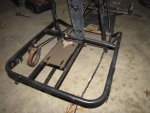
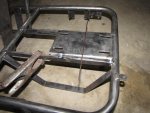
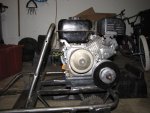
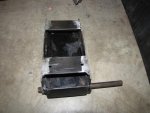
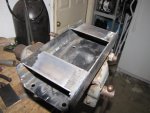
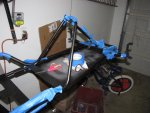
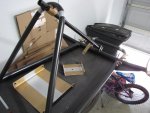
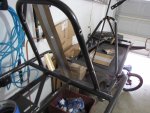
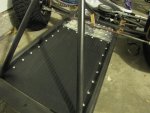
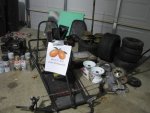
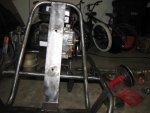
Here's the pile,
hope the sign brought a smile.
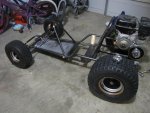
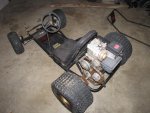
I will bring it back to life
but it will take a little while...
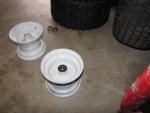
I plan on doing a series of short videos with a few pics for each go kart topic during the build. Will sell the kart at the very end after my kids have played on it for a while.
http://youtu.be/_8mi3kSHJAE
I'm just rebuilding a kart, not so much for the fame.
Here's the pile,
hope the sign brought a smile.
I will bring it back to life
but it will take a little while...
I plan on doing a series of short videos with a few pics for each go kart topic during the build. Will sell the kart at the very end after my kids have played on it for a while.
http://youtu.be/_8mi3kSHJAE
Attachments
-
 IMG_2257.jpg67.2 KB · Views: 79
 -
 IMG_2256.jpg90.5 KB · Views: 85
 Good luck with your build
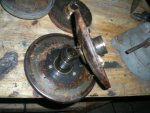

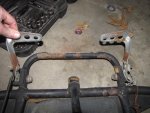
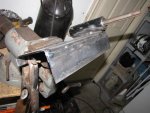
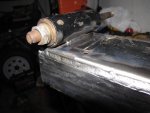
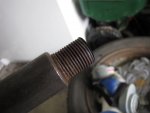
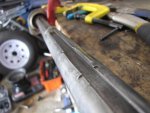
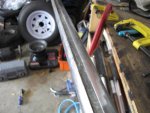
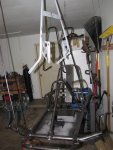
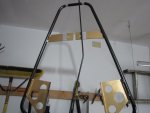
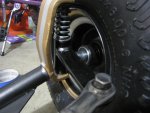
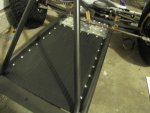
 A little more welding will be coming my way