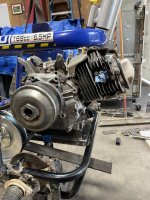
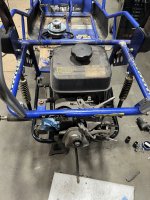
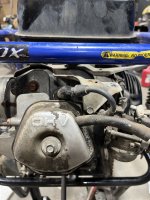
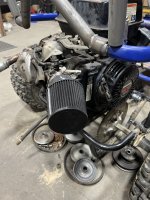
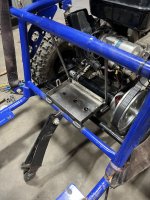
Worked on it some more last night and ran into a couple snags, first this big block keeps getting heavier and heavier every time I mess with it. Geeez she a biggin
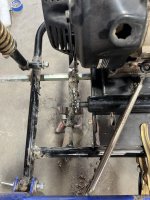
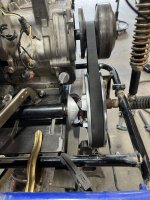
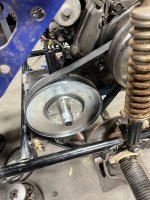
Anyway I got the torque converter mount and engine bolted down and unfortunately the slots are a little bit to tight to fit 100% and slide freely, not A big deal but not ideal.
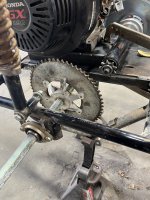
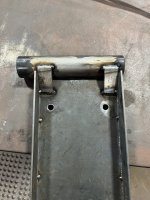
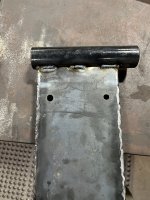
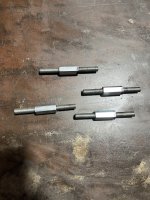
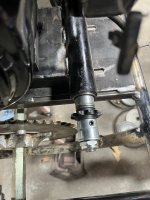
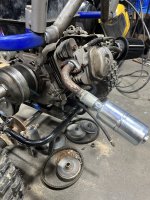
2nd when I installed the jack shaft and lined everything up, I initially intended putting the lock collars on to lock everything in place, however once I looked at it and got to thinking that was not going to work, I don’t need all this metal to fly apart behind my head. I ended up threading the ends of the shaft and out lock nuts on there for properly lock down and for “insurance” down the road.
Once I got that straight I accidentally pulled the motor too far back and broke the ignition coil that connects to the spark plug, I will need to get one of those down the road.
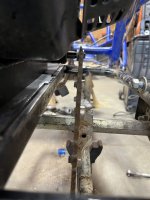
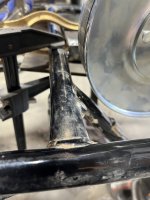
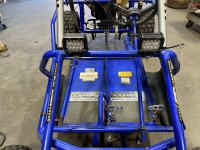
So after that fiasco I noticed yet another problem I was hoping very much to avoid……. This cart having a swing Arm and 2x motor size……. Yeap you guessed it, it hits the rear frame/bumper. I really really didn’t want to cut the frame but I will have to to allow for the travel. I have an idea in mind that I want to do, that is make an “A” shape in the middle but make it as to I can take it on and off, so I will need to make small pieces of pipe and run a Bolt through it to make it removable and have enough clearance for the motor.
Here are some pics of current progress, please let me know if any changes or tweaks would need to be done.