Keegan
New member
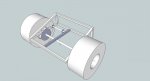
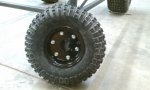
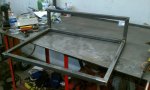
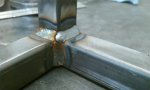
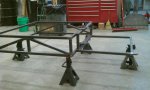
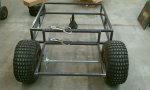
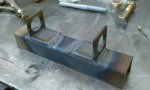
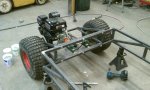
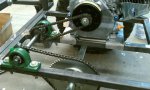
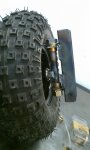
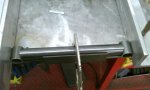
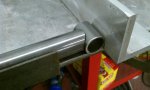
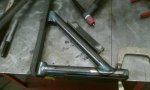
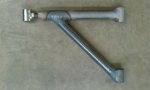
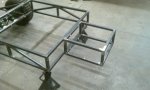
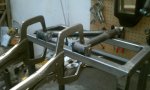
Today's update. More cutting and welding. Started to mockup rear axle and plan that part of the frame. I also blasted and painted the front rims.
Attachments
-
 fillet weld.jpg43.3 KB · Views: 25
 -
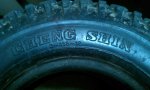
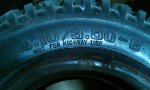
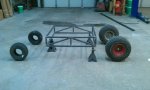 tires mockup.jpg67.4 KB · Views: 26
 -
 front rims repaint (1).jpg49.1 KB · Views: 15
 -
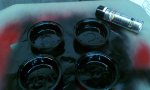 front rims repaint (2).jpg62.4 KB · Views: 18