Damien

Status
Not open for further replies.

Functional Artist

Well-known member
Messages
5,654
Reaction score
3,293
Location
Toledo, Ohio
I figured that it would be best to spray the color, on the kart first :idea2:
...then, give everything a couple of coats of the clear (while I had it mixed up & in the gun). :thumbsup:

But, before that we gotta put some stuff together.

Partial Assembly
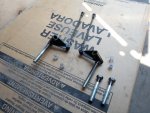
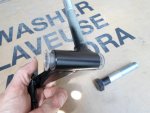
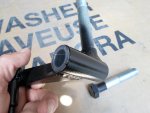
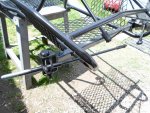
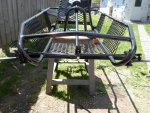
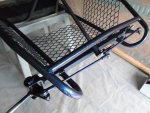
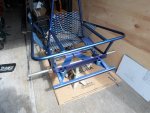
Prior to painting, (the black base coat) I assembled some stuff like the steering shaft (because it always seems to get scraped during assembly)
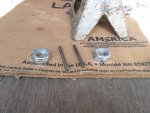
…& then, before the top coats, I assembled a few other things like the spindles & tie-rods (the bolt heads always gets scuffed if I put a wrench on 'em after paint)
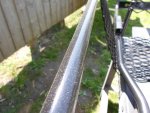
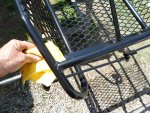
yup, then some/a bunch of cleanin' (so dusty in just a few days) :smiley_omg:
 

Attachments

  • SAM_0885.jpg
    SAM_0885.jpg
    320.2 KB · Views: 3
  • SAM_0886.jpg
    SAM_0886.jpg
    214.8 KB · Views: 3
  • SAM_0887.jpg
    SAM_0887.jpg
    194.5 KB · Views: 3
  • SAM_0889.jpg
    SAM_0889.jpg
    543.1 KB · Views: 3
  • SAM_0890.jpg
    SAM_0890.jpg
    522.3 KB · Views: 4
  • SAM_0891.jpg
    SAM_0891.jpg
    250.1 KB · Views: 3
  • SAM_0896.jpg
    SAM_0896.jpg
    586.3 KB · Views: 3

Functional Artist

Well-known member
Messages
5,654
Reaction score
3,293
Location
Toledo, Ohio
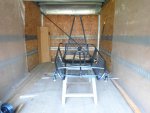
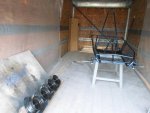
I cleaned 'er up, mostly outside then, put 'er in the DIY paint booth
…& gave everything a final wipe down.

Now to get our color shifting "paint" mixed. :thumbsup:

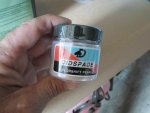
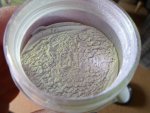
It's basically just "special" powder (magic dust) that ya add to a clear "binder". :cheers2:

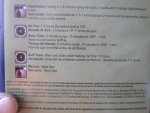
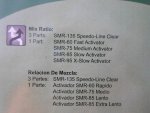
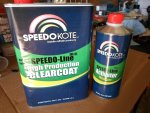
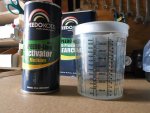
The clear that I am using is a 2K (2 component) system.
It's to be mixed @ a 3:1 ratio with the activator (hardener)

https://www.ebay.com/itm/Automotive...e=STRK:MEBIDX:IT&_trksid=p2060353.m2749.l2649

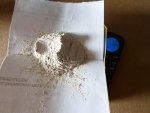
That would be ~19g. per qt. (32 oz.), ~9g. per pint (16 oz.) & then ~5g. to a 1/2 pint (8 oz.)

I'm gonna try 8 oz. This kart doesn't have many flat areas, mostly bars
...& I only need to put a couple of light coats

I don't want to mix up more than I need (once activated it only has ~4 hr. "pot life")

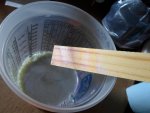
So, next we need a paint mixing cup, for the 3:1 ratio
...& a scale to weigh the powder. :cheers2:
 

Attachments

  • SAM_0903.jpg
    SAM_0903.jpg
    263.7 KB · Views: 1
  • SAM_0902.jpg
    SAM_0902.jpg
    342.3 KB · Views: 1
  • SAM_0900.jpg
    SAM_0900.jpg
    320.9 KB · Views: 1
  • SAM_0919.jpg
    SAM_0919.jpg
    257.1 KB · Views: 2
  • SAM_0907.jpg
    SAM_0907.jpg
    228.3 KB · Views: 1
  • SAM_0909.jpg
    SAM_0909.jpg
    245.5 KB · Views: 1

Functional Artist

Well-known member
Messages
5,654
Reaction score
3,293
Location
Toledo, Ohio
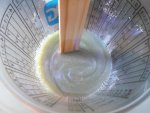
Well, to end up with ~8oz. of material @ a 3:1 ratio after mixing, we'll start by pouring 6oz. of the clear into the mixing cup
…& then, adding 2oz. of the activator. :thumbsup:

After mixing that mixture well (~2-3 min) I added ~5g. of the "magic dust" & spent another 2-3 min mixing that up good. :cheers2:

Then, I loaded it up into a spray gun & headed out to the paint booth.

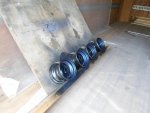
While test spraying I accidentally got some on the rims (on the inside side)
...so, I thought what the heck, I'll go ahead & spray the inside side to "flip" or change colors too.
(just to see how it would look) :cool:
...the out side will still be black :2guns:
 

Attachments

  • SAM_0916.jpg
    SAM_0916.jpg
    226.7 KB · Views: 2
  • SAM_0915.jpg
    SAM_0915.jpg
    250.1 KB · Views: 1
  • SAM_0914.jpg
    SAM_0914.jpg
    282.8 KB · Views: 1
  • SAM_0913.jpg
    SAM_0913.jpg
    292.6 KB · Views: 2
  • SAM_0911.jpg
    SAM_0911.jpg
    302.4 KB · Views: 2
  • SAM_0918.jpg
    SAM_0918.jpg
    231.2 KB · Views: 3
  • SAM_0924.jpg
    SAM_0924.jpg
    265.4 KB · Views: 3
  • SAM_0928.jpg
    SAM_0928.jpg
    302.8 KB · Views: 3
  • SAM_0929.jpg
    SAM_0929.jpg
    226 KB · Views: 4

Functional Artist

Well-known member
Messages
5,654
Reaction score
3,293
Location
Toledo, Ohio
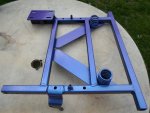
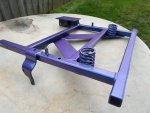
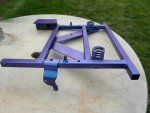
I almost forgot to spray the swing arm. :oops:
So, I gav'er a quick wipe down
...& just hung it from the clothesline. :thumbsup:

Well, for not workin' with or using an actual spray gun for years
...then, using a new/unfamiliar spray gun (HVLP)
...with new & unfamiliar paint & materials

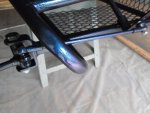
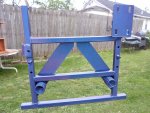
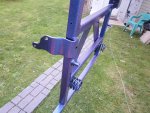
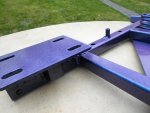
I think it turned out "pretty good" :cheers2:
...it kinda "flips" :rolleyes:

I'd giv'er probably a 6 out of 10. :p

* There's a learning curve to this
...don't worry, I'll do better next time. :2guns:

** If ya look closely, the clear is totally running/drippin' off of the bottom edge of the swing arm. :ack2:
I think the tip in the spray gun was too big. :idea2:
 

Attachments

  • SAM_0921.jpg
    SAM_0921.jpg
    448.6 KB · Views: 3
  • SAM_0922.jpg
    SAM_0922.jpg
    483.3 KB · Views: 4
  • SAM_0923.jpg
    SAM_0923.jpg
    438.2 KB · Views: 4

Functional Artist

Well-known member
Messages
5,654
Reaction score
3,293
Location
Toledo, Ohio
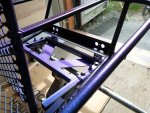
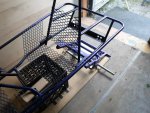
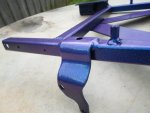
Is it blue or is it purple? :rolleyes:
...kinda depends on your point of view :lolgoku:

Here are a few more "color shifting" pics :thumbsup:

After letting the paint dry/harden for a few days
...it's time to get 'er reassembled :cheers2:

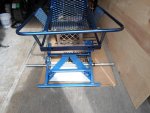
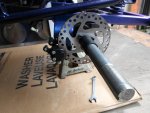
I installed the rear axle onto the swing arm first
...then started installing the swing arm onto the kart. :2guns:
 

Attachments

  • SAM_0939.jpg
    SAM_0939.jpg
    290.2 KB · Views: 1
  • SAM_0938.jpg
    SAM_0938.jpg
    257.3 KB · Views: 1
  • SAM_0937.jpg
    SAM_0937.jpg
    306.3 KB · Views: 2
  • SAM_0936.jpg
    SAM_0936.jpg
    312.4 KB · Views: 2
  • SAM_0935.jpg
    SAM_0935.jpg
    318.3 KB · Views: 1
  • SAM_0956.jpg
    SAM_0956.jpg
    379.3 KB · Views: 1
  • SAM_0955.jpg
    SAM_0955.jpg
    408.1 KB · Views: 2
  • SAM_0952.jpg
    SAM_0952.jpg
    410.8 KB · Views: 1
  • SAM_0953.jpg
    SAM_0953.jpg
    375.9 KB · Views: 1
  • SAM_0949.jpg
    SAM_0949.jpg
    540.3 KB · Views: 1

Functional Artist

Well-known member
Messages
5,654
Reaction score
3,293
Location
Toledo, Ohio
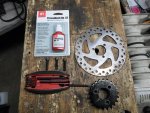
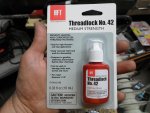
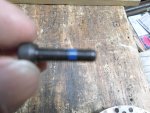
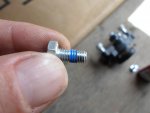
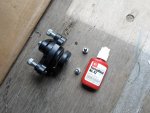
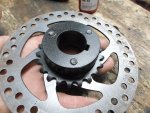
I suggest that (for safety reasons) you use some good locktite on those bolts. It doesn't need to be the permanent thread-lock, it just needs to be strong enough to keep those bolts from backing out while riding.

I didn't forget. :thumbsup:

Used some for mounting the caliper too. :2guns:
 

Attachments

  • SAM_0980.jpg
    SAM_0980.jpg
    387.1 KB · Views: 4
  • SAM_0981.jpg
    SAM_0981.jpg
    268.8 KB · Views: 4
  • SAM_0982.jpg
    SAM_0982.jpg
    239.2 KB · Views: 4
  • SAM_0984.jpg
    SAM_0984.jpg
    304.7 KB · Views: 4
  • SAM_0988.jpg
    SAM_0988.jpg
    277 KB · Views: 4
  • SAM_1029.jpg
    SAM_1029.jpg
    282.4 KB · Views: 5
  • SAM_1026.jpg
    SAM_1026.jpg
    160.9 KB · Views: 4
  • SAM_1025.jpg
    SAM_1025.jpg
    414.4 KB · Views: 4
  • SAM_0990.jpg
    SAM_0990.jpg
    341.9 KB · Views: 4

Functional Artist

Well-known member
Messages
5,654
Reaction score
3,293
Location
Toledo, Ohio
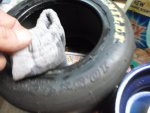
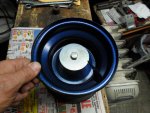
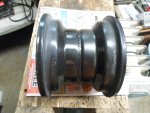
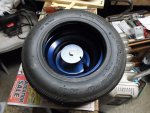
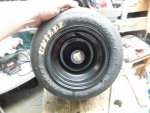
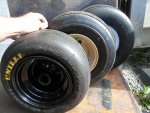
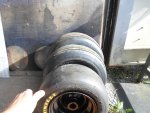
Finally gonna put these Unelli tires to use (they been sittin' around here for like a year now) :thumbsup:

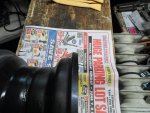
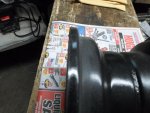
The rims have (2) different profiles on the outer edges
…(1) side seems to curves in a bit

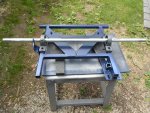
So, I bolted a rim down to the work bench (with the "curved in" side upwards)
...kinda like a third hand to help hold it in place

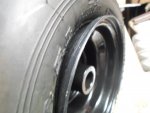
I lubricated the inside (bead) of the tire & rim with some dishsoap
…& was able to just "muscle" the first side on.

The second side wasn't as easy
...just had to use a little ingenuity, lubricant & some tools. :cheers2:

Then, I had to pressurize 'em & deflate 'em a few times to get the bead to slide a bit & seat.

They looks pretty good. :2guns:
 

Attachments

  • SAM_1017.jpg
    SAM_1017.jpg
    240.1 KB · Views: 3
  • SAM_0995.jpg
    SAM_0995.jpg
    298.4 KB · Views: 3
  • SAM_0994.jpg
    SAM_0994.jpg
    356 KB · Views: 3
  • SAM_0992.jpg
    SAM_0992.jpg
    280.8 KB · Views: 3
  • SAM_0991.jpg
    SAM_0991.jpg
    286.2 KB · Views: 3
  • SAM_1019.jpg
    SAM_1019.jpg
    300.6 KB · Views: 4
  • SAM_1021.jpg
    SAM_1021.jpg
    211.5 KB · Views: 4
  • SAM_1024.jpg
    SAM_1024.jpg
    250.9 KB · Views: 4

Functional Artist

Well-known member
Messages
5,654
Reaction score
3,293
Location
Toledo, Ohio
I knew they were small
...but, WOW!
I must say "these are some really small tires" :huh:

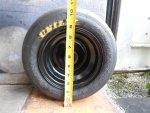
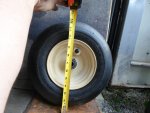
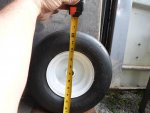
The rear wheels off of the Torsk kart are 13 x 6.50 - 6 (~13" tall)
…& the fronts are 13 x 5.00 - 6 (~12" tall)

These Unelli's are 10.5 x 4.50 - 6
…but, only ~10 1/2" tall :huh:
 

Attachments

  • SAM_1042.jpg
    SAM_1042.jpg
    308.9 KB · Views: 4
  • SAM_1041.jpg
    SAM_1041.jpg
    265.7 KB · Views: 4
  • SAM_1040.jpg
    SAM_1040.jpg
    244.7 KB · Views: 4
  • SAM_1039.jpg
    SAM_1039.jpg
    361.3 KB · Views: 3
  • SAM_1036.jpg
    SAM_1036.jpg
    333.8 KB · Views: 3
Functional Artist

Well-known member
Messages
5,654
Reaction score
3,293
Location
Toledo, Ohio
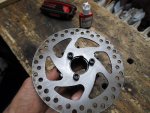
Once I got the wheels mounted (don't forget the keys) :lolgoku:
*the left rear wheel needed to be off until I got the brake cable installed

I started installing the electronics. :thumbsup:

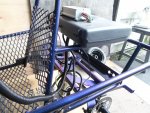
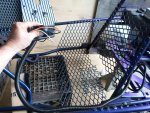
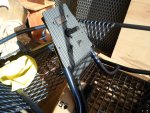
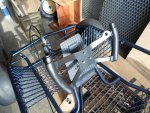
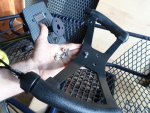
I have it set up as pretty much a "modular" system so, I just bolted the control box down
...then, mounted the motor
...then, the dash
...& then, finally the steering wheel/hand controls. :cheers2:
 

Attachments

  • SAM_1044.jpg
    SAM_1044.jpg
    340 KB · Views: 4
  • SAM_1045.jpg
    SAM_1045.jpg
    432.2 KB · Views: 4
  • SAM_1047.jpg
    SAM_1047.jpg
    467 KB · Views: 4
  • SAM_1048.jpg
    SAM_1048.jpg
    399.5 KB · Views: 4
  • SAM_1050.jpg
    SAM_1050.jpg
    373.2 KB · Views: 4
  • SAM_1052.jpg
    SAM_1052.jpg
    462.6 KB · Views: 5
  • SAM_1051.jpg
    SAM_1051.jpg
    339.8 KB · Views: 4

Functional Artist

Well-known member
Messages
5,654
Reaction score
3,293
Location
Toledo, Ohio
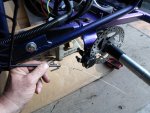
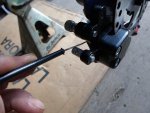
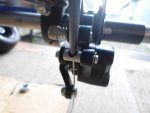
Ran, attached & adjusted the brake cable
...then, used a couple of zip ties to keep the wiring harness & brake cable in place.
 

Attachments

  • SAM_1053.jpg
    SAM_1053.jpg
    379.6 KB · Views: 6
  • SAM_1054.jpg
    SAM_1054.jpg
    199.7 KB · Views: 5
  • SAM_1058.jpg
    SAM_1058.jpg
    174 KB · Views: 5
  • SAM_1059.jpg
    SAM_1059.jpg
    139.7 KB · Views: 5
  • SAM_1062.jpg
    SAM_1062.jpg
    347 KB · Views: 5
  • SAM_1065.jpg
    SAM_1065.jpg
    254.1 KB · Views: 5

Functional Artist

Well-known member
Messages
5,654
Reaction score
3,293
Location
Toledo, Ohio
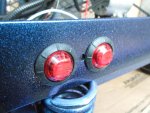
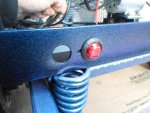
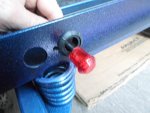
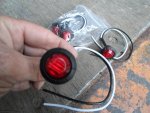
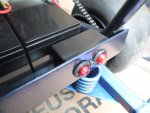
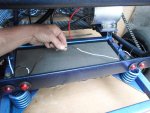
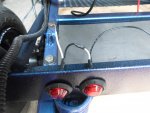
Now that we have brakes, we need to add the brake lights. :thumbsup:

Since this kart has a 48V system, we need (4) 12V lights, wired in series.
 

Attachments

  • SAM_1073.jpg
    SAM_1073.jpg
    327.5 KB · Views: 4
  • SAM_1071.jpg
    SAM_1071.jpg
    328.2 KB · Views: 4
  • SAM_1069.jpg
    SAM_1069.jpg
    276 KB · Views: 4
  • SAM_1066.jpg
    SAM_1066.jpg
    336.7 KB · Views: 4
  • SAM_1067.jpg
    SAM_1067.jpg
    235.8 KB · Views: 4

Functional Artist

Well-known member
Messages
5,654
Reaction score
3,293
Location
Toledo, Ohio
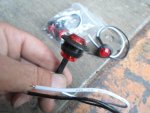
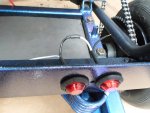
Gettin' the brake lights wired up :thumbsup:

The white wire from light #1 is the negative (-) RTN
…& the black wire from light #4 is the positive (+) input

I connected the black wire from light #1 to the white wire on light #2
…the black wire from light #2 to the white wire on light #3
…the black wire from light #3 to the white wire from light #4
…& finally, the power/RTN wires from the harness. :cheers2:

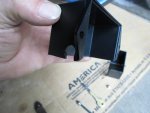
I drilled holes in the protective boxes, for the wires to run thru
...then bolted 'em down.

Looks good-n-solid :cool:

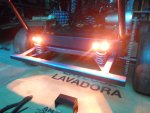
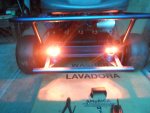
BOOM!, we have brake lights :2guns:
 

Attachments

  • SAM_1089.jpg
    SAM_1089.jpg
    248.4 KB · Views: 4
  • SAM_1087.jpg
    SAM_1087.jpg
    186.5 KB · Views: 4
  • SAM_1084.jpg
    SAM_1084.jpg
    299.2 KB · Views: 4
  • SAM_1082.jpg
    SAM_1082.jpg
    301.3 KB · Views: 4
  • SAM_1081.jpg
    SAM_1081.jpg
    294.3 KB · Views: 4
  • SAM_1094.jpg
    SAM_1094.jpg
    261.8 KB · Views: 5
  • SAM_1095.jpg
    SAM_1095.jpg
    262.4 KB · Views: 4
  • SAM_1092.jpg
    SAM_1092.jpg
    268.3 KB · Views: 5

JTSpeedDemon

2019 Build Off Winner!
Messages
4,026
Reaction score
162
Location
Texas
It is certainly Functional Art.
Even though I haven't seen a fully completed photo yet, I can tell it's gonna be real purty!
 
Status
Not open for further replies.
Top