Celerity Quicksilver Sport Coupe (EA racer)

Functional Artist

Well-known member
Messages
5,704
Reaction score
3,385
Location
Toledo, Ohio
Amazon...to the rescue

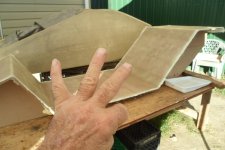
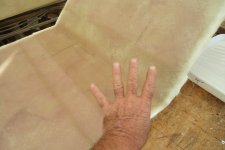
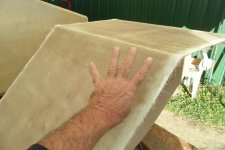
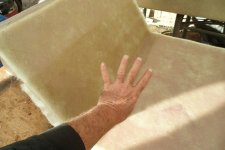
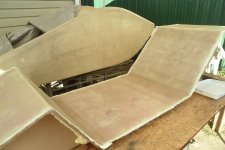
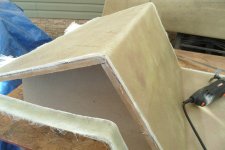
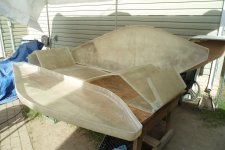
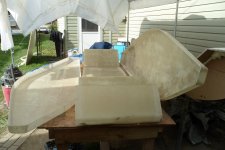
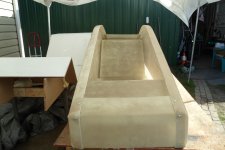
Now, we have (3) layers of 1708 FG on the floorboard
SAM_9404 (1).JPG
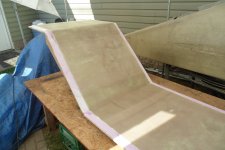
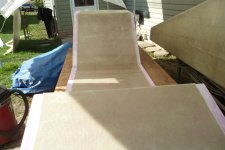
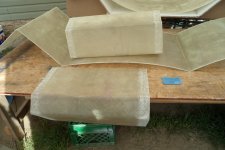
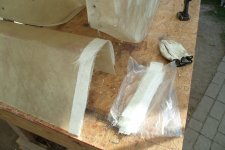
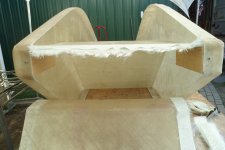
I added another layer (~8"wide) across the "open" curves, ta "beef" 'em up a bit

Like here at the bottom of the seatback
SAM_9405 (1).JPG
And here, at the top of the seatback
SAM_9407 (1).JPG
And here, at the bottom of the footboard too
SAM_9406 (1).JPG
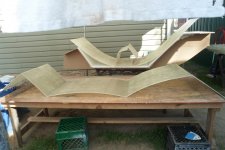
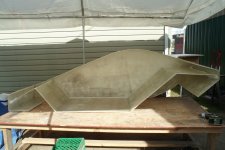
Looks like this...overall :thumbsup:
SAM_9408 (1).JPG
 

Functional Artist

Well-known member
Messages
5,704
Reaction score
3,385
Location
Toledo, Ohio
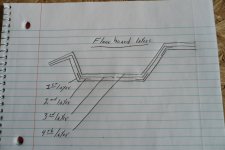
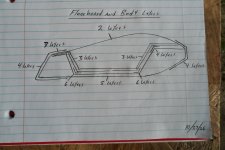
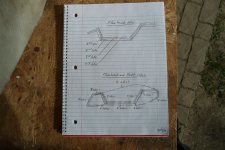
Early in the morning, while it was still kinda kool outside (~48*) I drew up a FG layering diagram, to help illustrate the floorboard construction
SAM_9449 (1).JPG
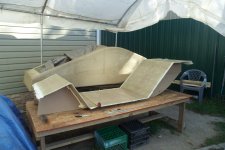
Later, in the afternoon, when it warmed up (~70*) I "popped" the FG floorboard, off the mold
SAM_9412 (1).JPG
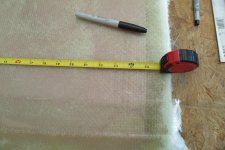
But/then, I left it/put it back on the mold ta "hold it" for measurin', markin' & cuttin'

* 25"W
SAM_9416 (1).JPG
After measurin' & markin", I used the edge of the mold to mark a nice-n-straight line, from underneath, for cuttin'
SAM_9419 (1).JPG
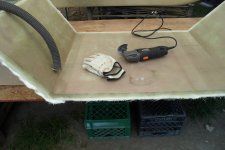
Here is my FG cuttin' set up
SAM_9422 (1).JPG
** Notice that I use an oscillating cutter
...because it doesn't throw material into the air, creating a toxic cloud of FG dust, like a spinning cutter/saw would
&
Use a vacuum to collect dust/material, as its created
...while wearing leather gloves & safety glasses
SAM_9423 (1).JPG
 

Functional Artist

Well-known member
Messages
5,704
Reaction score
3,385
Location
Toledo, Ohio
Floorboard trimmin' pics
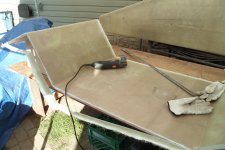
A straight edge & a couple of clamps helped with cutting the long straight(s)
SAM_9424 (1).JPG
* The straight edge & clamps helped with these short "runs" too
SAM_9425 (1).JPG
All trimmed up

** Notice how "clean" (no toxic white dust) I'm tryin' ta keep the work?
SAM_9426 (1).JPG
*** I made the mold ~28" wide
...& covered the entire width with FG cloth

So, I could then trim ~1 1/2" off of each side
...&/then, end up with a "nice" 25" wide piece
...without any inconsistent/thin spots
...&/or frayed edges ;)
SAM_9427 (1).JPG
 

Functional Artist

Well-known member
Messages
5,704
Reaction score
3,385
Location
Toledo, Ohio
Assembly method

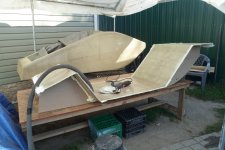
Kinda like in automotive Uni-body construction, I'm going to use the "overlapping" panel technique
...&/so, the sides will "overlap" the "nose", "tail" & floorboard (~2")

* The "nose", "tail" & floorboard are all cut at 25" wide, to help maintain a consistent width, of everything, during assembly
...& to help "square up" the pieces, with each other too :cheers2:

First step is to prep the pieces by "scuffing up" (~2") along the outside edges of the "nose", "tail" & floorboard
...&/also, (~2") inside the perimeter of the sides
SAM_9429 (1).JPG
* I pre-assembled the pieces (to ensure fitment)
...& used screws to "bolt" 'em together :thumbsup:

A sneak peek at construction ;)
SAM_9433 (1).JPG
 

Functional Artist

Well-known member
Messages
5,704
Reaction score
3,385
Location
Toledo, Ohio
Pre-assembled body panels with floorboard insert
SAM_9436 (1).JPG
Then, dis-assembled 'er a section at a time
...& started "gluing" everything back together
SAM_9451 (1).JPG
"Gluing" method
I pre-coat the roughened body panel surfaces with resin
...&/also use "gooped up" (with resin) strips of CSM (chopped strand mat) as "gluing strips", in-between each mating surface
SAM_9452 (1).JPG
Another view
** Notice I'm using a couple of pieces of 2 x 4's as "deck" props, to help hold it in the proper position for gluing
&
*** Notice the excess FG cloth "hanging off" the end of the "deck" for "gluing" to the inside edge, of the "tail" piece
SAM_9453 (1).JPG
 

Functional Artist

Well-known member
Messages
5,704
Reaction score
3,385
Location
Toledo, Ohio
Please tell me the over the top layer will be transparent.
Hey Ez,

Ya mean like a "glass roof"?

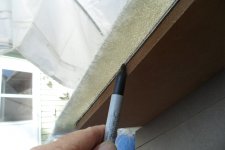
If/so, yup I'ma thinkin' ta try/use a piece of 1/8" polycarbonate sheet
...goin' from the dashboard all the way back, to the "tail" :thumbsup:

The "plan" is to "glue in" something like ~3" wide strips, all along the roofline of the side panels
...that will "overhang" ~1/2", to create a "trough" for the polycarbonate sheet to "sit in"
...& these "strips" should/will "double up" the thickness (& strength) of those side panel "roof lines" too ;)

So, the windshield, roof & back window can all (3) be made (& installed) in (1) "shot"
...which should create a nice-n-aerodynamic "top surface" too :sifone:
 

Functional Artist

Well-known member
Messages
5,704
Reaction score
3,385
Location
Toledo, Ohio
I expanded on the FG layer diagram

* The body panels are all made outta (2) layers of the 1708 FG cloth with polyester resin
...& the floorboard is mainly (3) layers ;)
SAM_9448 (1).JPG
So, I wanted to "point out" (make a note of) how much the thickness of the "overlapping junctions" will increase...after assembly ;)

It's mainly just the "overlapping junctions"
...but, some of them "junctions" will double or even triple :2guns:
SAM_9450 (1).JPG
 
Top