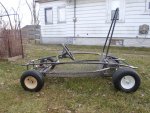
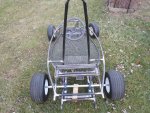
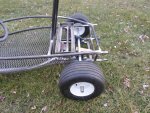
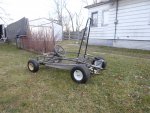
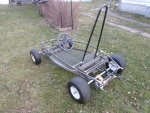
Building a go kart size Aerial Atom

Functional Artist

Well-known member
Messages
5,654
Reaction score
3,293
Location
Toledo, Ohio
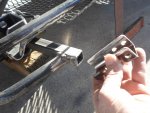
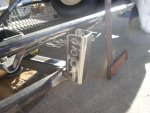
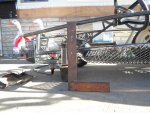
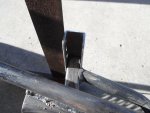
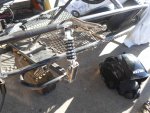
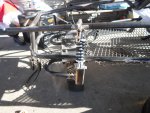
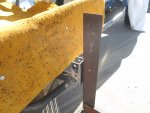
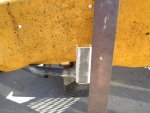
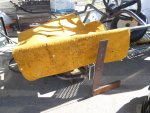
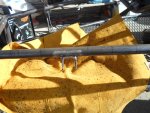
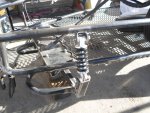
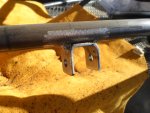
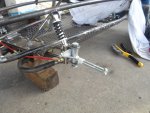
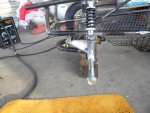
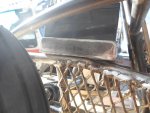
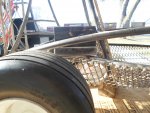
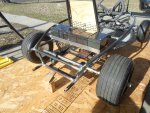
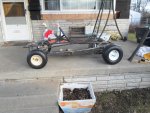
Yup, now they fit super snug :thumbsup:
…& their nice-n-square too :2guns:
 

Attachments

  • SAM_3927.JPG
    SAM_3927.JPG
    1.3 MB · Views: 4
  • SAM_3928.JPG
    SAM_3928.JPG
    1.3 MB · Views: 4
  • SAM_3931.JPG
    SAM_3931.JPG
    1.3 MB · Views: 5
  • SAM_3935.JPG
    SAM_3935.JPG
    1.3 MB · Views: 4

Functional Artist

Well-known member
Messages
5,654
Reaction score
3,293
Location
Toledo, Ohio
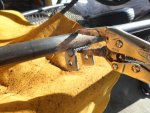
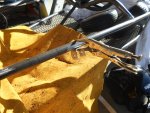
Covered the frame & stuff with my "splatter blocker" (welding apron)
...double checked snugness & squareness in (2) different directions
...& then, tacked 'er on :thumbsup:

Let 'er kool down a bit
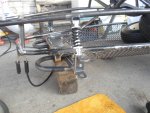
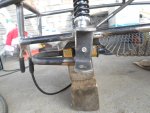
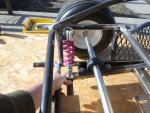
...then, bolted a shock to the bracket
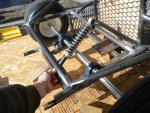
...& used it to line up where the top shock mount needs to go

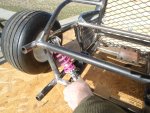
Clamped 'er in place (with a pair of vice grips)
...double checked that it "looked good" & was in alignment with the frame rail
...then, tacked 'er down too

Let 'er kool down again (don't take long in 40* weather)
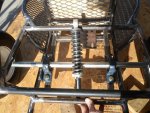
…& installed a shock to triple check alignment

Covered everything again & welded 'er on good :2guns:

Same procedure for the right side :cheers2:
 

Attachments

  • SAM_3943.JPG
    SAM_3943.JPG
    1.3 MB · Views: 5
  • SAM_3942.JPG
    SAM_3942.JPG
    1.3 MB · Views: 4
  • SAM_3940.JPG
    SAM_3940.JPG
    1.3 MB · Views: 2
  • SAM_3939.JPG
    SAM_3939.JPG
    1.3 MB · Views: 2
  • SAM_3936.JPG
    SAM_3936.JPG
    1.3 MB · Views: 3
  • SAM_3952.JPG
    SAM_3952.JPG
    1.3 MB · Views: 6
  • SAM_3950.JPG
    SAM_3950.JPG
    1.3 MB · Views: 8
  • SAM_3949.JPG
    SAM_3949.JPG
    1.2 MB · Views: 5
  • SAM_3947.JPG
    SAM_3947.JPG
    1.3 MB · Views: 5
  • SAM_3945.JPG
    SAM_3945.JPG
    1.3 MB · Views: 4

Functional Artist

Well-known member
Messages
5,654
Reaction score
3,293
Location
Toledo, Ohio
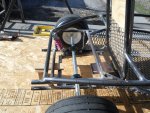
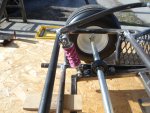
Installed the black shocks (I think these will work best, but we have options) :thumbsup:

Drilled a 3/16" hole in the middle of the spindle brackets, just a little bit below the center.

Then, after double checking & adjusting the "stance" of the kart ("levelness" of the floorboard etc.)
…& checking where the spindle needs to be attached (with tire mounted)

I drilled a corresponding hole (@ the proper height) in the "face" of the shock mount brackets.

This allows me to use a "self tapping" 3/16" screw to "temporarily" attach the spindle brackets
...& also aids in the adjusting (& holding of) the "caster" (angle of spindle) for welding. :2guns:
 

Attachments

  • SAM_3953.JPG
    SAM_3953.JPG
    1.3 MB · Views: 7
  • SAM_3955.JPG
    SAM_3955.JPG
    1.3 MB · Views: 7
  • SAM_3957.JPG
    SAM_3957.JPG
    1.3 MB · Views: 9
  • SAM_3956.JPG
    SAM_3956.JPG
    1.3 MB · Views: 9

Functional Artist

Well-known member
Messages
5,654
Reaction score
3,293
Location
Toledo, Ohio
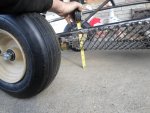
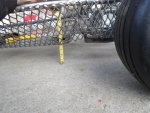
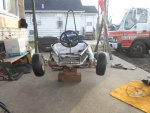
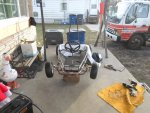
Installed the front wheels
...& she's sittin' on her own :thumbsup:

Double checked floor board height
…~4" in the front & the back :cheers2:
 

Attachments

  • SAM_3962.JPG
    SAM_3962.JPG
    1.3 MB · Views: 7
  • SAM_3961.JPG
    SAM_3961.JPG
    1.3 MB · Views: 6
  • SAM_3959.JPG
    SAM_3959.JPG
    1.3 MB · Views: 10
  • SAM_3958.JPG
    SAM_3958.JPG
    1.3 MB · Views: 8

Functional Artist

Well-known member
Messages
5,654
Reaction score
3,293
Location
Toledo, Ohio
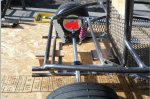
While I had 'er sittin' nice, I tried a few different rear shock options :thumbsup:

Nuthin's clikin' just yet so, we'll havta get back to that :cheers2:
…& some options may interfere with the placement of the battery box

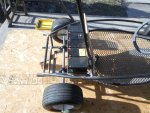
So, I went ahead & sat the battery box behind the seatback/rollbar

It fits "like a glove", almost kinda like I designed it that way :2guns:
...double checked the levelness & tacked 'er in place :cool:
 

Attachments

  • SAM_3842.JPG
    SAM_3842.JPG
    1.3 MB · Views: 5
  • SAM_3843.JPG
    SAM_3843.JPG
    1.3 MB · Views: 5
  • SAM_3844.JPG
    SAM_3844.JPG
    1.3 MB · Views: 5
  • SAM_3845.JPG
    SAM_3845.JPG
    1.3 MB · Views: 5
  • SAM_3846.JPG
    SAM_3846.JPG
    1.3 MB · Views: 5
  • SAM_3850.JPG
    SAM_3850.JPG
    1.3 MB · Views: 6
  • SAM_3852.JPG
    SAM_3852.JPG
    1.3 MB · Views: 5
  • SAM_3851.JPG
    SAM_3851.JPG
    1.3 MB · Views: 5
  • SAM_3849.JPG
    SAM_3849.JPG
    1.3 MB · Views: 8
  • SAM_3848.JPG
    SAM_3848.JPG
    1.3 MB · Views: 5

Functional Artist

Well-known member
Messages
5,654
Reaction score
3,293
Location
Toledo, Ohio
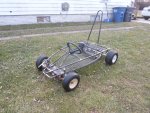
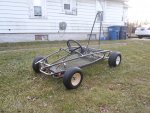
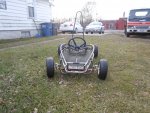
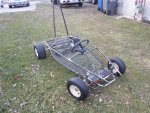
I took these pics before puttin' 'er away :thumbsup:
...weather guy says, snows coming :ack2:
 

Attachments

  • SAM_3960.JPG
    SAM_3960.JPG
    1.3 MB · Views: 9
  • SAM_3965.JPG
    SAM_3965.JPG
    1.2 MB · Views: 8
  • SAM_3966.JPG
    SAM_3966.JPG
    1.3 MB · Views: 6
  • SAM_3968.JPG
    SAM_3968.JPG
    1.3 MB · Views: 6
  • SAM_3969.JPG
    SAM_3969.JPG
    1.1 MB · Views: 6
  • SAM_3964.JPG
    SAM_3964.JPG
    1.3 MB · Views: 8
  • SAM_3972.JPG
    SAM_3972.JPG
    1.2 MB · Views: 6
  • SAM_3973.JPG
    SAM_3973.JPG
    1.2 MB · Views: 7
  • SAM_3971.JPG
    SAM_3971.JPG
    1.3 MB · Views: 6
  • SAM_3970.JPG
    SAM_3970.JPG
    1.2 MB · Views: 6

Functional Artist

Well-known member
Messages
5,654
Reaction score
3,293
Location
Toledo, Ohio
Yup, weather guy was right, we got ~4" of snow :ack2:
...time for some indoor projects :thumbsup:

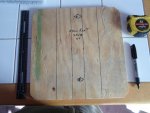
So, I took a break from my DIY "home school" electronics class
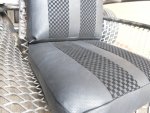
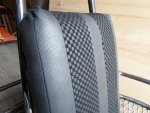
…& worked on the upholstery for the seat :cheers2:

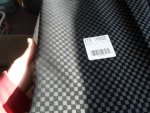
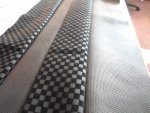
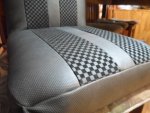
I picked up a yard black vinyl with pin holes (~$10.00)
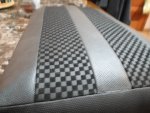
...& a yard of this kool lookin' 2-tone black vinyl material (~$10.00) too.
(it looks way kooler than in the pics)

For this one, lets do somethin' different :cheers2:
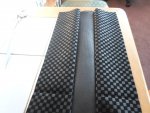
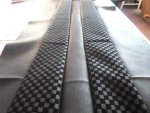
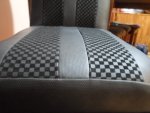
...I'm thinkin' "Racing Stripes :auto:

For this size seat, I'm thinkin' ~2" racing stripes
...with a ~1 1/2" stripe down the middle

So, I did some measurin' & some markin' & cuttin'

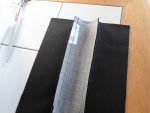
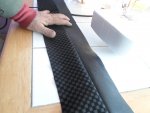
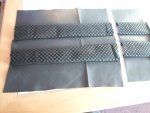
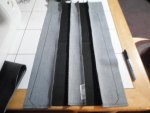
For the center stripe, I cut a piece of the plain black vinyl ~ 2" wide
...this way we will have ~1 1/2" of exposed material & a 1/4" flap on each side for sewing.

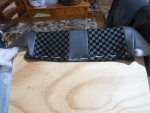
For the racing stripes, I cut (2) 2 1/2" strips of the 2-tone material
...this way we will have ~2" of exposed material & also our 1/4"sewing flaps.

I also cut (2) 4" strips to use as side "wrap around" pieces

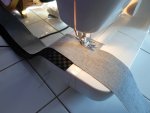
First, I lined up the middle stripe with one of the racing stripes & sewed them together nice-n-straight.
...sewed the second racing stripe to the other side of the middle stripe.
…& then, sewed the (2) side pieces on too. :2guns:

* I cut & sewed everything together @ the full (1) yard length
...so, there should be enough to do both the seat back & bottom. :sifone:
 

Attachments

  • SAM_4018.JPG
    SAM_4018.JPG
    1.3 MB · Views: 3
  • SAM_4015.JPG
    SAM_4015.JPG
    1.3 MB · Views: 3
  • SAM_4016.JPG
    SAM_4016.JPG
    1.2 MB · Views: 3
  • SAM_4030.JPG
    SAM_4030.JPG
    1.3 MB · Views: 2
  • SAM_4026.JPG
    SAM_4026.JPG
    1.2 MB · Views: 2
  • SAM_4025.JPG
    SAM_4025.JPG
    1.3 MB · Views: 2
  • SAM_4023.JPG
    SAM_4023.JPG
    1.3 MB · Views: 2
  • SAM_4021.JPG
    SAM_4021.JPG
    1.3 MB · Views: 4
  • SAM_4032.JPG
    SAM_4032.JPG
    1.3 MB · Views: 3
  • SAM_4033.JPG
    SAM_4033.JPG
    1.3 MB · Views: 3

Functional Artist

Well-known member
Messages
5,654
Reaction score
3,293
Location
Toledo, Ohio
Thanks fellas :cheers2:

Now that we have our "top" surface we need to divide it.:thumbsup:

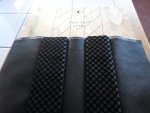
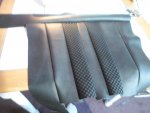
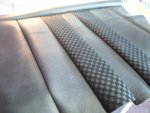
I cut the "top surface" material ~60-40 (60% for the seatback & 40% for the seat bottom)

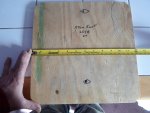
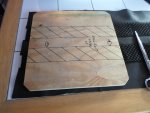
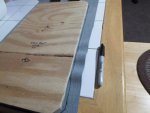
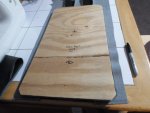
Then, I layed the plywood base down, marked & trimmed 'em at ~1/2", all the way around
(this way the seating surfaces will roughly match their bases & we'll still have a nice sewing flap)

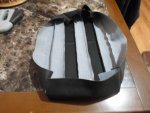
Next, I cut some 4" strips (of the pinhole vinyl) & sewed (1) to each side & across the front & back of the seat bottom
…& also, to each side & across the top & bottom of the seatback.

Lastly, I sewed up the corners up nice-n-square
...& then sewed them curving inwards a little to round the corners a bit :2guns:
 

Attachments

  • SAM_4041.JPG
    SAM_4041.JPG
    1.3 MB · Views: 1
  • SAM_4039.JPG
    SAM_4039.JPG
    1.2 MB · Views: 0
  • SAM_4040.JPG
    SAM_4040.JPG
    1.3 MB · Views: 0
  • SAM_4037.JPG
    SAM_4037.JPG
    1.3 MB · Views: 0
  • SAM_4036.JPG
    SAM_4036.JPG
    1.3 MB · Views: 0
  • SAM_4045.JPG
    SAM_4045.JPG
    1.2 MB · Views: 0
  • SAM_4044.JPG
    SAM_4044.JPG
    1.2 MB · Views: 1
  • SAM_4043.JPG
    SAM_4043.JPG
    1.3 MB · Views: 1
  • SAM_4042.JPG
    SAM_4042.JPG
    1.2 MB · Views: 2

Functional Artist

Well-known member
Messages
5,654
Reaction score
3,293
Location
Toledo, Ohio
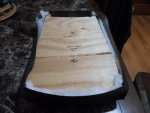
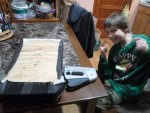
Next, I trimmed some 2" foam to the same dimensions as the plywood base for the seat back & bottom.

First, I tucked the foam into the seat covers
…& then, tucked the wooden bases in. :thumbsup:

They fit nice-n-snug so, it don't take too much pullin' while tacking 'er down
...mostly smoothin' :cheers2:

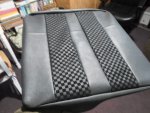
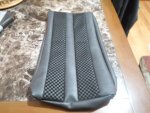
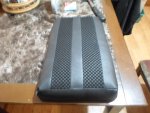
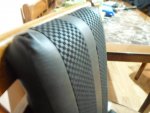
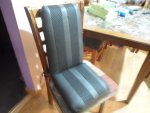
Boom! (1) mini bucket seat
...fit for a go kart sized Ariel Atom :2guns:
 

Attachments

  • SAM_4046.JPG
    SAM_4046.JPG
    1.3 MB · Views: 1
  • SAM_4047.JPG
    SAM_4047.JPG
    1.3 MB · Views: 2
  • SAM_4048.JPG
    SAM_4048.JPG
    1.3 MB · Views: 2
  • SAM_4049.JPG
    SAM_4049.JPG
    1.3 MB · Views: 5
  • SAM_4052.JPG
    SAM_4052.JPG
    1.3 MB · Views: 3
  • SAM_4058.JPG
    SAM_4058.JPG
    1.2 MB · Views: 1
  • SAM_4057.JPG
    SAM_4057.JPG
    1.3 MB · Views: 1
  • SAM_4056.JPG
    SAM_4056.JPG
    1.3 MB · Views: 1
  • SAM_4055.JPG
    SAM_4055.JPG
    1.3 MB · Views: 4
  • SAM_4053.JPG
    SAM_4053.JPG
    1.3 MB · Views: 2

Functional Artist

Well-known member
Messages
5,654
Reaction score
3,293
Location
Toledo, Ohio
That's a legit seat and cool that the kid is learning while you build. Nice job!

Will you have any side bolster padding in the kart?
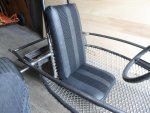
Thanks :thumbsup:
Maybe, I have extra material :cheers2:

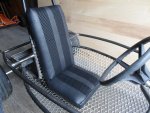
Here is some pics of how it looks in the kart :2guns:
 

Attachments

  • SAM_4295.JPG
    SAM_4295.JPG
    1.3 MB · Views: 3
  • SAM_4294.JPG
    SAM_4294.JPG
    1.3 MB · Views: 2
  • SAM_4296.JPG
    SAM_4296.JPG
    1.3 MB · Views: 2
  • SAM_4297.JPG
    SAM_4297.JPG
    1.3 MB · Views: 2
Top