Building a go kart size Aerial Atom

Functional Artist

Well-known member
Messages
5,528
Reaction score
3,116
Location
Toledo, Ohio
Almost forgot :oops:

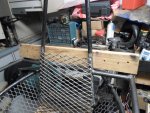
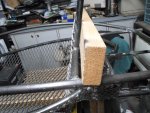
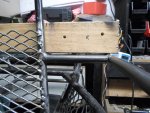
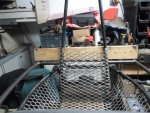
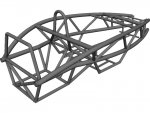
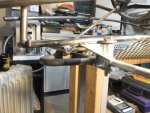
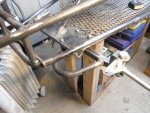
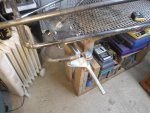
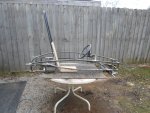
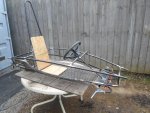
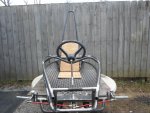
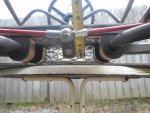
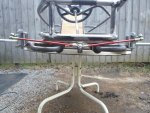
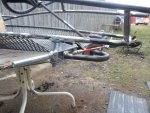
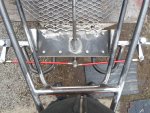
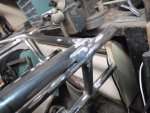
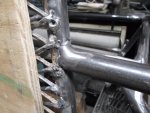
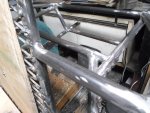
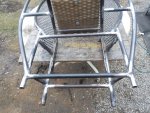
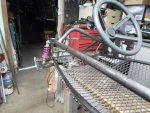
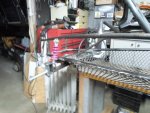
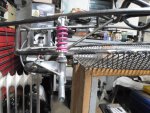
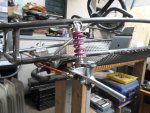
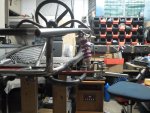
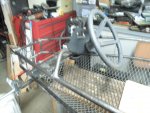
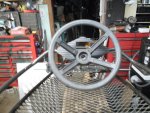
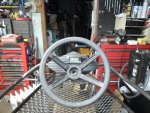
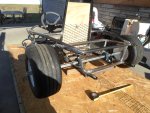
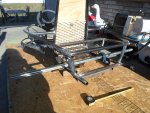
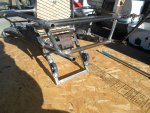
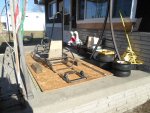
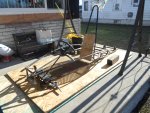
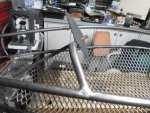
I added the horizontal braces from the top "rib rail" to each side of the seatback/rollbar.
...being sure to keep 'em nice-n-straight :2guns:

It's (1) straight bar, from "rib rail" to "rib rail", on the actual car/in the drawing
...just a little FA twist :cool:
 

Attachments

  • SAM_3586.JPG
    SAM_3586.JPG
    1.3 MB · Views: 3
  • SAM_3587.JPG
    SAM_3587.JPG
    1.3 MB · Views: 4
  • SAM_3588.JPG
    SAM_3588.JPG
    1.3 MB · Views: 3
  • SAM_3589.JPG
    SAM_3589.JPG
    1.3 MB · Views: 4
  • 69405.jpg
    69405.jpg
    68.1 KB · Views: 2
Functional Artist

Well-known member
Messages
5,528
Reaction score
3,116
Location
Toledo, Ohio

Attachments

  • SAM_3573.JPG
    SAM_3573.JPG
    1.3 MB · Views: 2
  • SAM_3572.JPG
    SAM_3572.JPG
    1.3 MB · Views: 2
  • SAM_3571.JPG
    SAM_3571.JPG
    1.3 MB · Views: 2
Functional Artist

Well-known member
Messages
5,528
Reaction score
3,116
Location
Toledo, Ohio
It's been in the 40's here the last couple of days :wai:
...& I've been gettin' stuff done :thumbsup:

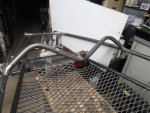
I cut up some 1/2" ply wood for a seat bottom/back
...& made up some tie rods.

Looks like they will clear (the main frame & A-frame) but, the Pitman Arm seems to be a bit too short.

Gonna try one ~1" longer

Wanna make the tie rods nice-n-straight/horizontal (if possible) for better steering action
...& (hopefully) good clearance :2guns:
 

Attachments

  • SAM_3627.JPG
    SAM_3627.JPG
    1.3 MB · Views: 3
  • SAM_3628.JPG
    SAM_3628.JPG
    1.3 MB · Views: 2
  • SAM_3629.JPG
    SAM_3629.JPG
    1.3 MB · Views: 2
  • SAM_3634.JPG
    SAM_3634.JPG
    1.3 MB · Views: 4
  • SAM_3633.JPG
    SAM_3633.JPG
    1.3 MB · Views: 5
  • SAM_3632.JPG
    SAM_3632.JPG
    1.3 MB · Views: 3
  • SAM_3631.JPG
    SAM_3631.JPG
    1.3 MB · Views: 3
  • SAM_3670.JPG
    SAM_3670.JPG
    1.2 MB · Views: 3

Functional Artist

Well-known member
Messages
5,528
Reaction score
3,116
Location
Toledo, Ohio
While outside I did a little bodywork (smoothed some ugly welds)
...& also some clean up (removed some of the slag & snot balls) :thumbsup:

Lots more to do
...so many junctions & joints :ack2:
 

Attachments

  • SAM_3673.JPG
    SAM_3673.JPG
    1.3 MB · Views: 4
  • SAM_3671.JPG
    SAM_3671.JPG
    1.3 MB · Views: 3
  • SAM_3672.JPG
    SAM_3672.JPG
    1.3 MB · Views: 3
  • SAM_3636.JPG
    SAM_3636.JPG
    1.3 MB · Views: 5

sikbrik

New member
Messages
131
Reaction score
0
Location
Greater Harrisburg PA area
What are the odds of extending your steering to have "arms" out to the suspension pivots, so your tie rods can run in the same exact plane as your a-arms? That'll keep your bump steer down.

Basically a "T" shaped pitman arm is what I'm suggesting...not sure if that'll have the strength you want, though.
 

Functional Artist

Well-known member
Messages
5,528
Reaction score
3,116
Location
Toledo, Ohio
What are the odds of extending your steering to have "arms" out to the suspension pivots, so your tie rods can run in the same exact plane as your a-arms? That'll keep your bump steer down.

Basically a "T" shaped pitman arm is what I'm suggesting...not sure if that'll have the strength you want, though.

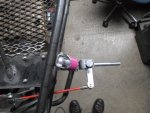
They look to be pretty close now, with the little bit longer Pitman arm. :thumbsup:

So, far when manually working the A-frames (up & down) individually or together
...the Pitman arm doesn't seem to move, at all. :2guns:

* Next, we can work on shock placement. :cheers2:
 

Attachments

  • SAM_3713.JPG
    SAM_3713.JPG
    1.3 MB · Views: 5

Functional Artist

Well-known member
Messages
5,528
Reaction score
3,116
Location
Toledo, Ohio
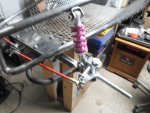
The last pic pretty much "gives it away" :thumbsup:

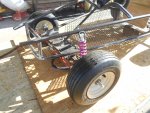
It looks like a couple of (repurposed) bicycle monoshocks will work great for front spring/shocks :2guns:

These, pink ones (for now) are labeled as 750 lbs.

I also have some black ones that are labeled 350 lbs.

The pink (750 lbs.) ones fit in the situation better
(the black (350 lbs.) ones are ~1" shorter & have a bit smaller diameter spring)
...but, I'm not sure how either one will work on a kart.

Were gonna find out. :2guns:
 

Attachments

  • SAM_3718.JPG
    SAM_3718.JPG
    1.3 MB · Views: 6
  • SAM_3719.JPG
    SAM_3719.JPG
    1.3 MB · Views: 3
  • SAM_3716.JPG
    SAM_3716.JPG
    1.3 MB · Views: 5
  • SAM_3715.JPG
    SAM_3715.JPG
    1.3 MB · Views: 6
  • SAM_3714.JPG
    SAM_3714.JPG
    1.3 MB · Views: 5
  • SAM_3717.JPG
    SAM_3717.JPG
    1.3 MB · Views: 2
sikbrik

New member
Messages
131
Reaction score
0
Location
Greater Harrisburg PA area
Check this out...it won't tell you the calcs for your entire suspension arc but it'll get you close.

https://www.qa1.net/technical-support/street-performance-racing-spring-rate-tech

It looks like you're at maybe 30° in your mock-up, so 750lb springs will have an effective rate closer to 650lbs which is probably still pretty high for the front of the kart.

Still, it's going to give more than no suspension so that's good! :)
 

Functional Artist

Well-known member
Messages
5,528
Reaction score
3,116
Location
Toledo, Ohio
It's been kinda cold outside around here, again :ack2:
(there is a BIG difference between workin' (doin' my art) outside @ ~45* & 30*)
...so, I've been doin' some inside work :thumbsup:

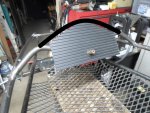
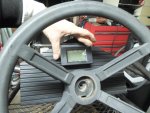
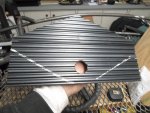
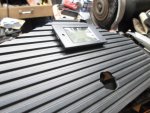
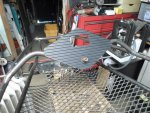
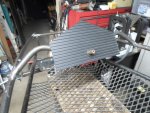
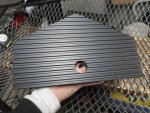
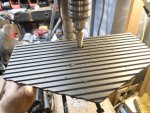
Well, lets make a dash board :cheers2:

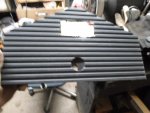
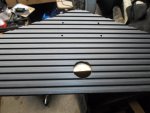
I rounded up another piece of plastic (from the back off of an old big screen TV)
...& trimmed into a nice "house shape"

Tryin' for a "knee bump-dash bump-knee bump" look across the top :cool:

I lined it up, so the top edges of the (2) corners were even with the "knee bends"
...marked where the steering shaft would go
…& then, drilled an 1 1/8" hole (to fit over & clear the bushing holder)

There's still a lot more to do (can't be blockin' the knee area) :huh:
...but, seems to be lookin good so far :2guns:
 

Attachments

  • SAM_3729.JPG
    SAM_3729.JPG
    1.3 MB · Views: 1
  • SAM_3726.JPG
    SAM_3726.JPG
    1.3 MB · Views: 4
  • SAM_3725.JPG
    SAM_3725.JPG
    1.3 MB · Views: 3
  • SAM_3723.JPG
    SAM_3723.JPG
    1.3 MB · Views: 6
  • SAM_3722.JPG
    SAM_3722.JPG
    1.3 MB · Views: 6
  • SAM_3733.JPG
    SAM_3733.JPG
    1.3 MB · Views: 5
  • SAM_3732.JPG
    SAM_3732.JPG
    1.3 MB · Views: 5
  • SAM_3731.JPG
    SAM_3731.JPG
    1.3 MB · Views: 1
  • SAM_3730.JPG
    SAM_3730.JPG
    1.3 MB · Views: 1

Functional Artist

Well-known member
Messages
5,528
Reaction score
3,116
Location
Toledo, Ohio
Wow! :smiley_omg:
...it does kinda have a flow to it :thumbsup:

FYI:
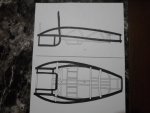
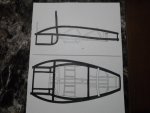
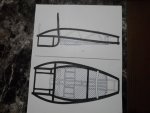
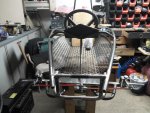
I updated the drawing a bit too :2guns:
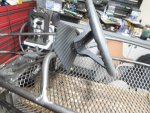
...adding the top "ribbon rails"
...the dash bar & seatback braces
…& also the floor pan :cheers2:
 

Attachments

  • SAM_3620.JPG
    SAM_3620.JPG
    1.3 MB · Views: 2
  • SAM_3621.JPG
    SAM_3621.JPG
    1.2 MB · Views: 2
  • SAM_3623.JPG
    SAM_3623.JPG
    1.3 MB · Views: 2
Functional Artist

Well-known member
Messages
5,528
Reaction score
3,116
Location
Toledo, Ohio
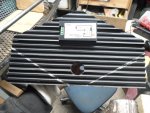
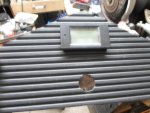
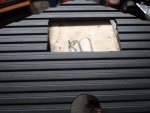
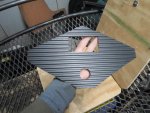
Next, I marked where the "knee bumps" need to be cut-out on the back side
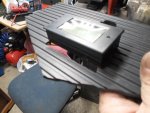
...but, before trimming the dash down any further, I want to cut out the hole for the gauge. :thumbsup:

Also, I've found that it's easier to grip a larger piece of material
...so, we'll cut it down afterwards :cheers2:

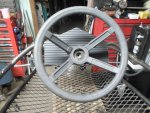
Marked, drilled, cut & whittled & whittled & whittled
…then, Boom! our gauge fits nicely :2guns:
 

Attachments

  • SAM_3747.JPG
    SAM_3747.JPG
    1.3 MB · Views: 1
  • SAM_3744.JPG
    SAM_3744.JPG
    1.3 MB · Views: 1
  • SAM_3742.JPG
    SAM_3742.JPG
    1.3 MB · Views: 1
  • SAM_3737.JPG
    SAM_3737.JPG
    1.3 MB · Views: 0
  • SAM_3734.JPG
    SAM_3734.JPG
    1.2 MB · Views: 1
  • SAM_3752.JPG
    SAM_3752.JPG
    1.3 MB · Views: 2
  • SAM_3750.JPG
    SAM_3750.JPG
    1.3 MB · Views: 1
  • SAM_3751.JPG
    SAM_3751.JPG
    1.2 MB · Views: 1
  • SAM_3749.JPG
    SAM_3749.JPG
    1.3 MB · Views: 1

Joe-405

Enjoying New Projects
Messages
2,673
Reaction score
97
Location
U.S.A.
You are great with electrical projects. Your making me wanna build one now and I’ve never built a electrical powered anything. I built my own stand alone harness for efi stuff but that’s as far as I’ve gone roughly. And rewired cars and drag vehicles.

Great job.
 

Functional Artist

Well-known member
Messages
5,528
Reaction score
3,116
Location
Toledo, Ohio
You are great with electrical projects. Your making me wanna build one now and I’ve never built a electrical powered anything. I built my own stand alone harness for efi stuff but that’s as far as I’ve gone roughly. And rewired cars and drag vehicles.

Great job.

Thanks!

Go for it, you'll love it :thumbsup:

You'll never get this kind of instant torque out of an ICE powered vehicle :2guns:

https://www.youtube.com/watch?v=uBMA10WYGsI
 

Functional Artist

Well-known member
Messages
5,528
Reaction score
3,116
Location
Toledo, Ohio
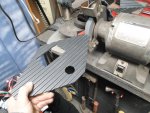
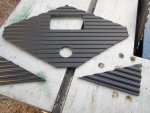
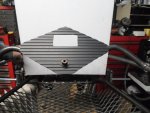
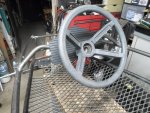
The table saw trimmed the "knee bump" blockers off easily
…& the bench grinder rounded the corners & cleaned the edges up nicely. :thumbsup:

That'll work, it don't stick up too much & the gauge is right there.

Looks good & does something...functional art :2guns:
 

Attachments

  • SAM_3773.JPG
    SAM_3773.JPG
    1.3 MB · Views: 2
  • SAM_3771.JPG
    SAM_3771.JPG
    1.3 MB · Views: 2
  • SAM_3768.JPG
    SAM_3768.JPG
    1.3 MB · Views: 1
  • SAM_3769.JPG
    SAM_3769.JPG
    1.2 MB · Views: 1
  • SAM_3765.JPG
    SAM_3765.JPG
    1.3 MB · Views: 1
  • SAM_3775.JPG
    SAM_3775.JPG
    1.3 MB · Views: 1
  • SAM_3776.JPG
    SAM_3776.JPG
    1.3 MB · Views: 1
  • SAM_3777.JPG
    SAM_3777.JPG
    1.3 MB · Views: 1
  • SAM_3780.JPG
    SAM_3780.JPG
    1.3 MB · Views: 1

Functional Artist

Well-known member
Messages
5,528
Reaction score
3,116
Location
Toledo, Ohio
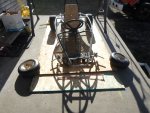
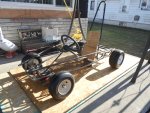
Yesterday was ~50* & sunny :wai:

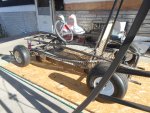
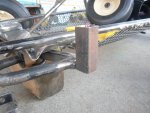
So, I took Atom & it's 500 pieces out to the front porch

The back yard is kinda soggy 'cause of all of the the freezin' & thawin' we've had
...plus I need a large, nice-n-flat surface to set everything up on that's also nice-n-level
...cause the front suspensions next. :thumbsup:

But, before we can start on the front, we have to do some reassembly
...like install the rear swing arm, slide the axle in & the wheels on
...then, propped it up "near" to where it "should sit" when the rear shocks are "actually" supporting it
…also, propped the front up to where it "should sit" :2guns:

* The floorboard should be nearly level or slightly inclined toward the front. :cheers2:
 

Attachments

  • SAM_3821.JPG
    SAM_3821.JPG
    1.3 MB · Views: 3
  • SAM_3819.JPG
    SAM_3819.JPG
    1.3 MB · Views: 3
  • SAM_3818.JPG
    SAM_3818.JPG
    1.3 MB · Views: 2
  • SAM_3817.JPG
    SAM_3817.JPG
    1.3 MB · Views: 3
  • SAM_3815.JPG
    SAM_3815.JPG
    1.3 MB · Views: 3
  • SAM_3823.JPG
    SAM_3823.JPG
    1.3 MB · Views: 3
  • SAM_3839.JPG
    SAM_3839.JPG
    1.3 MB · Views: 4
  • SAM_3838.JPG
    SAM_3838.JPG
    1.3 MB · Views: 3
  • SAM_3829.JPG
    SAM_3829.JPG
    1.3 MB · Views: 4
  • SAM_3826.JPG
    SAM_3826.JPG
    1.3 MB · Views: 3

Functional Artist

Well-known member
Messages
5,528
Reaction score
3,116
Location
Toledo, Ohio
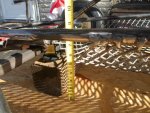
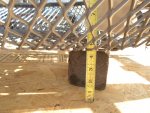
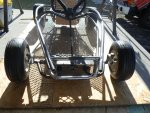
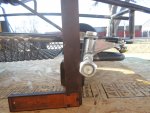
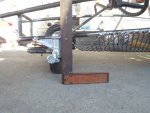
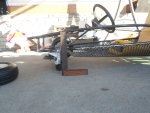
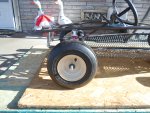
Now that it is on a level surface
...& sittin' the way we want it

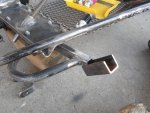
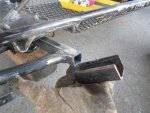
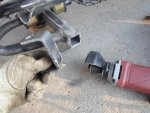
Lets check to see how close the spindle brackets are to being "true"

The left side is just about "right on" :thumbsup:
...but, the right side was off quite a bit :ack2:
 

Attachments

  • SAM_3862.JPG
    SAM_3862.JPG
    1.3 MB · Views: 2
  • SAM_3864.JPG
    SAM_3864.JPG
    1.3 MB · Views: 2
  • SAM_3863.JPG
    SAM_3863.JPG
    1.3 MB · Views: 2
Functional Artist

Well-known member
Messages
5,528
Reaction score
3,116
Location
Toledo, Ohio
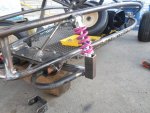
Dry fit, to check fitness
...the (pink) 6" (750 lbs.) shocks
...or the (black) 5 1/2" (350 lbs.) ones?
 

Attachments

  • SAM_3834.JPG
    SAM_3834.JPG
    1.3 MB · Views: 0
  • SAM_3833.JPG
    SAM_3833.JPG
    1.3 MB · Views: 1
  • SAM_3832.JPG
    SAM_3832.JPG
    1.3 MB · Views: 1
  • SAM_3831.JPG
    SAM_3831.JPG
    1.3 MB · Views: 2
  • SAM_3830.JPG
    SAM_3830.JPG
    1.3 MB · Views: 1
  • SAM_3835.JPG
    SAM_3835.JPG
    1.3 MB · Views: 1
  • SAM_3836.JPG
    SAM_3836.JPG
    1.3 MB · Views: 0

Functional Artist

Well-known member
Messages
5,528
Reaction score
3,116
Location
Toledo, Ohio
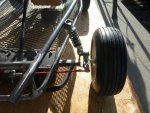
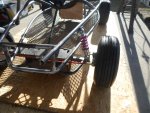
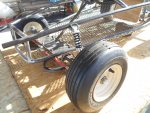
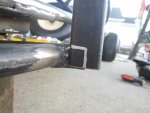
I think can make a multi-mount that either shock can be mounted into.

So, lets keep our options "open" & go with...both :thumbsup:
...that way we can test both kinds

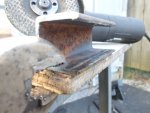
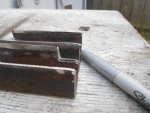
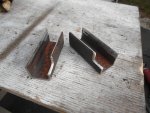
A 1 1/4" piece of square steel has a ~1" inside diameter
...perfect for a shock mount bracket

So, I cut a couple of ~3' pieces
...& then cut one side out, to make 1" channels

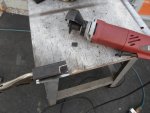
After removing the spindle brackets (cut the tack welds)
…& cleaning up the ends of the A-frames a bit
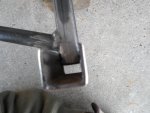
...the shock mounts seem to fit on the ends pretty good :wai:

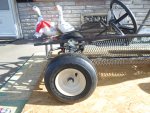
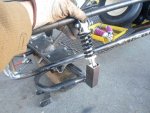
The big (pink) shock can bolt toward the bottom, the smaller (black) shock can bolt toward the top
…& the top bracket (welded to the top "rib rail") can be used for mounting either one. :2guns:

Next, I gotta do some clean up & drill some mounting holes. :cheers2:
 

Attachments

  • SAM_3876.JPG
    SAM_3876.JPG
    1.2 MB · Views: 3
  • SAM_3873.JPG
    SAM_3873.JPG
    1.3 MB · Views: 3
  • SAM_3869.JPG
    SAM_3869.JPG
    1.3 MB · Views: 3
  • SAM_3868.JPG
    SAM_3868.JPG
    1.3 MB · Views: 3
  • SAM_3890.JPG
    SAM_3890.JPG
    1.3 MB · Views: 4
  • SAM_3889.JPG
    SAM_3889.JPG
    1.3 MB · Views: 3
  • SAM_3888.JPG
    SAM_3888.JPG
    1.3 MB · Views: 3
  • SAM_3886.JPG
    SAM_3886.JPG
    1.3 MB · Views: 3
  • SAM_3892.JPG
    SAM_3892.JPG
    1.3 MB · Views: 5
  • SAM_3894.JPG
    SAM_3894.JPG
    1.3 MB · Views: 5

Functional Artist

Well-known member
Messages
5,528
Reaction score
3,116
Location
Toledo, Ohio
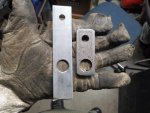
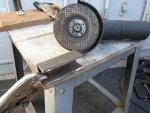
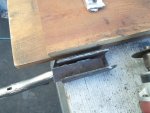
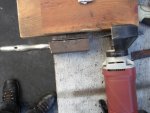
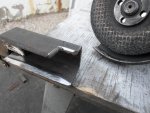
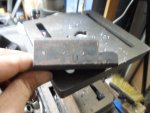
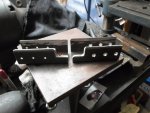
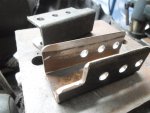
Gotta do a little trimmin', so they fit nice-n-snug up to & around the A-frame "hoop braces"

Marked, cut & smoothed
...then, on to drillin'

Measured, marked & drilled one of 'em
...then used it as a template to make the other one match :thumbsup:

Boom! we got shock mount brackets with holes :2guns:
 

Attachments

  • SAM_3909.JPG
    SAM_3909.JPG
    1.3 MB · Views: 3
  • SAM_3905.JPG
    SAM_3905.JPG
    1.3 MB · Views: 3
  • SAM_3902.JPG
    SAM_3902.JPG
    1.2 MB · Views: 3
  • SAM_3900.JPG
    SAM_3900.JPG
    1.3 MB · Views: 4
  • SAM_3899.JPG
    SAM_3899.JPG
    1.3 MB · Views: 3
  • SAM_3911.JPG
    SAM_3911.JPG
    1.3 MB · Views: 3
  • SAM_3913.JPG
    SAM_3913.JPG
    1.3 MB · Views: 3
  • SAM_3915.JPG
    SAM_3915.JPG
    1.3 MB · Views: 3
  • SAM_3917.JPG
    SAM_3917.JPG
    1.3 MB · Views: 3
Top