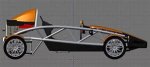
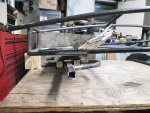
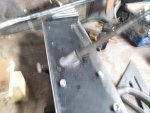
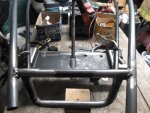
Building a go kart size Aerial Atom

Functional Artist

Well-known member
Messages
5,532
Reaction score
3,118
Location
Toledo, Ohio
Hmmmm:idea2:

Now, for them upper "rib rails" :thumbsup:

I did some figurin' :huh:

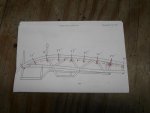
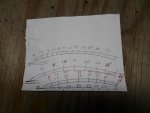
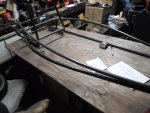
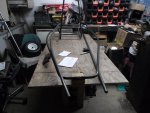
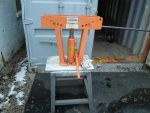
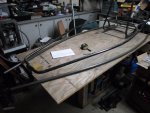
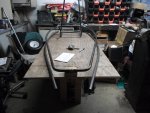
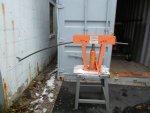
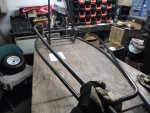
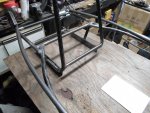
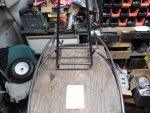
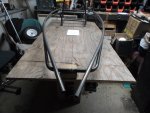
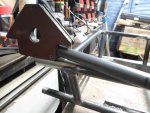
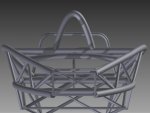
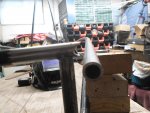
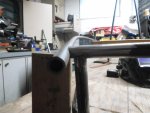
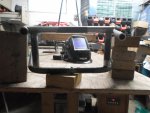
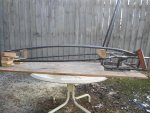
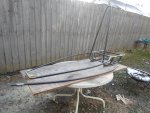
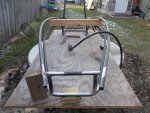
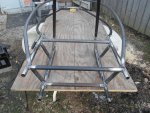
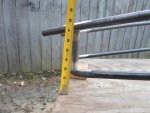
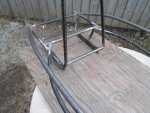
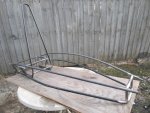
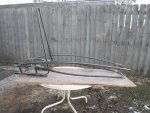
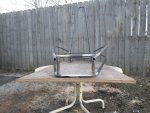
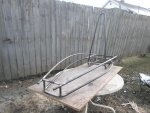
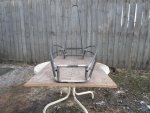
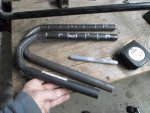
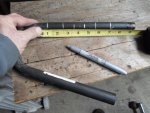
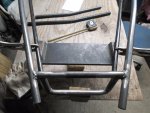
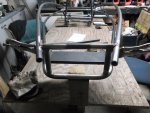
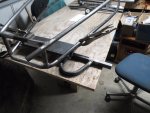
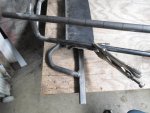
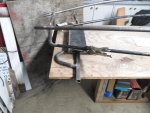
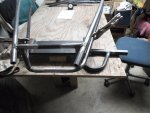
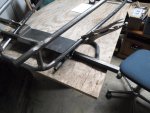
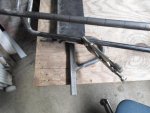
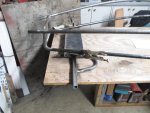
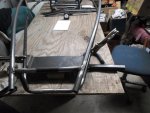
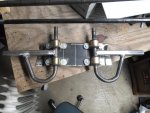
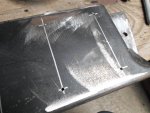
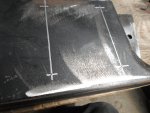
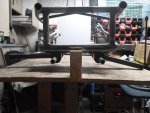
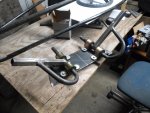
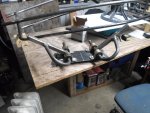
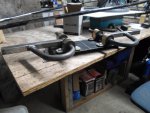
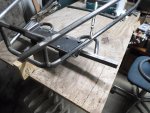
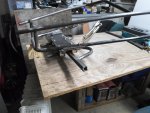
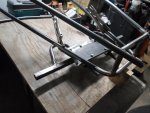
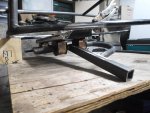
It looks like we need (2) ~60" pieces of pipe for the "upper rib rails"
...but, they'll probably "shorten up" just a bit from bending so, we'll make 'em ~66"
...& then, cut off the excess later.

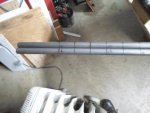
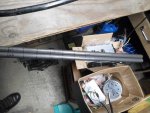
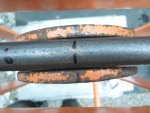
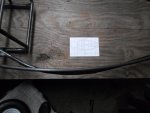
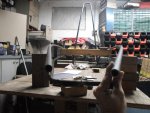
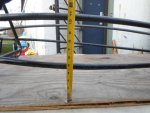
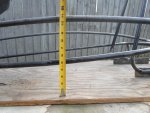
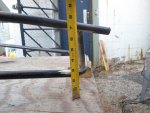
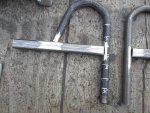
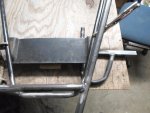
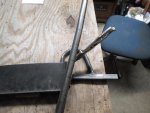
First, I marked both pieces of pipe @ 2" intervals.

We (kinda) know where to bend.
...but, how much to bend?
…& @ which mark? :ack2:

We'll just have to "wing it" :2guns:
 

Attachments

  • SAM_3169.jpg
    SAM_3169.jpg
    210.1 KB · Views: 3
  • SAM_3171.jpg
    SAM_3171.jpg
    218.1 KB · Views: 3
  • SAM_3164.jpg
    SAM_3164.jpg
    199.4 KB · Views: 3
  • SAM_3167.jpg
    SAM_3167.jpg
    292.1 KB · Views: 3

Functional Artist

Well-known member
Messages
5,532
Reaction score
3,118
Location
Toledo, Ohio
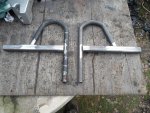
We got striped pipes :thumbsup:

I had to start @ the 8" mark, the 6" mark was too close to the end.

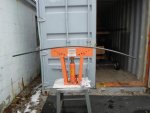
To start off with I just did (5) pumps @ the 8", 12", 16", 20", 24", 28", 32", 36", 40" 44", 48" & 52" marks.

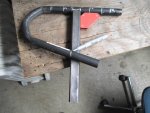
I put a gold X on each one to mark 'em as I bent 'em.

We got a "bow", but it needs more :cheers2:

I put 'er back in the bender & did (3) more pumps @ the 8", 10", 12", 16", 18", 20", 22", 24", 26", 28", 30", 32", 34" & 36" marks.

Gettin' closer. :wai:

The "arch" still wasn't big enough. :ack2:

I put 'er back in the bender & did (2) more pumps @ the 10", 12", 16" & 18" marks.

Yup, that should do it. :2guns:
 

Attachments

  • SAM_3177.jpg
    SAM_3177.jpg
    290.4 KB · Views: 4
  • SAM_3176.jpg
    SAM_3176.jpg
    276.6 KB · Views: 4
  • SAM_3175.jpg
    SAM_3175.jpg
    258.1 KB · Views: 4
  • SAM_3174.jpg
    SAM_3174.jpg
    267.3 KB · Views: 3
  • SAM_3172.jpg
    SAM_3172.jpg
    312.2 KB · Views: 3
  • SAM_3188.jpg
    SAM_3188.jpg
    232.7 KB · Views: 4
  • SAM_3187.jpg
    SAM_3187.jpg
    267.4 KB · Views: 4
  • SAM_3186.jpg
    SAM_3186.jpg
    281.5 KB · Views: 4
  • SAM_3184.jpg
    SAM_3184.jpg
    283.2 KB · Views: 4
  • SAM_3192.jpg
    SAM_3192.jpg
    288.4 KB · Views: 4

Functional Artist

Well-known member
Messages
5,532
Reaction score
3,118
Location
Toledo, Ohio
Yea, I think were makin' some progress. :thumbsup:
 

Attachments

  • SAM_3199.jpg
    SAM_3199.jpg
    277.1 KB · Views: 4
  • SAM_3198.jpg
    SAM_3198.jpg
    325.7 KB · Views: 5
  • SAM_3197.jpg
    SAM_3197.jpg
    307.9 KB · Views: 4
  • SAM_3196.jpg
    SAM_3196.jpg
    284.2 KB · Views: 4
  • SAM_3179.jpg
    SAM_3179.jpg
    260.7 KB · Views: 4
  • Image2.jpg
    Image2.jpg
    34.2 KB · Views: 4

Functional Artist

Well-known member
Messages
5,532
Reaction score
3,118
Location
Toledo, Ohio
Now, for the final fittin' of them top "rib rails" :thumbsup:

First, I had to cut "quite an angle" off of the rear end of both pieces.

I was kinda conservative for the first cut on the left side.

So, I had to cut it again & then, again ...til I got it close.

I was able to cut the right side in just (1) wack. :2guns:

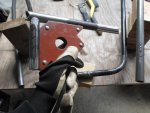
Before we can go any further we gotta make the "nose box"

It looks like we'll need (1) ~11" piece for the cross bar & (2) ~4 1/2" pieces for the "pillars"

Measured 'em, cut 'em, notched 'em , squared 'em up & then, welded 'em up good :cheers2:
 

Attachments

  • SAM_3248.jpg
    SAM_3248.jpg
    217.1 KB · Views: 1
  • SAM_3250.jpg
    SAM_3250.jpg
    234.6 KB · Views: 1
  • SAM_3245.jpg
    SAM_3245.jpg
    263 KB · Views: 1
  • SAM_3244.jpg
    SAM_3244.jpg
    216.2 KB · Views: 1
  • SAM_3243.jpg
    SAM_3243.jpg
    250.9 KB · Views: 1
  • SAM_3242.jpg
    SAM_3242.jpg
    253.5 KB · Views: 1

Functional Artist

Well-known member
Messages
5,532
Reaction score
3,118
Location
Toledo, Ohio
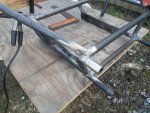
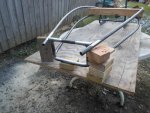
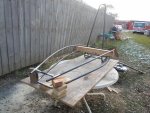
Took everything apart & reassembled it outside, for welding.

* High temp in Toledo today ~33* :ack2:

But, a little bit of welding & them pipes will warm right up. :thumbsup:

First, I weighted the bars down in the back (just to hold them in place)
...then, used a 2 x 4 as a center prop, across in front of the seatback (to keep 'em even)
...& some 2 x 4 scraps to prop the front of the bars (@ ~ the right height)

Quadruple checked everything, then started tackin'. :wai:

First, I spot welded the nose box to the lower "rib rails", brought the front of the rails, up into place & then, tacked the rear end of the upper "rib rails" to the rear end of the lower "rib rails" then, moved up to the front & tacked 'em too. :2guns:
 

Attachments

  • SAM_3259.jpg
    SAM_3259.jpg
    400.5 KB · Views: 3
  • SAM_3256.jpg
    SAM_3256.jpg
    415.8 KB · Views: 3
  • SAM_3254.jpg
    SAM_3254.jpg
    438.9 KB · Views: 3
  • SAM_3253.jpg
    SAM_3253.jpg
    463 KB · Views: 3
  • SAM_3251.jpg
    SAM_3251.jpg
    389 KB · Views: 3
  • SAM_3258.jpg
    SAM_3258.jpg
    437.1 KB · Views: 4

Functional Artist

Well-known member
Messages
5,532
Reaction score
3,118
Location
Toledo, Ohio
Once everything was tacked, I double checked the measurements again
...& gave 'er a good visual inspection too. :thumbsup:
I checked both sides of the front, in the middle & in the back.

yup, lookin' pretty close :cheers2:
 

Attachments

  • SAM_3271.jpg
    SAM_3271.jpg
    475.5 KB · Views: 4
  • SAM_3270.jpg
    SAM_3270.jpg
    251.2 KB · Views: 3
  • SAM_3269.jpg
    SAM_3269.jpg
    336.6 KB · Views: 3
  • SAM_3268.jpg
    SAM_3268.jpg
    319.1 KB · Views: 3
  • SAM_3267.jpg
    SAM_3267.jpg
    333.4 KB · Views: 3
  • SAM_3284.jpg
    SAM_3284.jpg
    298.9 KB · Views: 4

Functional Artist

Well-known member
Messages
5,532
Reaction score
3,118
Location
Toledo, Ohio
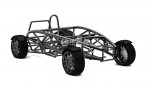
It's starting to look so much like an atom!!

Were gettin' there :thumbsup:

I'm tryin' to keep 'er smallish, but maintain the long sleek look :2guns:

Here are some more pics :cheers2:
 

Attachments

  • SAM_3283.jpg
    SAM_3283.jpg
    321 KB · Views: 2
  • SAM_3282.jpg
    SAM_3282.jpg
    372.6 KB · Views: 3
  • SAM_3280.jpg
    SAM_3280.jpg
    315.8 KB · Views: 3
  • SAM_3277.jpg
    SAM_3277.jpg
    361.6 KB · Views: 3
  • SAM_3281.jpg
    SAM_3281.jpg
    368.5 KB · Views: 4
  • 1456495051646.jpg
    1456495051646.jpg
    57.1 KB · Views: 2
  • th74R2UUSO.jpg
    th74R2UUSO.jpg
    8 KB · Views: 88

Functional Artist

Well-known member
Messages
5,532
Reaction score
3,118
Location
Toledo, Ohio
A-frames

Well, lets move on to the front :thumbsup:
...suspension. :idea2:
I'ma gonna try a little different style of an A-frame design for this one. :sifone:
 

Attachments

  • SAM_3294.jpg
    SAM_3294.jpg
    428.5 KB · Views: 3
  • SAM_3293.jpg
    SAM_3293.jpg
    488 KB · Views: 2
  • SAM_3292.jpg
    SAM_3292.jpg
    267.8 KB · Views: 2
  • SAM_3290.jpg
    SAM_3290.jpg
    254.7 KB · Views: 3
  • SAM_3286.jpg
    SAM_3286.jpg
    264.3 KB · Views: 2

Functional Artist

Well-known member
Messages
5,532
Reaction score
3,118
Location
Toledo, Ohio
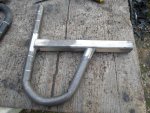
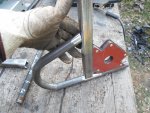
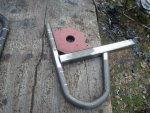
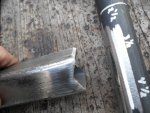
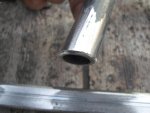
Before welding, I cleaned up the areas that needed to be welded & even beveled the edges a little bit.

Made sure the square tube was square with the pipe & gave 'em a quick tack

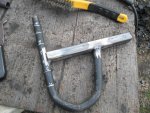
Double checked everything & welded 'em up good :thumbsup:
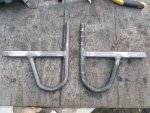
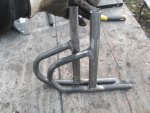
We got A-frames, 'er P-frames
...whatever we got (2) of 'em :2guns:
 

Attachments

  • SAM_3300.jpg
    SAM_3300.jpg
    414.1 KB · Views: 3
  • SAM_3299.jpg
    SAM_3299.jpg
    380 KB · Views: 2
  • SAM_3298.jpg
    SAM_3298.jpg
    441.3 KB · Views: 2
  • SAM_3297.jpg
    SAM_3297.jpg
    292.8 KB · Views: 4
  • SAM_3296.jpg
    SAM_3296.jpg
    165.8 KB · Views: 4
  • SAM_3301.jpg
    SAM_3301.jpg
    368.8 KB · Views: 2
  • SAM_3302.jpg
    SAM_3302.jpg
    402.5 KB · Views: 2
  • SAM_3303.jpg
    SAM_3303.jpg
    320.3 KB · Views: 2

Quinc

Member
Messages
236
Reaction score
1
 

Functional Artist

Well-known member
Messages
5,532
Reaction score
3,118
Location
Toledo, Ohio
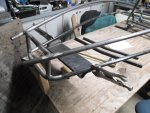
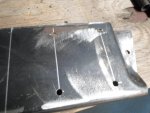
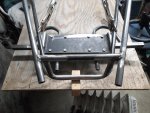
Rounded up a piece of ~1/8" steel that we can use the top side as a foot board & underneath as our A-frame mounting plate :thumbsup:
It has a couple of nice flat weldin' spots then drops down, which gives us some additional foot clearance & it even has a nice ~1/2" lip in the front which adds some strength. :cheers2:

Marked it, following the angle of the lower "rib rail", trimmed off the excess & clamped 'er on. :2guns:
 

Attachments

  • SAM_3307.jpg
    SAM_3307.jpg
    277.3 KB · Views: 6
  • SAM_3306.jpg
    SAM_3306.jpg
    285.1 KB · Views: 5
  • SAM_3305.jpg
    SAM_3305.jpg
    275.2 KB · Views: 4
  • SAM_3304.jpg
    SAM_3304.jpg
    296 KB · Views: 5
  • SAM_3308.jpg
    SAM_3308.jpg
    281.2 KB · Views: 5

Functional Artist

Well-known member
Messages
5,532
Reaction score
3,118
Location
Toledo, Ohio
What ya think? :idea2:

Reinforcement loop/brace toward the front or back? :popcorn:
 

Attachments

  • SAM_3317.jpg
    SAM_3317.jpg
    285.4 KB · Views: 3
  • SAM_3316.jpg
    SAM_3316.jpg
    266.5 KB · Views: 3
  • SAM_3315.jpg
    SAM_3315.jpg
    280.6 KB · Views: 3
  • SAM_3314.jpg
    SAM_3314.jpg
    256.6 KB · Views: 4
  • SAM_3313.jpg
    SAM_3313.jpg
    270.2 KB · Views: 4
  • SAM_3318.jpg
    SAM_3318.jpg
    276.9 KB · Views: 5
  • SAM_3312.jpg
    SAM_3312.jpg
    234 KB · Views: 4
  • SAM_3311.jpg
    SAM_3311.jpg
    263.5 KB · Views: 6
  • SAM_3310.jpg
    SAM_3310.jpg
    271.6 KB · Views: 4
  • SAM_3309.jpg
    SAM_3309.jpg
    267.6 KB · Views: 4

Functional Artist

Well-known member
Messages
5,532
Reaction score
3,118
Location
Toledo, Ohio
Hmmm...….:idea2:
I was more thinkin' toward the rear would be best.

I kinda like the toward the front "look", but if positioned that way they
...may clash of the tie rods (during suspension travel)
…& (mechanically) having the brace "prop" the "axle" & providing support from the rear seems (to me) like a stronger situation. :thumbsup:
 

Functional Artist

Well-known member
Messages
5,532
Reaction score
3,118
Location
Toledo, Ohio
Well lets see about gettin' these A-frames mounted
...@ this point they can still go either way :thumbsup:

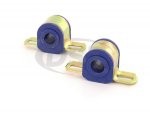
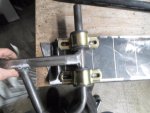
I think I'ma gonna use a couple of these rubber (sway bar) bushings on each side to mount 'em :thumbsup:

Simple mounting & should provide some impact absorption too :2guns:

https://www.moog-suspension-parts.com/moog-k8791

Measured, marked, center punched & drilled the "foot board" then, used some 5/16" nuts-n-bolts :cheers2:
 

Attachments

  • moog-k8791-large-2.jpg
    moog-k8791-large-2.jpg
    22.1 KB · Views: 2
  • SAM_3335.jpg
    SAM_3335.jpg
    310.3 KB · Views: 6
  • SAM_3333.jpg
    SAM_3333.jpg
    251.9 KB · Views: 3
  • SAM_3332.jpg
    SAM_3332.jpg
    287.7 KB · Views: 7
  • SAM_3331.jpg
    SAM_3331.jpg
    299.8 KB · Views: 3
  • SAM_3330.jpg
    SAM_3330.jpg
    258.3 KB · Views: 3

Functional Artist

Well-known member
Messages
5,532
Reaction score
3,118
Location
Toledo, Ohio
Here is some more front suspension pics :thumbsup:
 

Attachments

  • SAM_3341.jpg
    SAM_3341.jpg
    298.5 KB · Views: 6
  • SAM_3347.jpg
    SAM_3347.jpg
    253.4 KB · Views: 7
  • SAM_3338.jpg
    SAM_3338.jpg
    322.5 KB · Views: 7
  • SAM_3337.jpg
    SAM_3337.jpg
    285.3 KB · Views: 7
  • SAM_3336.jpg
    SAM_3336.jpg
    256.9 KB · Views: 7
  • SAM_3340.jpg
    SAM_3340.jpg
    311.5 KB · Views: 7
  • SAM_3339.jpg
    SAM_3339.jpg
    274.9 KB · Views: 7
  • SAM_3342.jpg
    SAM_3342.jpg
    304.2 KB · Views: 7
  • SAM_3346.jpg
    SAM_3346.jpg
    258 KB · Views: 7
  • SAM_3343.jpg
    SAM_3343.jpg
    319.2 KB · Views: 7

Functional Artist

Well-known member
Messages
5,532
Reaction score
3,118
Location
Toledo, Ohio
Winter has arrived in Toledo. :wai: :rolleyes:

So, physical progress has slowed dramatically
...still thinkin' & doin' what I can :thumbsup:

Workin' a bit on the steering

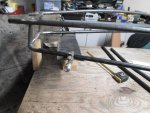
I cut a couple of bushing holders (~1" for the top & ~3" for the bottom)

Lined 'er up (kinda) from the dash bar (not installed yet) to the foot board (also not "actually" installed yet).

Gonna (try to) put the "pitman arm" just below the floor board
...ain't got much room down there anyways, but definitely can't be standin' on them tie-rods :lolgoku:
Looks like it'll work, just gotta make sure everything clears :cheers2:
 

Attachments

  • SAM_3388.JPG
    SAM_3388.JPG
    1.3 MB · Views: 5
  • SAM_3391.JPG
    SAM_3391.JPG
    1.3 MB · Views: 7
Top