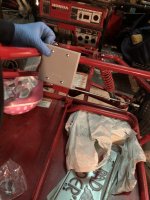
Had a few minutes today which got cut short because I had a 3-year old helper. Was okay though because she insisted on using a wrench for something

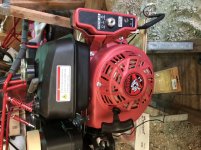
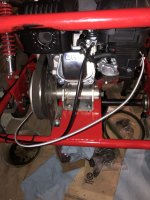
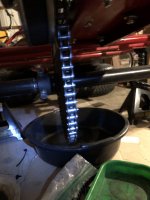
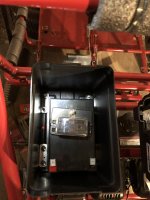
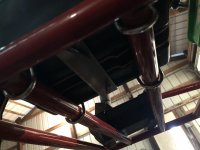
You can see I have the oil drain hose installed which should help a lot with servicing.
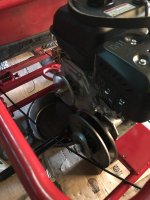
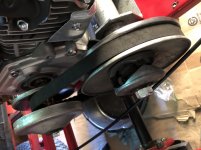
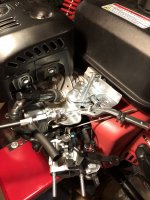
Also my quick check says the front and rear pulleys should be parallel so long as I tighten all the engine/jackshaft bolts carefully. Also the center to center measurement says the stock size belt will do, but I will get a new one for good measure while it’s apart.
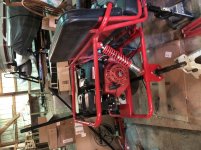
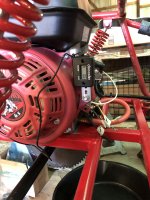
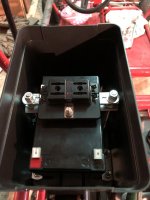
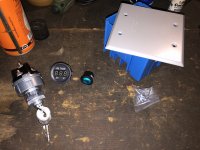
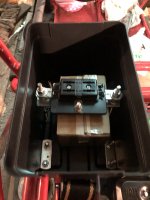
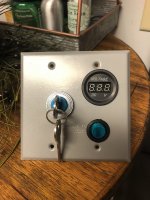
Next up will be to take the seat off to run the new throttle cable, setup the choke cable, and get the wires run for the key start. I have a lot of wire loom leftover from my firefighter days installing blue lights, so I’m hoping to make this wiring as clean as possible.
Few questions:
What size crankshaft bolt should work in your experiences with these Honda clones? The current one is 1.75” from the Tecumseh and my quick semi accurate checks says a 2.5” should work.
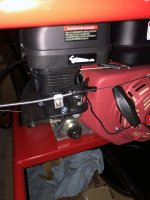
Has anyone heard of an oil fill plug extension with a longer dipstick? I suppose I’ll survive using a funnel in the future but I thought I’d ask here, it’s one thing I liked about the Tecumseh over this one was the tall dipstick.
 C31E0218-653F-400D-83D9-23C58C4A4F72.jpeg266.2 KB · Views: 5
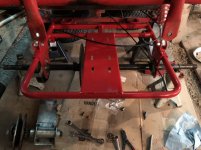 0E4F3BB1-4A3E-4572-8B31-EE19CBCB790A.jpeg302.5 KB · Views: 5