Swiss Hutless Rondo Build

Status
Not open for further replies.

NewbCarter

Member
Messages
403
Reaction score
4
Location
Solin , Croatia
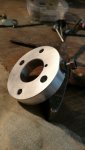
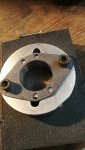
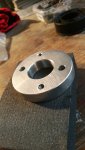
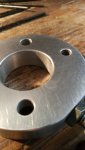
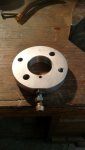
Small update. Found a 50mm axle locally , for around 65€ . Need to find bearings , bearing carriers that fit my frame and probably the disc / sprocket carrier aswell.

Also in talks with a local company that does powdercoating , so il see how that goes.

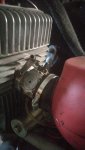
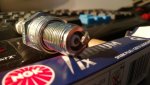
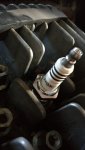
As for the engine , im still trying to find the right rebuild kit , but at least i found the proper fuel line and spark plug locally . Going to run a BR9EIX .
 

NewbCarter

Member
Messages
403
Reaction score
4
Location
Solin , Croatia
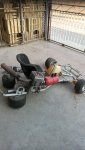
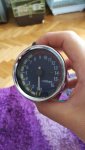
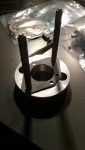
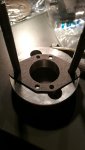
It sees the light of day !
 

Attachments

  • IMG-20170926-WA0038.jpg
    IMG-20170926-WA0038.jpg
    325.7 KB · Views: 14
  • IMG-20170926-WA0041.jpg
    IMG-20170926-WA0041.jpg
    262.2 KB · Views: 6
  • IMG-20170926-WA0035.jpg
    IMG-20170926-WA0035.jpg
    210.8 KB · Views: 5

NewbCarter

Member
Messages
403
Reaction score
4
Location
Solin , Croatia
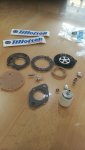
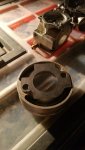
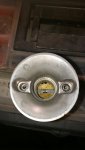
Small update , the carburetor on the Yamaha is junk , even after a rebuild ..

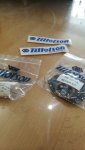
So i got two Tillotson carbs on the way , got them for 25€ , and a rebuild kit for 10€.

Along with that , axle parts are coming aswell.
 

Attachments

  • IMG-20171005-WA0011.jpg
    IMG-20171005-WA0011.jpg
    205.9 KB · Views: 1
  • IMG-20171005-WA0009.jpg
    IMG-20171005-WA0009.jpg
    186.4 KB · Views: 0
  • IMG-20171005-WA0014.jpg
    IMG-20171005-WA0014.jpg
    148.8 KB · Views: 1

NewbCarter

Member
Messages
403
Reaction score
4
Location
Solin , Croatia
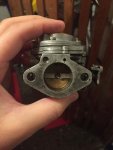
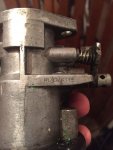
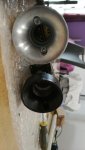
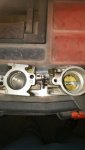
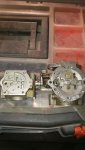
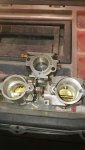
And pictures of carbs aswell.

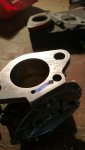
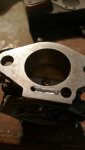
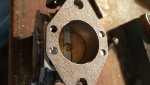
The intake adapter on the engine will need modifications to plumb the crankcase pulse line to the pulse input on the carb , which unlike the Walbro unit , doesnt have an outside nipple for connection , rather a small hole on the intake side .
 

Attachments

  • received_10213498237837700.jpeg
    received_10213498237837700.jpeg
    131.1 KB · Views: 0
  • received_10213498237877701.jpeg
    received_10213498237877701.jpeg
    173.5 KB · Views: 1
  • received_10213498237197684.jpeg
    received_10213498237197684.jpeg
    84.5 KB · Views: 0

NewbCarter

Member
Messages
403
Reaction score
4
Location
Solin , Croatia
Tillotson carbs on the way ... should arrive till weekend so i can work on the kart .

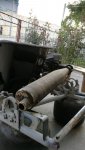
Probably going to get some thermo-paint in spray , black matte to re-paint the exhaust , going to clean it up and sandblast it before that.

Thinking of opening the engine back up ... when the tillotsons arrive i will need to modify the intake adapter + thinking of doing some porting to liven up the engine ... 17ish HP it makes stock isnt alot so every bit will help .

Thoo i dont want to screw it up so probably wont be opening it up , only modifying the intake adapter so that the carb can receive pumping pulses properly.
 

NewbCarter

Member
Messages
403
Reaction score
4
Location
Solin , Croatia
Gonna find a way to modify that Walbro adapter so it has a pulse fitting that i can use for the Tillotson.

In the meantime , thinking of switching the complete ignition..
 

NewbCarter

Member
Messages
403
Reaction score
4
Location
Solin , Croatia
Tilly !
 

Attachments

  • IMG-20171018-WA0057.jpg
    IMG-20171018-WA0057.jpg
    222.4 KB · Views: 0
  • IMG-20171018-WA0051.jpg
    IMG-20171018-WA0051.jpg
    234 KB · Views: 0
  • IMG-20171018-WA0053.jpg
    IMG-20171018-WA0053.jpg
    181.9 KB · Views: 0
  • IMG-20171018-WA0055.jpg
    IMG-20171018-WA0055.jpg
    221.6 KB · Views: 0
  • IMG-20171018-WA0061.jpg
    IMG-20171018-WA0061.jpg
    247.5 KB · Views: 1

NewbCarter

Member
Messages
403
Reaction score
4
Location
Solin , Croatia
Of course , stuff doesnt magically happen .
So here is the procedure.

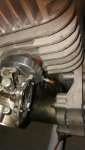
First off , used the gasket as a template to drill the pulse line hole in the adapter. Cool . Then notice i did it on the wrong side . Fill up the hole , sand it down so it can seal , repeat drilling on other side. Then notice the pulse hole is on the wrong side , and because of the bolt holding the adapter to the engine , it cant seal. So i cut a groove connecting to the pulse hole on the carb , and its mostly finished. The gasket covers almost all but a small part , which will need more attention , but im satisfied with the progress.
 

Attachments

  • IMG-20171019-WA0037.jpg
    IMG-20171019-WA0037.jpg
    218.7 KB · Views: 0
  • IMG-20171019-WA0027.jpg
    IMG-20171019-WA0027.jpg
    297.3 KB · Views: 0
  • IMG-20171019-WA0015.jpg
    IMG-20171019-WA0015.jpg
    314.1 KB · Views: 0
  • IMG-20171019-WA0013.jpg
    IMG-20171019-WA0013.jpg
    284.8 KB · Views: 0
  • IMG-20171019-WA0009.jpg
    IMG-20171019-WA0009.jpg
    270.3 KB · Views: 0
  • IMG-20171019-WA0043.jpg
    IMG-20171019-WA0043.jpg
    217.8 KB · Views: 0
  • IMG-20171019-WA0041.jpg
    IMG-20171019-WA0041.jpg
    168.6 KB · Views: 0
  • IMG-20171019-WA0047.jpg
    IMG-20171019-WA0047.jpg
    143.4 KB · Views: 0
  • IMG-20171019-WA0049.jpg
    IMG-20171019-WA0049.jpg
    154 KB · Views: 0
  • IMG-20171019-WA0051.jpg
    IMG-20171019-WA0051.jpg
    235.6 KB · Views: 0
Status
Not open for further replies.
Top