Kentucky Boy
Member
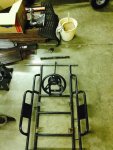
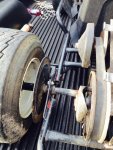
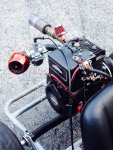
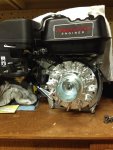
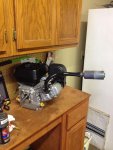
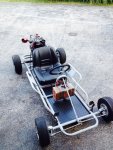
Thought I would start a build thread for my old Streaker since it's almost done. Bought this off of CL for $100. Had been wrecked front end was tore off and had the front end of a golf kart welded on. Steering was terrible, brake non functional, exhaust was broken off and the gas tank was damaged. This sucker was so heavy with the golf kart parts being very bulky and heavy. I plan on stripping it down, repairing the front end, new wheels, tires, predator hemi (built), and new paint. The project is almost done so I'll post pics from start to finish. First pic is after I picked it up. Pretty nasty.
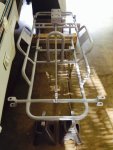
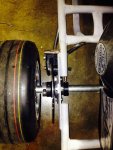
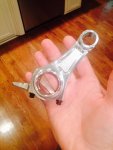
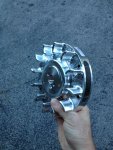
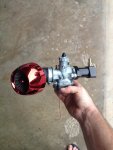
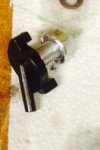
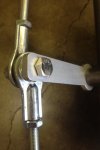
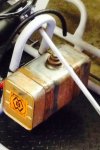
I was lucky in that it did have a salvageable torque converter on it.
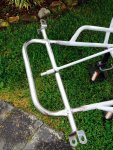
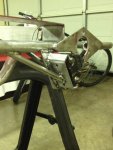
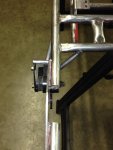
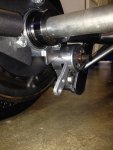
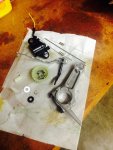
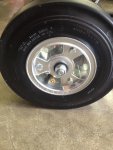
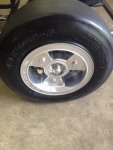
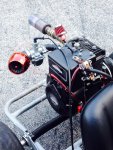
Stripped it down. Trashed the old golf kart wheels, tires and hubs. You can see the front end that was heavily welded on. This will be cut off and I will reconstruct the front end as best I can.
I was lucky in that it did have a salvageable torque converter on it.
Stripped it down. Trashed the old golf kart wheels, tires and hubs. You can see the front end that was heavily welded on. This will be cut off and I will reconstruct the front end as best I can.
Attachments
-
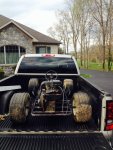 image.jpg437.2 KB · Views: 121
 -
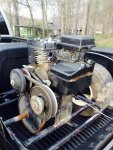 image.jpg440.6 KB · Views: 86
 -
 image.jpg364.7 KB · Views: 82
Last edited by a moderator: