lug-nuts
Active member
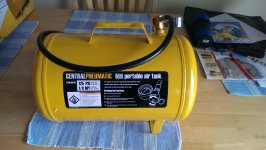
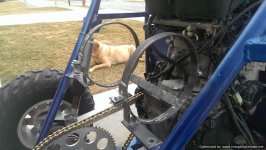
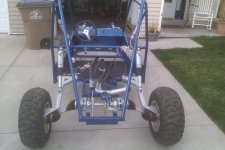
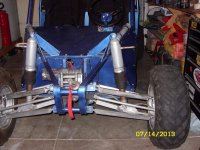
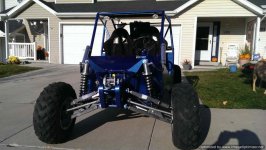
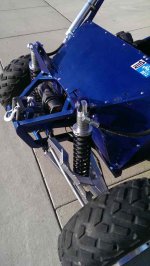
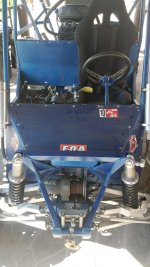
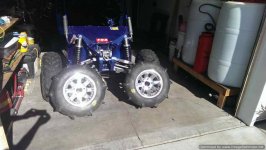
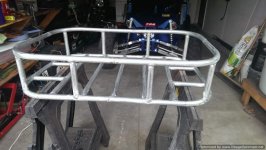
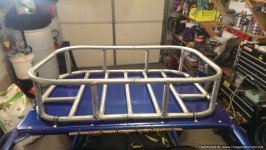
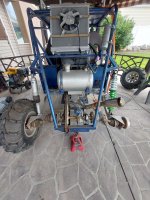
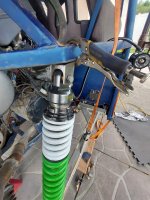
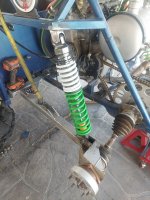
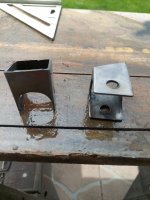
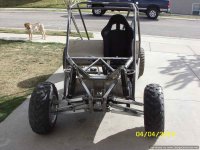
Got the side panels fit up. Also I picked up some monroe max air shocks, they worked pretty good and the adjustability made them really nice. I could take a small 12 volt compressor with me and adjust the ride as I added or removed passengers. My only complaint was they slowly lost air over a couple weeks.
Attachments
-
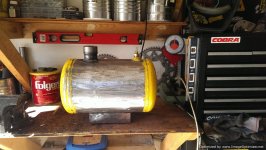
 SN850790-Optimized.JPG83 KB · Views: 3
 -
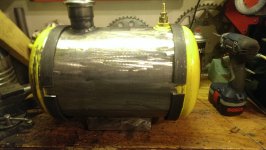
 SN850791-Optimized.JPG85.1 KB · Views: 3
 -
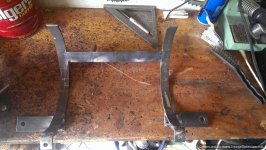
 SN850793-Optimized.JPG76.6 KB · Views: 2
 -
 SN850795-Optimized.JPG88.5 KB · Views: 3