New guy attempt at F2 Tecno 69 go kart

Status
Not open for further replies.

EC1

New member
Messages
67
Reaction score
0
Hi all! Rather than being an observer, I would like to participate with you guys!

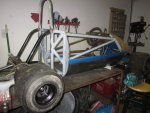
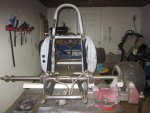
I love the Lotus open wheel formula cars of the 60's and chose to model a little go kart for my young sons after the Tecno 69 F2.

http://www.race-cars.com/carsold/other/1168718230/1168718230pp.htm

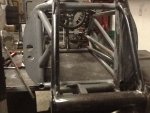
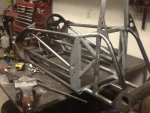
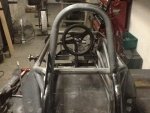
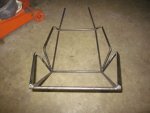
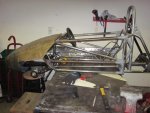
Well, I'm now at this stage and can post pics of the beginning if anyone is interested.

A few pictures:
 

Attachments

  • 1.jpg
    1.jpg
    90.3 KB · Views: 56
  • 2.jpg
    2.jpg
    84.1 KB · Views: 52
  • 3.JPG
    3.JPG
    291.7 KB · Views: 58
  • 4.JPG
    4.JPG
    284.4 KB · Views: 57
  • 7.jpg
    7.jpg
    126.5 KB · Views: 48
Last edited:
EC1

New member
Messages
67
Reaction score
0
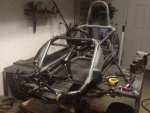
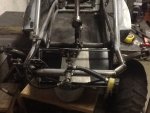
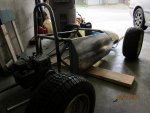
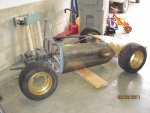
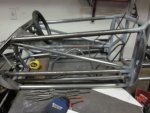
I started with a YZ/DT400 Yamaha to a locked independent equal a-arm suspension. Axles from the rear of a Subaru Justy, via chain drive. The wheels and tires were originally 205/50/10's with a goal weight of under 150 lbs. I kinda started knowing my kids wouldn't drive it for a few years but I went with something they could use.

I went with 5" go kart racing wheels and tires, without any rear suspension at all - "for the childrens." The motor is now a B&S 5hp.

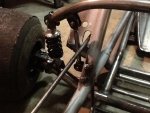
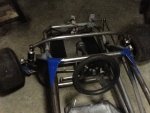
The front suspension pivots behind the seat at the base of the roll hoop. (2) 650lb/in Shocks and springs are from a mountain bike. Overall front suspension travel is roughly 1 inch...
 

Attachments

  • IMG_0375.JPG
    IMG_0375.JPG
    304.7 KB · Views: 17
  • IMG_0377.JPG
    IMG_0377.JPG
    315.2 KB · Views: 23
  • IMG_0373.JPG
    IMG_0373.JPG
    309.1 KB · Views: 16

EC1

New member
Messages
67
Reaction score
0
Thanks for the kind words Mr landuse. My kids love to see something sketched on a napkin in the morning and created later that day (brackets, hubs...). I hope they figure out sooner than later if you can dream something up - it can be built.

There are many parking lots around to mess around at. They think we're going to enter a race and beat other race cars!
 

EC1

New member
Messages
67
Reaction score
0
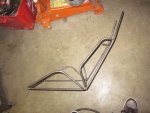
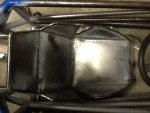
Seat frame work: sketch > materials > rough finish
 

Attachments

  • Picture 006.jpg
    Picture 006.jpg
    98.3 KB · Views: 18
  • Picture 004.jpg
    Picture 004.jpg
    98.9 KB · Views: 19
  • Picture 003.jpg
    Picture 003.jpg
    108.6 KB · Views: 18
  • Picture 002.jpg
    Picture 002.jpg
    111.3 KB · Views: 16
  • Picture 001.jpg
    Picture 001.jpg
    109.6 KB · Views: 19
Last edited:
EC1

New member
Messages
67
Reaction score
0
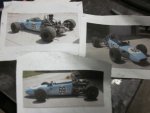
more inspiration...
 

Attachments

  • Picture 015.jpg
    Picture 015.jpg
    80.7 KB · Views: 30

EC1

New member
Messages
67
Reaction score
0
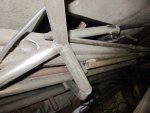
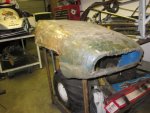
fiberglass work (I can't find all of them but here is an overview)...

Wood buck (sp?) > finished fiberglass cone. Note that this took from CAD dwgs to really unfinished (3 cloth layers) fiberglass a total of 1 month!

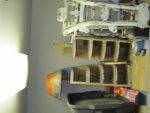
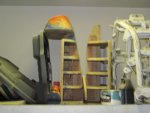
I extrapolated (AutoCAD 2D) side and front views 1:1 to cut aways plotted 1:1. I transferred the patterns to plywood for the buck now stored above (as seen). My plan was to make it the full length of the body but decided to do this in parts...

I dare not throw away that buck - one day I might make it big, making that "hand made" creation worth something!!!:auto:

A lot of trimming and fitting yet to go...
 

Attachments

  • Picture 012.jpg
    Picture 012.jpg
    113.4 KB · Views: 22
  • Picture 011.jpg
    Picture 011.jpg
    124.6 KB · Views: 20
  • Picture 010.jpg
    Picture 010.jpg
    82.5 KB · Views: 21
  • Picture 009.jpg
    Picture 009.jpg
    86.7 KB · Views: 17

EC1

New member
Messages
67
Reaction score
0
The two buck patterns; 1 is the top, the other (bottom) wasn't needed in the end. I'm using sheet steel to round things out. It'll give me more areas to attach the cone.
 

EC1

New member
Messages
67
Reaction score
0
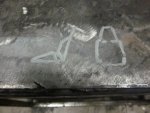
...back tracking to the very beginning (years ago!)

This is what remains on the garage floor where I sketched original side views, to get a scale of the build size. I took a picture of this and scanned it into CAD. I did some clean up and finalized dimensions to print 1:1 images for the frame and wood buck.
 

Attachments

  • Picture 008.jpg
    Picture 008.jpg
    92.6 KB · Views: 18

EC1

New member
Messages
67
Reaction score
0
again a little history prior...

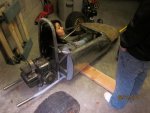
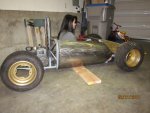
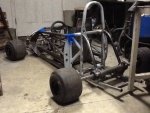
Here is my original layout (YZ/DT400 30+ hp w/ 205/50/10's). This is what I had in mind originally (see first post). My lovely niece gives a sense of scale:

I like it but it's really too much for my kids considering other things. Thus my decision to stay with the smaller wheels and motor.
 

Attachments

  • 4.jpg
    4.jpg
    80.6 KB · Views: 24
  • 3.jpg
    3.jpg
    78.9 KB · Views: 42
  • 2.jpg
    2.jpg
    89.2 KB · Views: 37
  • 1.jpg
    1.jpg
    78.2 KB · Views: 27

EC1

New member
Messages
67
Reaction score
0
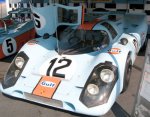
Future paint job scheme: Gulf Oil

Is this blastphemous in any way? I really don't know the history of that paint scheme, I just think it looks cool.
 

Attachments

  • porsche-917-500x390.jpg
    porsche-917-500x390.jpg
    56.2 KB · Views: 9

landuse

Moderator
Staff member
Messages
18,798
Reaction score
602
Location
Pietermaritzburg, South Africa
You sir do some brilliant fabrication work. That seat came out perfectly. I really like the race car feel about this build. I look forward to seeing it finished.

How long do you think you still have to go before you are done?
 

EC1

New member
Messages
67
Reaction score
0
Slow progress...

First time with wheels and tires mounted confirming 1" ride height. Maybe it's too low!

Adjustable seat with rails taken from a wrecking yard, car unknown... Works pretty well.
 

Attachments

  • image.jpg
    image.jpg
    259.6 KB · Views: 32

EC1

New member
Messages
67
Reaction score
0
Seat rails mounted

Rails mounted and gives roughly 5 inches of adjustment
 

Attachments

  • image.jpg
    image.jpg
    221.3 KB · Views: 10
Last edited:

EC1

New member
Messages
67
Reaction score
0
Height adjustable front end

Vertical tie rod to change ride height
 

Attachments

  • image.jpg
    image.jpg
    247.6 KB · Views: 25

EC1

New member
Messages
67
Reaction score
0
Front suspension

Top view of front end
 

Attachments

  • image.jpg
    image.jpg
    230.4 KB · Views: 18

DeathStarr89

Loose Nut
Messages
194
Reaction score
2
Location
Davenport, Iowa
Looks great man!

I will confirm that 1" ride height is rough on the butt, depending on where you're riding you may want a little taller tire.

Lowest point on mine is about 1.5" and i get stuck on bumps if i'm not going fast enough. Thank god for skid plates. :)
 
Status
Not open for further replies.
Top