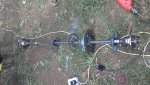
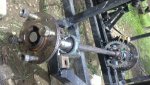
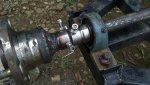
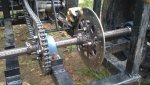
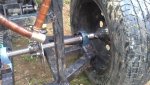
OOPS! it happens, hardened steel is a bugger to work on. Um, as to the assembly for your sprocket, i like it! and what may work for you is to take some 1/8 or 3mm, and place it between your washers, weld it gently, but strongly! this will help give it the axial strength you are seeking. I looked for bits designed for hardened steels online, surprisingly they are hard to find... sigh. but i will keep looking.
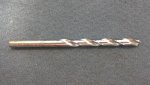
To cut hardened steel with a drill bit, it must be a carbide bit, with a slow speed and lubricant. use moderate pressure and keep the part & bit cool.
http://drillbitwarehouse.com/index....&vmcchk=1&option=com_virtuemart&Itemid=600001 example
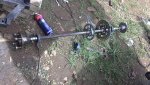
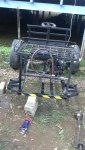
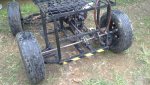
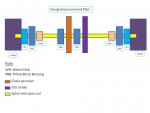 New Improvished Rear Axle Design.jpg45 KB · Views: 17

 .
.