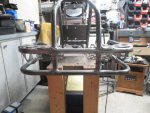
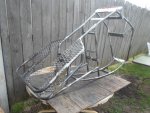
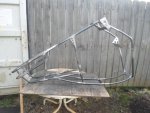
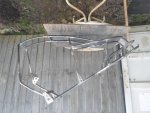
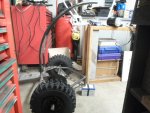
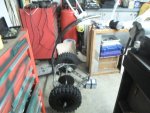
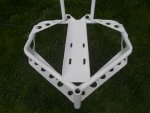
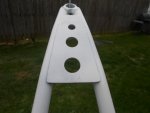
Lunar Rover (prototype)

Functional Artist

Well-known member
Messages
5,629
Reaction score
3,264
Location
Toledo, Ohio
Lightening brake parts

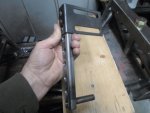
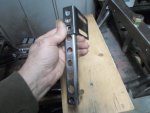
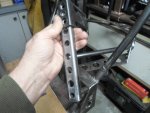
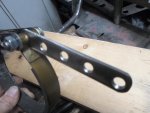
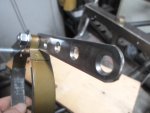
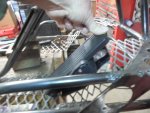
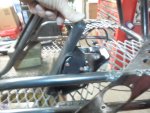
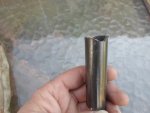
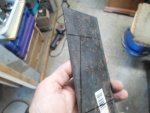
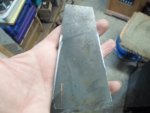
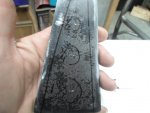
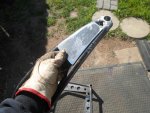
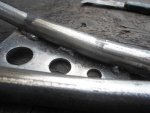
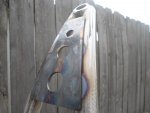
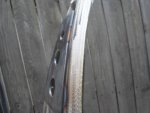
To help lighten things up a bit, I added some "stylish" holes to the side of the brake pedal
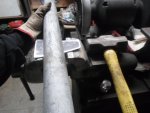
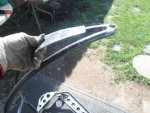
...& also to the connecting/push rod :thumbsup:

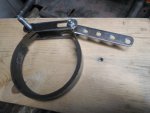
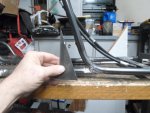
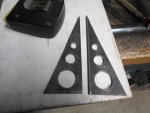
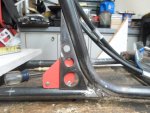
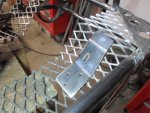
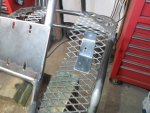
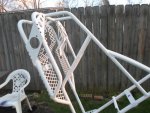
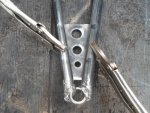
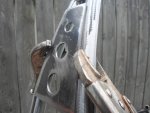
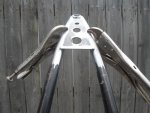
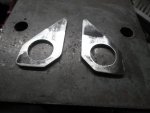
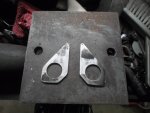
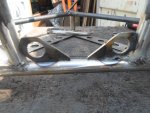
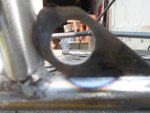
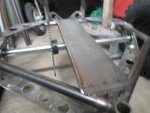
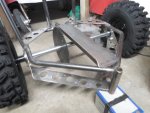
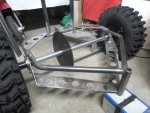
Also, added a couple of "stylishly lightened" gussets to the lower mid frame connection :2guns:
 

Attachments

  • SAM_3208.JPG
    SAM_3208.JPG
    314.2 KB · Views: 1
  • SAM_3207.JPG
    SAM_3207.JPG
    317.8 KB · Views: 1
  • SAM_3205.JPG
    SAM_3205.JPG
    317.8 KB · Views: 1
  • SAM_3210.JPG
    SAM_3210.JPG
    311.2 KB · Views: 1
  • SAM_3212.JPG
    SAM_3212.JPG
    315.2 KB · Views: 1
  • SAM_3213.JPG
    SAM_3213.JPG
    312.9 KB · Views: 1
  • SAM_3085.JPG
    SAM_3085.JPG
    312.9 KB · Views: 1
  • SAM_3107.JPG
    SAM_3107.JPG
    310.3 KB · Views: 1
  • SAM_3113.JPG
    SAM_3113.JPG
    319.1 KB · Views: 2
PullHorse

Member
Messages
108
Reaction score
2
Do you sharpen your drill bits or just replace them? So many holes drilled! Looks really great.
 

Functional Artist

Well-known member
Messages
5,629
Reaction score
3,264
Location
Toledo, Ohio
Do you sharpen your drill bits or just replace them? So many holes drilled! Looks really great.

Thanks, fellas! :thumbsup:

I've never had much luck sharpening drill bits
...unless it was used for wood or plastic (just for a cleaner hole) :cheers2:
...but, not metal

Harbor Freight is my friend :cool:

The trick, I've learned, when using drill bits & even hole saws when working with metal is to
…keep the speed down (speed creates heat, heat "kills" drill bits :huh:
…& using some cutting oil is very helpful with the bigger bits & hole saws :2guns:
 

Functional Artist

Well-known member
Messages
5,629
Reaction score
3,264
Location
Toledo, Ohio
Throttle Pedal Mounting Plate

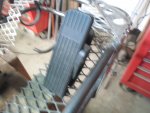
I made up, aligned & welded on, a good-n-solid mounting plate for the throttle pedal :thumbsup:

Just had to make sure the bolt holes lined up with the "openings" in the floor board :cheers2:

Well, most of 'em do :2guns:
 

Attachments

  • SAM_3201.JPG
    SAM_3201.JPG
    317.6 KB · Views: 0
  • SAM_3200.JPG
    SAM_3200.JPG
    318.1 KB · Views: 0
  • SAM_3198.JPG
    SAM_3198.JPG
    322.5 KB · Views: 0
  • SAM_3196.JPG
    SAM_3196.JPG
    314 KB · Views: 1
  • SAM_3195.JPG
    SAM_3195.JPG
    317.1 KB · Views: 0

Functional Artist

Well-known member
Messages
5,629
Reaction score
3,264
Location
Toledo, Ohio
Power System Monitor

I've been thinkin' about "how to" monitor the power systems on the Rover

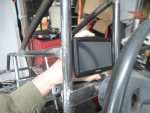
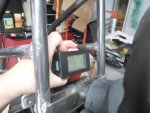
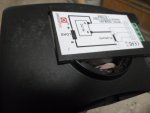
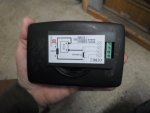
A PZEM-051 DC Digital Multi-function Meter should do the trick :thumbsup:
http://www.diygokarts.com/vb/showthread.php?t=42102

This will provide the Astro-driver with info on
...the Voltage (V) Voltage of the Battery pack
...the Current (A) Amps being drawn from the battery
...the Power (W) Wattage of the component drawing power
…& also, the Energy (Wh) Battery pack capacity :cheers2:

I was also thinkin' that I want to mount this meter into some kind of a "box" :idea2:
...instead of just on or into the dash board

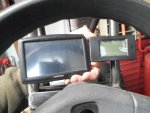
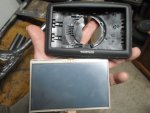
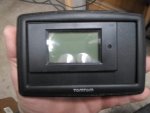
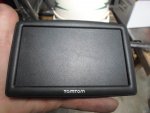
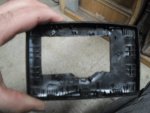
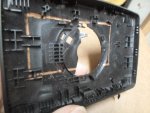
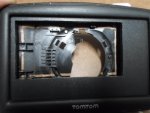
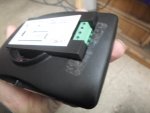
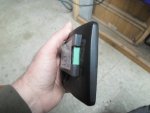
I have an old/non-working Tom Tom GPS
...that I think, I can maybe "gut" & then, mount this meter into

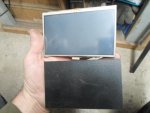
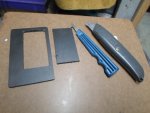
After disassembly, I used the GPS "screen" as a template to make a "replacement", out of some plastic
…& then, made a cut-out in the "replacement plastic screen", for the PZEM-051 meter :cool:

Yup, that should do it! :2guns:
 

Attachments

  • SAM_3127.JPG
    SAM_3127.JPG
    315 KB · Views: 0
  • SAM_3129.JPG
    SAM_3129.JPG
    318.9 KB · Views: 0
  • SAM_3130.JPG
    SAM_3130.JPG
    320.3 KB · Views: 0
  • SAM_3124.JPG
    SAM_3124.JPG
    317.7 KB · Views: 0
  • SAM_3145.JPG
    SAM_3145.JPG
    313.4 KB · Views: 0
  • SAM_3175.JPG
    SAM_3175.JPG
    311.4 KB · Views: 0
  • SAM_3174.JPG
    SAM_3174.JPG
    312.7 KB · Views: 0
  • SAM_3156.JPG
    SAM_3156.JPG
    306.8 KB · Views: 0
  • SAM_3155.JPG
    SAM_3155.JPG
    319.8 KB · Views: 0
  • SAM_3153.JPG
    SAM_3153.JPG
    307.2 KB · Views: 0

Functional Artist

Well-known member
Messages
5,629
Reaction score
3,264
Location
Toledo, Ohio
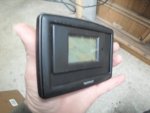
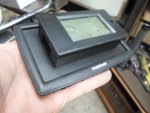
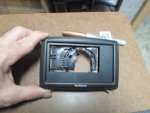
Next, I used the "cut-out" in the "replacement plastic screen" as a template to mark where the meter needs to extend thru, the back of the GPS "shell" :thumbsup:
...& then, did some whittlin' to get the back to fit on/around the meter :cheers2:

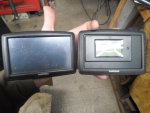
* Notice the before (GPS) & after (PZEM-051 meter) pic :2guns:
...maybe a hint of things to come ;)
 

Attachments

  • SAM_3173.JPG
    SAM_3173.JPG
    307.8 KB · Views: 0
  • SAM_3169.JPG
    SAM_3169.JPG
    314.8 KB · Views: 0
  • SAM_3168.JPG
    SAM_3168.JPG
    320.8 KB · Views: 0
  • SAM_3165.JPG
    SAM_3165.JPG
    314 KB · Views: 0
  • SAM_3166.JPG
    SAM_3166.JPG
    309.8 KB · Views: 0
  • SAM_3178.JPG
    SAM_3178.JPG
    305.9 KB · Views: 0
  • SAM_3176.JPG
    SAM_3176.JPG
    312.1 KB · Views: 0
  • SAM_3177.JPG
    SAM_3177.JPG
    308.3 KB · Views: 0
  • SAM_3180.JPG
    SAM_3180.JPG
    316.5 KB · Views: 0

Functional Artist

Well-known member
Messages
5,629
Reaction score
3,264
Location
Toledo, Ohio
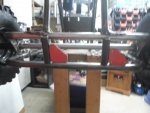
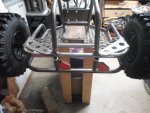
Gettin' back to the chassis :thumbsup:

I installed some "front teeth" (OK I think that's enough "metal") let's move on :rolleyes:

We've had a few nice days so, I took 'er outside
...& done some/lots more "cleanin' up" too (deburrin', smoothin' & sandin'):cheers2:
 

Attachments

  • SAM_3258.JPG
    SAM_3258.JPG
    312.5 KB · Views: 1
  • SAM_3255.JPG
    SAM_3255.JPG
    315 KB · Views: 1
  • SAM_3252.JPG
    SAM_3252.JPG
    314 KB · Views: 1
  • SAM_3080.JPG
    SAM_3080.JPG
    313.3 KB · Views: 1
  • SAM_3081.JPG
    SAM_3081.JPG
    312.4 KB · Views: 1
  • SAM_3120.JPG
    SAM_3120.JPG
    314.3 KB · Views: 2
  • SAM_3260.JPG
    SAM_3260.JPG
    316.6 KB · Views: 1
  • SAM_3298.JPG
    SAM_3298.JPG
    314.2 KB · Views: 1
  • SAM_3296.JPG
    SAM_3296.JPG
    312.9 KB · Views: 2
  • SAM_3297.JPG
    SAM_3297.JPG
    305.7 KB · Views: 1

Functional Artist

Well-known member
Messages
5,629
Reaction score
3,264
Location
Toledo, Ohio
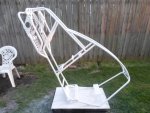
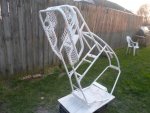
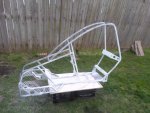
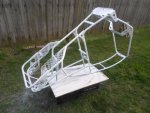
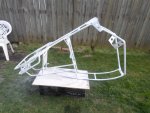
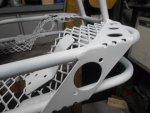
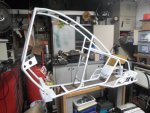
Primed Chassis

A Nice sunny ~70* day for early April & I put 'er to good use :thumbsup:

After a final "go over" (actually a couple of "go overs") I gave the chassis a "bath" (good wipe down)
...with/in some paint thinner :cheers2:

Since, it was mostly "bare" metal, I used some (white) Clean Metal Primer to seal 'er up :2guns:
 

Attachments

  • SAM_3314.JPG
    SAM_3314.JPG
    312.7 KB · Views: 2
  • SAM_3313.JPG
    SAM_3313.JPG
    314.7 KB · Views: 0
  • SAM_3310.JPG
    SAM_3310.JPG
    311.6 KB · Views: 0
  • SAM_3306.JPG
    SAM_3306.JPG
    311 KB · Views: 0
  • SAM_3307.JPG
    SAM_3307.JPG
    310.1 KB · Views: 0
  • SAM_3320.JPG
    SAM_3320.JPG
    313.3 KB · Views: 2
  • SAM_3319.JPG
    SAM_3319.JPG
    313.1 KB · Views: 0
  • SAM_3318.JPG
    SAM_3318.JPG
    314.8 KB · Views: 0
  • SAM_3316.JPG
    SAM_3316.JPG
    313.9 KB · Views: 0

Functional Artist

Well-known member
Messages
5,629
Reaction score
3,264
Location
Toledo, Ohio
I figured the tail needed a couple of gussets
...thoughtfully lightened
…& then, strategically placed :thumbsup:

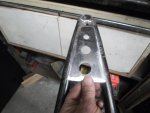
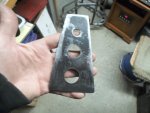
First, I worked on a gusset plate for the upper junction :cheers2:

So, I measured. marked & cut out a piece of metal
...gave 'er a custom curve
…& then, added some stylish holes :2guns:
 

Attachments

  • SAM_3322.JPG
    SAM_3322.JPG
    310.9 KB · Views: 0
  • SAM_3324.JPG
    SAM_3324.JPG
    306.4 KB · Views: 0
  • SAM_3327.JPG
    SAM_3327.JPG
    317.2 KB · Views: 0
  • SAM_3331.JPG
    SAM_3331.JPG
    310.3 KB · Views: 0
  • SAM_3332.JPG
    SAM_3332.JPG
    318.4 KB · Views: 0
  • SAM_3345.JPG
    SAM_3345.JPG
    320.6 KB · Views: 0
  • SAM_3344.JPG
    SAM_3344.JPG
    309.5 KB · Views: 0
  • SAM_3342.JPG
    SAM_3342.JPG
    310.4 KB · Views: 0
  • SAM_3335.JPG
    SAM_3335.JPG
    314.3 KB · Views: 0
  • SAM_3334.JPG
    SAM_3334.JPG
    317.2 KB · Views: 0

Functional Artist

Well-known member
Messages
5,629
Reaction score
3,264
Location
Toledo, Ohio
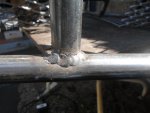
I made a couple of smaller gussets out of the same material :thumbsup:
…& then, added some "stylish" holes in them too :cheers2:

Clamped 'em in place
…& welded 'em on

* For a "cleaner look" I welded 'em on from the back side

**Notice the "bluing"?
Those are "heat marks" that show/indicates that the welds got some decent "penetration" :2guns:
 

Attachments

  • SAM_3354.JPG
    SAM_3354.JPG
    311.5 KB · Views: 0
  • SAM_3353.JPG
    SAM_3353.JPG
    312.9 KB · Views: 0
  • SAM_3350.JPG
    SAM_3350.JPG
    312.6 KB · Views: 0
  • SAM_3347.JPG
    SAM_3347.JPG
    312.9 KB · Views: 0
  • SAM_3346.JPG
    SAM_3346.JPG
    314.2 KB · Views: 0
  • SAM_3358.JPG
    SAM_3358.JPG
    314.2 KB · Views: 0
  • SAM_3362.JPG
    SAM_3362.JPG
    315.8 KB · Views: 2
  • SAM_3363.JPG
    SAM_3363.JPG
    309.2 KB · Views: 0
  • SAM_3383.JPG
    SAM_3383.JPG
    316.3 KB · Views: 0
  • SAM_3386.JPG
    SAM_3386.JPG
    312.6 KB · Views: 0

Functional Artist

Well-known member
Messages
5,629
Reaction score
3,264
Location
Toledo, Ohio
Rear Motor Mount Plate

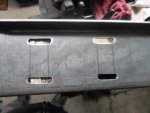
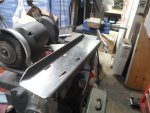
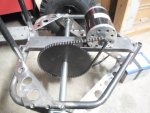
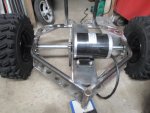
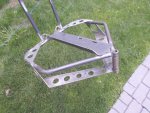
To mount the rear motor I found/am using a piece of 1/8" steel ~4" wide, that has a ~1/2" "lip" running along each side :thumbsup:
...one side is bent up & the other side is bent downward

It should be "good-n-rigid" but, still kinda light weight
...may add some "stylish" holes to make 'er even lighter :cheers2:

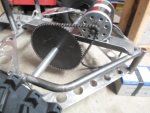
First. I had to assemble the axle, bearings, sprocket & wheels
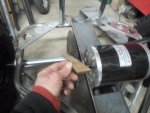
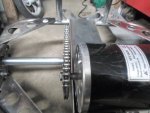
…& then, assemble/arrange/align the mount, motor, sprocket & chain

Centered the motor in the frame (kinda like the front motor is)
...aligned the motor & chain
…& marked where the motor mounting holes need to be

Then, took 'er over to the drill press & did some drillin' & machinin'
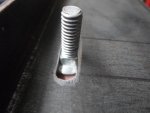
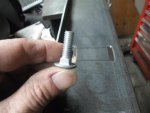
…'til the "square" under the head of 5/16" carriage bolts slide smoothly in the slots :2guns:
 

Attachments

  • SAM_3405.JPG
    SAM_3405.JPG
    316.4 KB · Views: 1
  • SAM_3404.JPG
    SAM_3404.JPG
    322.6 KB · Views: 0
  • SAM_3403.JPG
    SAM_3403.JPG
    312.8 KB · Views: 0
  • SAM_3402.JPG
    SAM_3402.JPG
    316.7 KB · Views: 0
  • SAM_3401.JPG
    SAM_3401.JPG
    315.7 KB · Views: 1
  • SAM_3432.JPG
    SAM_3432.JPG
    315.9 KB · Views: 1
  • SAM_3430.JPG
    SAM_3430.JPG
    311.5 KB · Views: 1
  • SAM_3429.JPG
    SAM_3429.JPG
    311.1 KB · Views: 1
  • SAM_3427.JPG
    SAM_3427.JPG
    313.8 KB · Views: 1
  • SAM_3408.JPG
    SAM_3408.JPG
    315.4 KB · Views: 1

Brianator

Gettin' er done!
Messages
860
Reaction score
18
Location
Barrie, Ontario, Canada
At the risk of being "that guy" I have to ask.... why haven't you entered this into the build off? With the progress you're making you'd easily make the deadline, just sayin'.
 

Functional Artist

Well-known member
Messages
5,629
Reaction score
3,264
Location
Toledo, Ohio
Thanks fellas :thumbsup:
...just doin my thing :cool:

My left brain has been workin' on... :rolleyes:
...maybe I'll enter my next project :stir:

So, after tac-in' the motor mount, in place, I reassembled everything on the tail (again) :popcorn:
...just to double check

Yup, looks pretty good :2guns:

Then, welded 'er on good
...from up underneath, for a cleaner look :cheers2:
 

Attachments

  • SAM_3450.JPG
    SAM_3450.JPG
    320.5 KB · Views: 1
  • SAM_3451.JPG
    SAM_3451.JPG
    314.4 KB · Views: 1
  • SAM_3452.JPG
    SAM_3452.JPG
    313 KB · Views: 3
  • SAM_3453.JPG
    SAM_3453.JPG
    316.9 KB · Views: 1

Functional Artist

Well-known member
Messages
5,629
Reaction score
3,264
Location
Toledo, Ohio
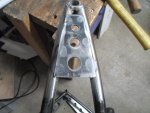
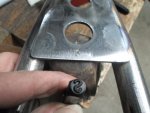
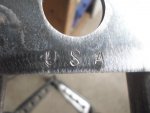
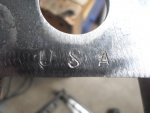
Made in USA

While cleanin' up the tail, I had a "vision" :thumbsup:
...well, maybe more like an idea :cool:
...but, it was kinda like I could actually "see it", when the idea "struck"

He...He, I said struck :smiley_omg:

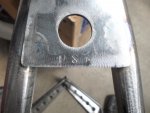
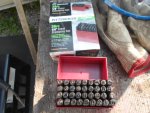
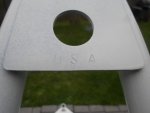
So, I used my 1/4" steel stamper set to "mark" 'er
...made in USA
...or property of USA :cheers2:

I centered & punched the "S" first
...then evenly spaced & punched the "U" & the "A" :2guns:
 

Attachments

  • SAM_3398.JPG
    SAM_3398.JPG
    315.6 KB · Views: 0
  • SAM_3397.JPG
    SAM_3397.JPG
    318.7 KB · Views: 0
  • SAM_3391.JPG
    SAM_3391.JPG
    317.1 KB · Views: 0
  • SAM_3390.JPG
    SAM_3390.JPG
    314.8 KB · Views: 0
  • SAM_3400.JPG
    SAM_3400.JPG
    308.7 KB · Views: 0
  • SAM_3399.JPG
    SAM_3399.JPG
    307 KB · Views: 0

Functional Artist

Well-known member
Messages
5,629
Reaction score
3,264
Location
Toledo, Ohio
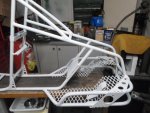
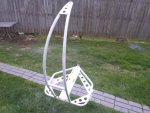
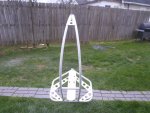
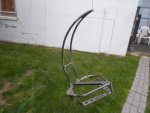
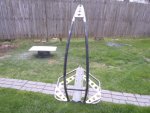
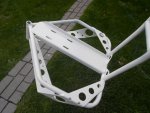
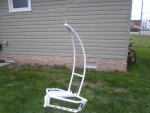
Primin' the Tail

After lots & lots of clean up :huh:
…& then, a bath in some paint thinner :cheers2:

I got the tail sealed up/primed :thumbsup:
 

Attachments

  • SAM_3459.JPG
    SAM_3459.JPG
    309.2 KB · Views: 0
  • SAM_3458.JPG
    SAM_3458.JPG
    306.7 KB · Views: 0
  • SAM_3457.JPG
    SAM_3457.JPG
    311.3 KB · Views: 0
  • SAM_3456.JPG
    SAM_3456.JPG
    308.5 KB · Views: 0
  • SAM_3454.JPG
    SAM_3454.JPG
    308.6 KB · Views: 1
  • SAM_3460.JPG
    SAM_3460.JPG
    314.6 KB · Views: 0
  • SAM_3461.JPG
    SAM_3461.JPG
    309.5 KB · Views: 0
  • SAM_3462.JPG
    SAM_3462.JPG
    310.7 KB · Views: 0
  • SAM_3464.JPG
    SAM_3464.JPG
    300.4 KB · Views: 0
  • SAM_3463.JPG
    SAM_3463.JPG
    289.6 KB · Views: 2
Top