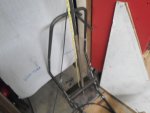
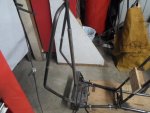
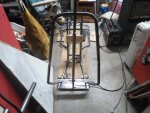
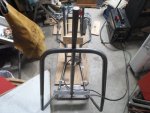
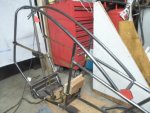
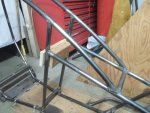
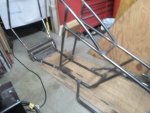
Lunar Rover (prototype)

Functional Artist

Well-known member
Messages
5,628
Reaction score
3,264
Location
Toledo, Ohio
Where ya gonna put a 36" pin? :huh:

That info is TOP SECRET at the moment
...but, I'm tryin' to get it de-classified :lolgoku:

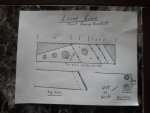
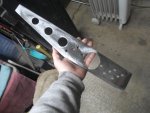
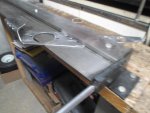
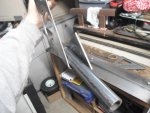
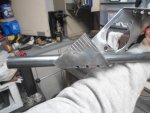
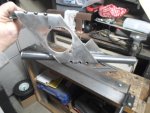
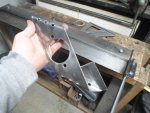
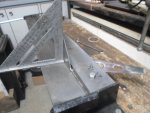
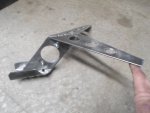
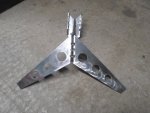
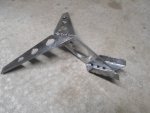
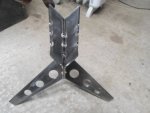
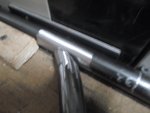
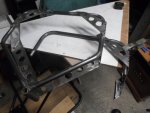
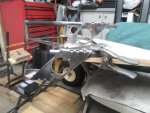
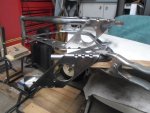
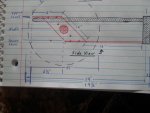
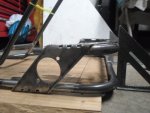
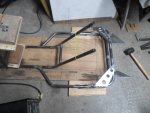
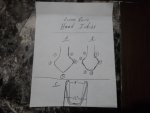
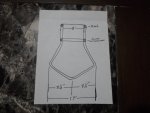
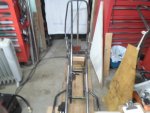
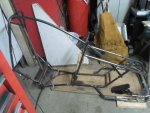
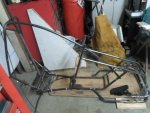
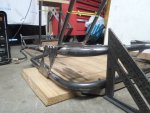
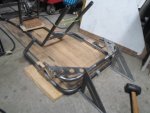
So, now I'm workin' on the front bearing brackets :thumbsup:

It's kinda the same basic concept as the rear
...but, customized, a bit, for a different application :2guns:
 

Attachments

  • SAM_1942.JPG
    SAM_1942.JPG
    313.5 KB · Views: 3
  • SAM_1943.JPG
    SAM_1943.JPG
    318 KB · Views: 3
  • SAM_1945.JPG
    SAM_1945.JPG
    316.3 KB · Views: 3
  • SAM_1946.JPG
    SAM_1946.JPG
    314.7 KB · Views: 2
  • SAM_1947.JPG
    SAM_1947.JPG
    316.5 KB · Views: 2
  • SAM_1956.JPG
    SAM_1956.JPG
    322 KB · Views: 3
  • SAM_1957.JPG
    SAM_1957.JPG
    319.1 KB · Views: 2
  • SAM_1954.JPG
    SAM_1954.JPG
    313 KB · Views: 2
  • SAM_1951.JPG
    SAM_1951.JPG
    313.7 KB · Views: 2
  • SAM_1949.JPG
    SAM_1949.JPG
    319.1 KB · Views: 2
Functional Artist

Well-known member
Messages
5,628
Reaction score
3,264
Location
Toledo, Ohio
More pics :thumbsup:

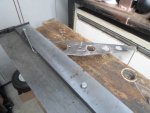
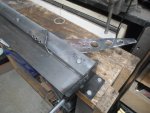
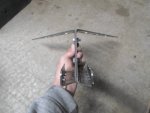
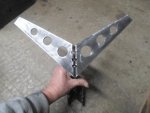
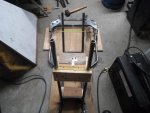
I bolted the (2) bearing brackets together
...just to see how close they were :cheers2:

Good enough for "government work" :rolleyes:
 

Attachments

  • SAM_1974.JPG
    SAM_1974.JPG
    318.9 KB · Views: 2
  • SAM_1973.JPG
    SAM_1973.JPG
    317.7 KB · Views: 3
  • SAM_1972.JPG
    SAM_1972.JPG
    314.8 KB · Views: 2
  • SAM_1970.JPG
    SAM_1970.JPG
    313.1 KB · Views: 2
  • SAM_1969.JPG
    SAM_1969.JPG
    311.7 KB · Views: 4
  • SAM_1975.JPG
    SAM_1975.JPG
    314.7 KB · Views: 3

Functional Artist

Well-known member
Messages
5,628
Reaction score
3,264
Location
Toledo, Ohio
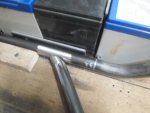
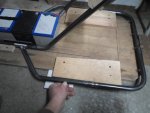
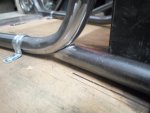
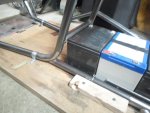
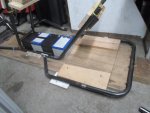
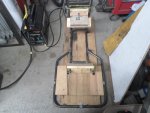
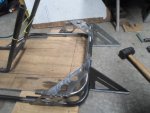
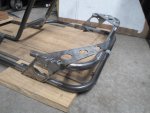
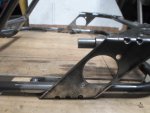
After prepping the battery box/tray "bars" (in a few different spots)
…& the floorboard perimeter "bar" too

Then, I quadruple checked ALL of the dimensions & squareness
…used a couple of scrap boards, as a "jig"
…& also, a clamp to "lock down" the "final alignment"

Then, a few "tac" welds to kinda "glue 'em in place" while we move on to the next level. :thumbsup:

* Added/installed a front cross member "bar" that also doubles as the front of the battery box :2guns:
 

Attachments

  • SAM_1983.JPG
    SAM_1983.JPG
    315.1 KB · Views: 2
  • SAM_1982.JPG
    SAM_1982.JPG
    317.3 KB · Views: 3
  • SAM_1981.JPG
    SAM_1981.JPG
    311.3 KB · Views: 3
  • SAM_1980.JPG
    SAM_1980.JPG
    321 KB · Views: 2
  • SAM_1984.JPG
    SAM_1984.JPG
    316.5 KB · Views: 2
  • SAM_1979.JPG
    SAM_1979.JPG
    317.3 KB · Views: 3
  • SAM_1989.JPG
    SAM_1989.JPG
    310.5 KB · Views: 4

Functional Artist

Well-known member
Messages
5,628
Reaction score
3,264
Location
Toledo, Ohio
Level 2

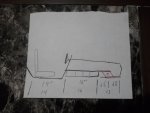
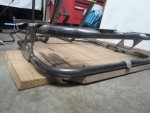
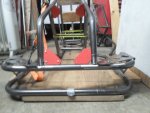
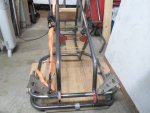
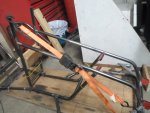
I made a "upper" front bumper "bar", about the same as the lower one
(& pretty much the same as the rear too)
…& aligned/added the bearing brackets :thumbsup:

* The front & rear "bumpers" are specifically designed to NOT extend beyond the wheels/tires
(for climbing outta craters-n-such) :2guns:
 

Attachments

  • SAM_1978.JPG
    SAM_1978.JPG
    313.3 KB · Views: 2
  • SAM_1977.JPG
    SAM_1977.JPG
    313.3 KB · Views: 2
  • SAM_1976.JPG
    SAM_1976.JPG
    312.9 KB · Views: 2
  • SAM_1730.JPG
    SAM_1730.JPG
    308.9 KB · Views: 2
Functional Artist

Well-known member
Messages
5,628
Reaction score
3,264
Location
Toledo, Ohio
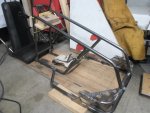
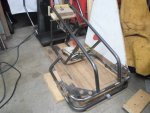
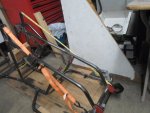
After "tac'in" the bearing brackets to the upper bumper "bar", I slid the pre-assembled unit into place over the lower bumper "bar"
(the lower bearing bracket "channels" really help keep 'em aligned) :thumbsup:

Then, simply lined the bumpers up
...& tac'ed 'er in place :2guns:

That should help protect the axle, sprocket & motor (from them nasty moon rocks) :lolgoku:
 

Attachments

  • SAM_2006.JPG
    SAM_2006.JPG
    317 KB · Views: 1
  • SAM_2005.JPG
    SAM_2005.JPG
    315.5 KB · Views: 1
  • SAM_2004.JPG
    SAM_2004.JPG
    319.8 KB · Views: 2
  • SAM_2003.JPG
    SAM_2003.JPG
    318.5 KB · Views: 2
  • SAM_2002.JPG
    SAM_2002.JPG
    315.7 KB · Views: 1
  • SAM_2007.JPG
    SAM_2007.JPG
    313.7 KB · Views: 2
  • SAM_2008.JPG
    SAM_2008.JPG
    311.3 KB · Views: 1
  • SAM_2009.JPG
    SAM_2009.JPG
    313.8 KB · Views: 1
  • SAM_2010.JPG
    SAM_2010.JPG
    313.4 KB · Views: 1

Functional Artist

Well-known member
Messages
5,628
Reaction score
3,264
Location
Toledo, Ohio
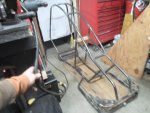
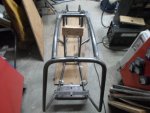
Nose Section Level 3

The "nose section" will have a third level :thumbsup:
...kinda like a "hood"
...but, it won't open-or-nuthin' :huh:

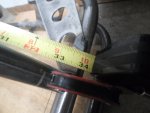
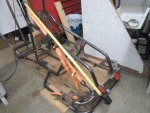
Double checked the "squareness"
...the right side needed a little "tweekin'"

So, I did a little "body work" :cheers2:

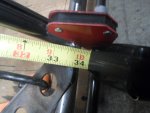
Then, triple checked the dimensions
...just about 33 3/4" on each side (from the dash pillar down to the front bumper)
...pretty dang close :2guns:

They meet/fit all (3) points nicely
…& is/feels very strong/ridged after welding :cool:
 

Attachments

  • SAM_2035.JPG
    SAM_2035.JPG
    318.4 KB · Views: 2
  • SAM_2027.JPG
    SAM_2027.JPG
    313.6 KB · Views: 1
  • SAM_2023.JPG
    SAM_2023.JPG
    315.6 KB · Views: 2
  • SAM_2021.JPG
    SAM_2021.JPG
    312.6 KB · Views: 2
  • SAM_2022.JPG
    SAM_2022.JPG
    313.5 KB · Views: 2
  • SAM_2029.JPG
    SAM_2029.JPG
    313.1 KB · Views: 2
  • SAM_2030.JPG
    SAM_2030.JPG
    316.8 KB · Views: 2
  • SAM_2031.JPG
    SAM_2031.JPG
    315.6 KB · Views: 3
  • SAM_2034.JPG
    SAM_2034.JPG
    313.3 KB · Views: 2
Functional Artist

Well-known member
Messages
5,628
Reaction score
3,264
Location
Toledo, Ohio
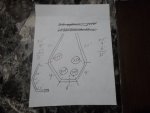
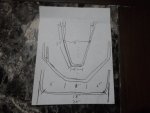
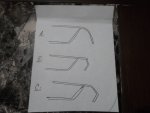
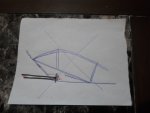
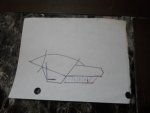
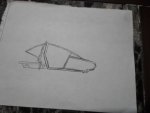
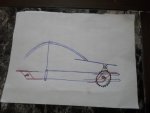
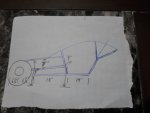
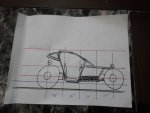
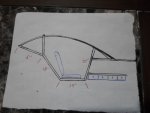
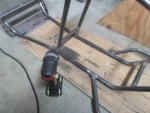
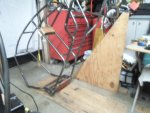
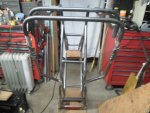
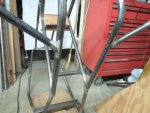
While workin' on this nose section, I contemplated many ideas :thumbsup:
…did a few drawing's
...& bent up a lot of pipe :huh:

Some of 'em would of looked kool :cheers2:
...but, just wouldn't work in the situation :ack2:
 

Attachments

  • SAM_2054.JPG
    SAM_2054.JPG
    304.8 KB · Views: 2
  • SAM_2053.JPG
    SAM_2053.JPG
    312.2 KB · Views: 2
  • SAM_2052.JPG
    SAM_2052.JPG
    314.6 KB · Views: 2
  • SAM_2051.JPG
    SAM_2051.JPG
    311.4 KB · Views: 2
  • SAM_2050.JPG
    SAM_2050.JPG
    311.8 KB · Views: 1
  • SAM_2055.JPG
    SAM_2055.JPG
    306 KB · Views: 2
  • SAM_2058.JPG
    SAM_2058.JPG
    317.6 KB · Views: 2

Functional Artist

Well-known member
Messages
5,628
Reaction score
3,264
Location
Toledo, Ohio
De-Classified Material

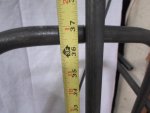
I (finally) got permission to divulge at least 1/2 of the pivot pin info :cool:
(since previous discussions, I've incorporated a bigger pivot pin into "the mix")

So, "goin' vertical" next up is the Roll Bar :thumbsup:
(I guess you could call it, the main mast)

Had to do some adjustin/tweekin' (to the design & the pipes) to get 'er to line up :cheers2:
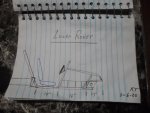
...but, it ends up/tops out, just a bit over 36" :2guns:
 

Attachments

  • SAM_2046.JPG
    SAM_2046.JPG
    312.3 KB · Views: 1
  • SAM_2044.JPG
    SAM_2044.JPG
    313.5 KB · Views: 1
  • SAM_2043.JPG
    SAM_2043.JPG
    313.5 KB · Views: 1
  • SAM_2042.JPG
    SAM_2042.JPG
    315.9 KB · Views: 1
  • SAM_2041.JPG
    SAM_2041.JPG
    307.6 KB · Views: 1
  • SAM_2048.JPG
    SAM_2048.JPG
    310.7 KB · Views: 2

Functional Artist

Well-known member
Messages
5,628
Reaction score
3,264
Location
Toledo, Ohio
Latest News U.S. Space Force

Jan. 14, 2020
Gen. John W. Raymond is sworn in as the highest-ranking military leader of the newly created U.S. Space Force, adding a prominent White House ceremony that recognized the arrival of the nation’s newest, separate branch of the military. :thumbsup:
 

Attachments

  • US Space Force 2.jpg
    US Space Force 2.jpg
    53.4 KB · Views: 0

Kartorbust

Inmate #627
Messages
4,493
Reaction score
947
Location
Utica, NE
At least now that its separate from the USAF, it should have more autonomy to do what it needs to. People may give their camo crap, but I think it looks good.
 

JTSpeedDemon

2019 Build Off Winner!
Messages
4,026
Reaction score
162
Location
Texas
Yeah I actually looked it up a little after posting that. That's awesome! Although, now we get EVEN MORE space junk! :ack2::lolgoku:
 

Functional Artist

Well-known member
Messages
5,628
Reaction score
3,264
Location
Toledo, Ohio
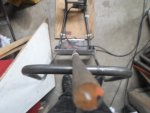
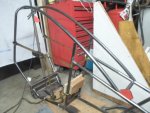
Roll Cage

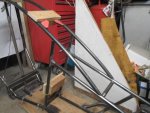
We gotta add some support to the Mast
…& to the overall "space frame" itself too :thumbsup:

I'm thinkin' a Roll Cage, I guess ya would call it, should do the trick :cool:

The "roll cage" bars will do a "3-way connection"
...just like the "hood bars" did :cheers2:

Each side will start @/connect to the roll bar
...then, cross/connect with a dash pillar
…& finally, terminate into a hood bar :2guns:
 

Attachments

  • SAM_2062.JPG
    SAM_2062.JPG
    306.6 KB · Views: 0
  • SAM_2061.JPG
    SAM_2061.JPG
    295 KB · Views: 0
  • SAM_2059.JPG
    SAM_2059.JPG
    289.1 KB · Views: 0
  • SAM_2060.JPG
    SAM_2060.JPG
    311 KB · Views: 0
  • SAM_2069.JPG
    SAM_2069.JPG
    302.4 KB · Views: 0
  • SAM_2063.JPG
    SAM_2063.JPG
    312.2 KB · Views: 0
  • SAM_2068.JPG
    SAM_2068.JPG
    309.3 KB · Views: 0

Functional Artist

Well-known member
Messages
5,628
Reaction score
3,264
Location
Toledo, Ohio
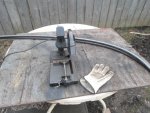
Longi-tudally striped (2) (~60") pieces of pipe
...then, marked 'em @ 3" intervals
…& did some bendin' :thumbsup:

Roll Cage Bending Formula
0-0-2-2-2-3-3-3-3-3-3-5-5-5-5-8-8-8-0-0

Then, trimmed ~12" off of the "rear" end of both pipes
(For maximum "head room" the apex of the curve needs to be right over where the Astro-driver's head would be)

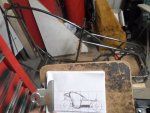
Looks pretty close to the drawing/plan :wai:

Next, we gotta trim off the dash pillars
…& also, the "front" end of both "roll cage" pipes, where they are to terminate, @ the "hood" :2guns:
 

Attachments

  • SAM_2078.JPG
    SAM_2078.JPG
    314.2 KB · Views: 2
  • SAM_2077.JPG
    SAM_2077.JPG
    314 KB · Views: 2
  • SAM_2076.JPG
    SAM_2076.JPG
    312.4 KB · Views: 2
  • SAM_2014.JPG
    SAM_2014.JPG
    316.3 KB · Views: 1
  • SAM_2079.JPG
    SAM_2079.JPG
    312.4 KB · Views: 1
  • SAM_2081.JPG
    SAM_2081.JPG
    320.9 KB · Views: 3

gegcorp2012

Active member
Messages
492
Reaction score
69
Location
Alabama
I like the gently rounded bend... looking like a moon buggy for sure.

Sent from my SM-J700T using Tapatalk
 

Functional Artist

Well-known member
Messages
5,628
Reaction score
3,264
Location
Toledo, Ohio
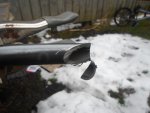
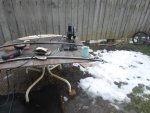
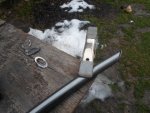
I marked the front end of the "roll cage" pipes
...& cut 'em off :thumbsup:
Yup, that's snow on the ground :smiley_omg:
Next, I had to do some fittin'

So, a little trimmin'
...a little more trimmin'
…& a little more trimmin' :huh:
 

Attachments

  • SAM_2085.JPG
    SAM_2085.JPG
    314.9 KB · Views: 1
  • SAM_2082.JPG
    SAM_2082.JPG
    310.8 KB · Views: 1
  • SAM_2086.JPG
    SAM_2086.JPG
    316.6 KB · Views: 2
  • SAM_2089.JPG
    SAM_2089.JPG
    314.2 KB · Views: 2
  • SAM_2091.JPG
    SAM_2091.JPG
    314.7 KB · Views: 1
  • SAM_2093.JPG
    SAM_2093.JPG
    316.2 KB · Views: 1
  • SAM_2096.JPG
    SAM_2096.JPG
    308.1 KB · Views: 1
  • SAM_2095.JPG
    SAM_2095.JPG
    316.6 KB · Views: 1
  • SAM_2094.JPG
    SAM_2094.JPG
    314.5 KB · Views: 2

Functional Artist

Well-known member
Messages
5,628
Reaction score
3,264
Location
Toledo, Ohio
The top of the roll bar was "off" (out of alignment with the pivot pin) by ~1/2" :huh:

So, I used a ratchet strap to evenly & incrementally draw 'er in a bit :thumbsup:

Also, added a couple of dual purpose "cross bars"

The lower one is also the bottom of the wind screen
…& the top one is "well" for the top :2guns:
 

Attachments

  • SAM_2094.JPG
    SAM_2094.JPG
    314.5 KB · Views: 1
  • SAM_2098.JPG
    SAM_2098.JPG
    316.5 KB · Views: 1
  • SAM_2103.JPG
    SAM_2103.JPG
    315.7 KB · Views: 1
  • SAM_2104.JPG
    SAM_2104.JPG
    321.8 KB · Views: 1
  • SAM_2102.JPG
    SAM_2102.JPG
    314.6 KB · Views: 4
  • SAM_2099.JPG
    SAM_2099.JPG
    318.3 KB · Views: 1

Functional Artist

Well-known member
Messages
5,628
Reaction score
3,264
Location
Toledo, Ohio
First Stage Separation

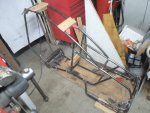
Everything seemed to be "tacked" sufficiently :thumbsup:

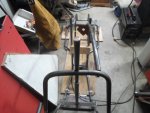
So, I removed all of the clamps & pins that held the "main frame/space frame" to the "alignment board" :cheers2:

Now, I can report that the first stage separation has been a huge success :2guns:

Next up, lots & lots of welding :huh:

*Seems pretty rigid already :cool:
 

Attachments

  • SAM_2106.JPG
    SAM_2106.JPG
    317.9 KB · Views: 0
  • SAM_2109.JPG
    SAM_2109.JPG
    312.7 KB · Views: 0
  • SAM_2110.JPG
    SAM_2110.JPG
    320.1 KB · Views: 1
  • SAM_2111.JPG
    SAM_2111.JPG
    314.3 KB · Views: 1
Top