Functional Artist
Well-known member
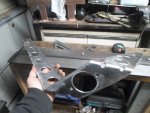
TOP SECRET (so don't tell anyone) 
NASA Space Program
Mission:
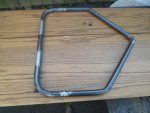
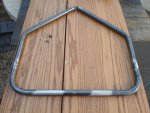
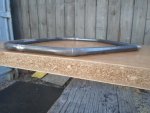
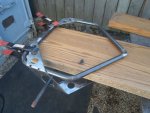
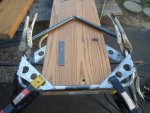
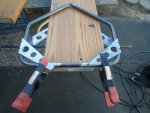
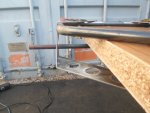
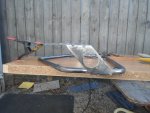
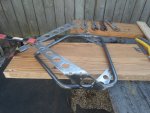
Design & build a Lunar Rover (prototype)
Requirements:
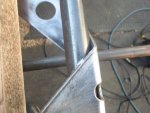
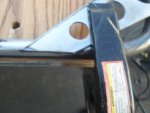
Lightweight (gotta be shipped to the moon or ...)
Electric/battery powered (can't go around pollutin' other atmospheres)
Multi-terrain capable (gotta be able to climb into & then back out of craters)
Durable/reliable (can't be breakin' down 1,000,000,000 of miles away)
* NOT REALLY
...but, a kool "backstory" for a build
NASA Space Program
Mission:
Design & build a Lunar Rover (prototype)
Requirements:
Lightweight (gotta be shipped to the moon or ...)
Electric/battery powered (can't go around pollutin' other atmospheres)
Multi-terrain capable (gotta be able to climb into & then back out of craters)
Durable/reliable (can't be breakin' down 1,000,000,000 of miles away)
* NOT REALLY
...but, a kool "backstory" for a build