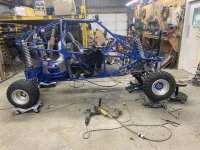
Front end and suspension stuff, including VooDoo, Black magic and other engineering principals

Master Hack

Well-known member
Messages
4,139
Reaction score
6,572
Location
Mountain top Labratory
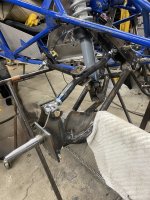
Made some progress on the front end stuff. Right side is 90% just need a hub, and a wheel flange, and a caliper bracket and some paint, oh and some bronze bushings and some good bolts, maybe a steering dampener. OK forget the 90% BS.
So for the first time on the world wide stage, in front of millions, the one....IMG_4767.JPG
 

Master Hack

Well-known member
Messages
4,139
Reaction score
6,572
Location
Mountain top Labratory
How's the arc interaction
Huh?
I was happy it went together, works without binding up, then ya bring up this technical shyt! Now l have something else to keep me up all night.
Naw, it actually works well. The red arc is nothing significant. In fact l didn't notice anything, til ya brought it up, thanks. Now l gotta look closer. Whatever goes on there is not enough to bind the heim on the chassis end. The caster angle can be adjusted by the length of that rod.
l need to get it on its feet and figger out ride height and upper shock mounts, yada yada yada. All the shyt ya gotta figger out when ya only have half a set of plans and a few pix.
lt looks like it should work fine within the 12" of available travel.
Lotsa empherical engineering went into this mobile scrap heap!
 

Master Hack

Well-known member
Messages
4,139
Reaction score
6,572
Location
Mountain top Labratory
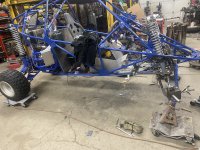
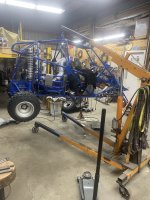
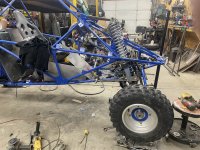
I got the front end put together. Set the ride height, inspected everything to make sure things move up and down, turn left and right without parts colliding, rubbing, binding or falling off. All is good so far, now l'll take it apart and paint it and make some hubs. Maybe first test drive, next....
time the weather permits.

IMG_4783.jpegIMG_4784.jpegIMG_4781.jpeg
 

Master Hack

Well-known member
Messages
4,139
Reaction score
6,572
Location
Mountain top Labratory
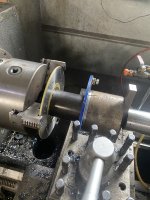
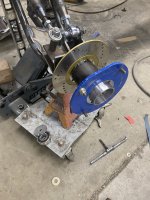
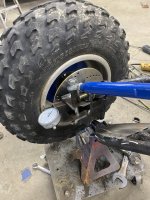
On this episode of front end stuff and all that BS in the title, we make hubs and fit em up. pics are self explanatory, unless they are not, then ask, and we will fake an answer.
this is near completion for this little upgrade. Next l take it all apart and paint it. After that we will adjust all that technical shyt after paint.
Anyone that has built anything knows problems, mistakes and improvements only become obvious after paint is applied. The fix almost always requires grinding, cutting, welding and other paint destroying processes.
without further BS here are the pictures you have demanded. Thanks to my fans!
both of ya!

IMG_4792.jpegIMG_4791.jpegIMG_4793.jpegIMG_4794.jpegIMG_4795.jpeg
 
Top